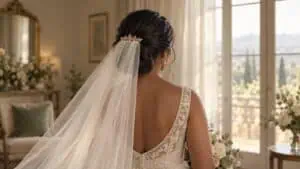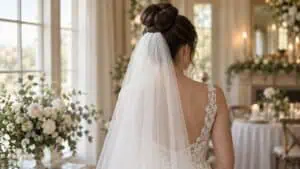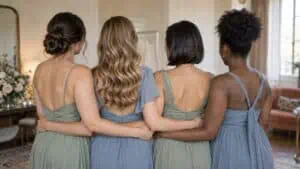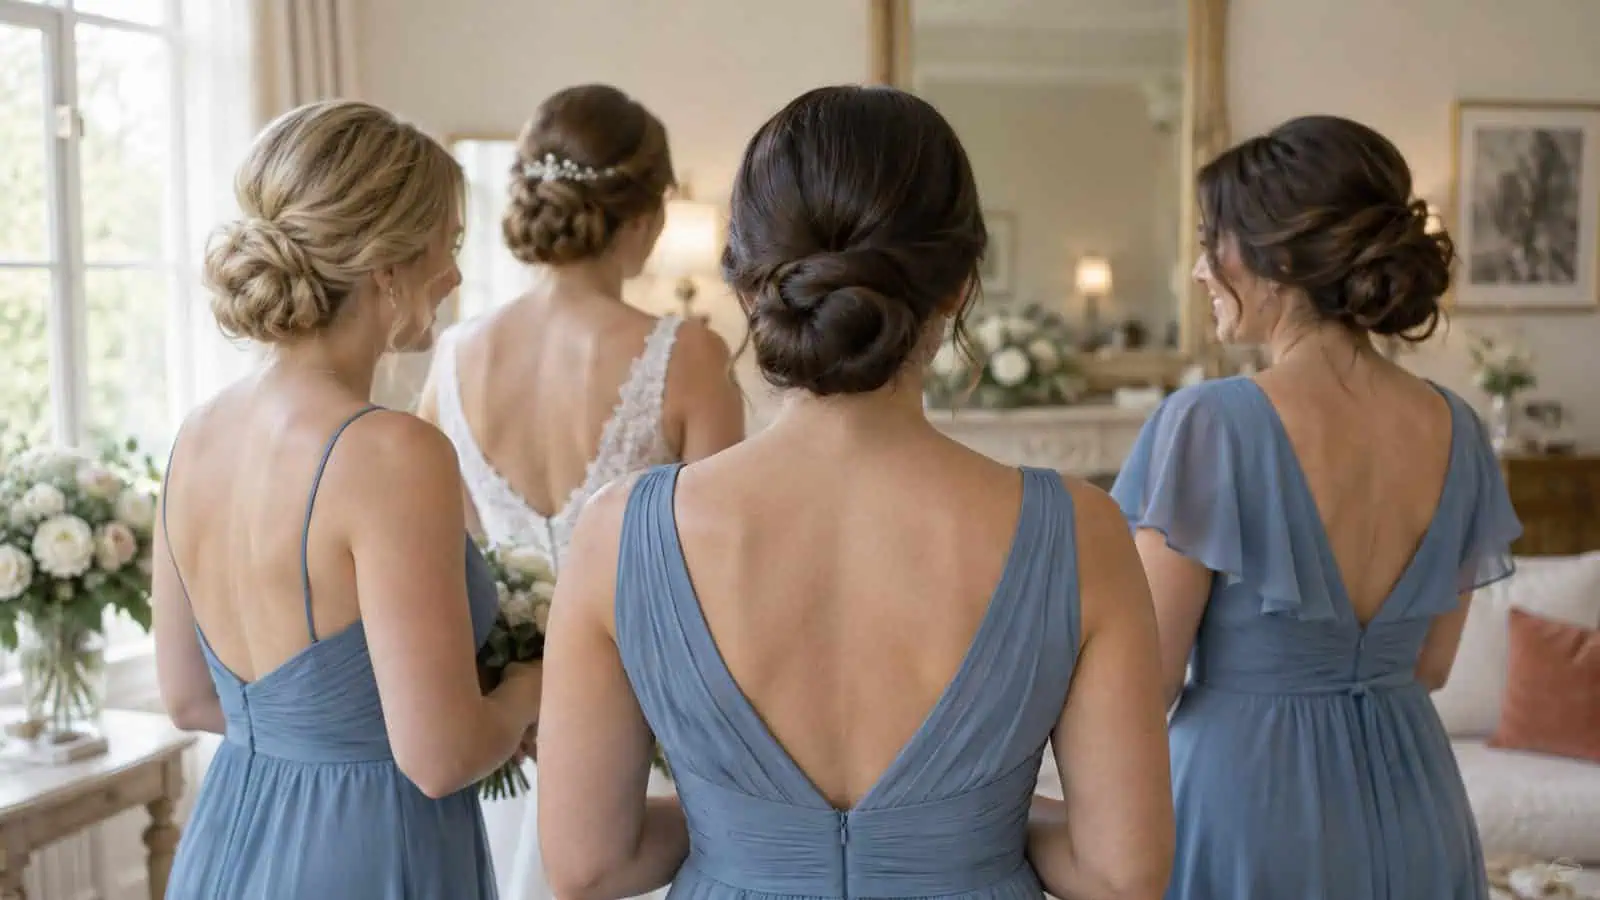
A bridesmaid updo needs to look good from the back and remain comfortable through hours of standing, hugging and dancing. These styles range from compact knots to braided crowns, with options for straight hair, curls, coils and locs. Choose the placement around the dress neckline, then test the weight before adding decorative pins.

Sandals Will Throw Your Wedding for Free
Stay 7 nights in a Club or Butler suite and Sandals covers the wedding: a personal planner, the ceremony, a private cocktail reception, a two-tier cake, your bouquet and boutonniere, plus $200 toward photos and $200 toward video. No venue hunt, no vendor juggling.
Images are AI-generated illustrations of the ideas described.
1. Centered Low Chignon
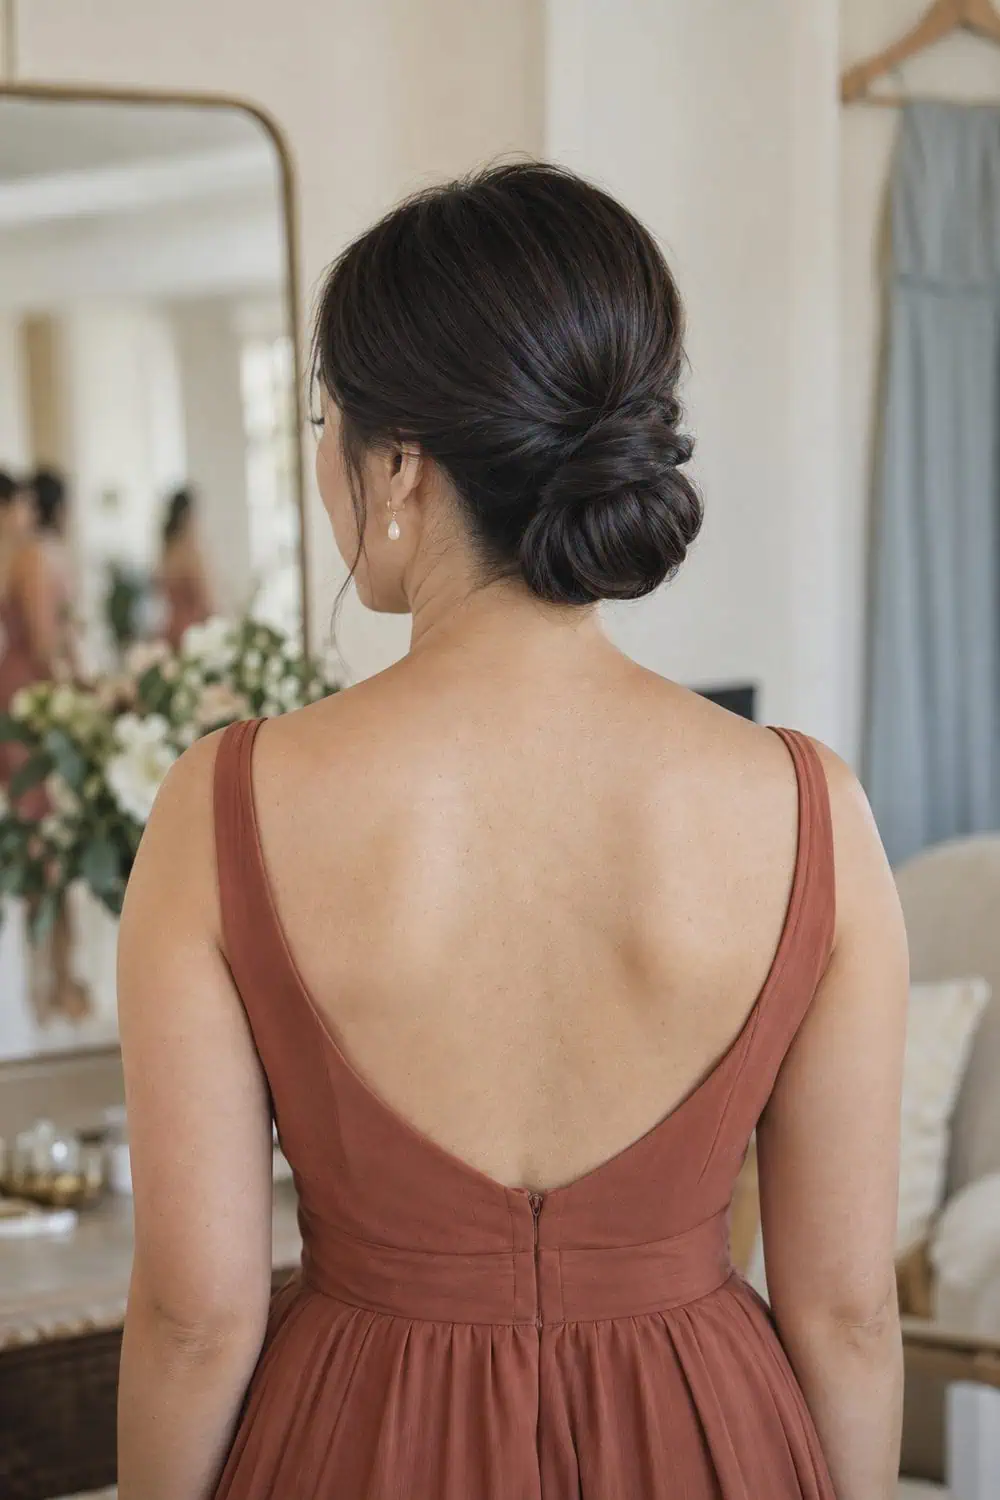
A centered chignon gives a clean line and works with most necklines. Place it high enough that it doesn't rub against a collar.
2. Vertical French Twist
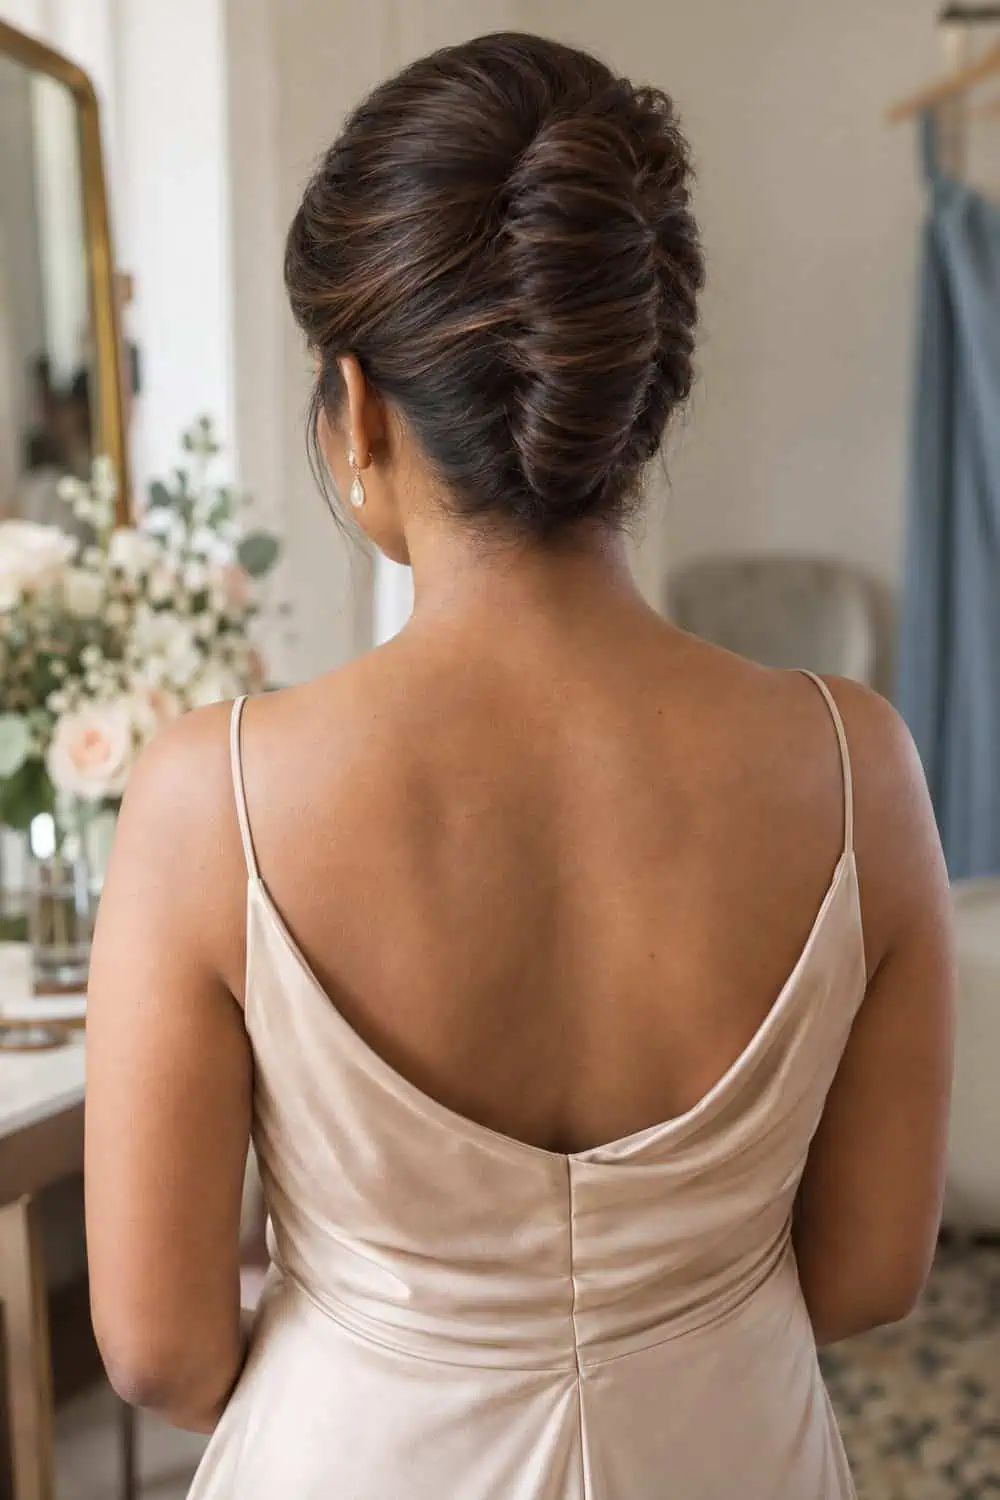
A vertical French twist keeps the shape narrow and leaves the shoulders clear. Secure the seam from bottom to top before tucking the final ends.
3. Braided Low Bun
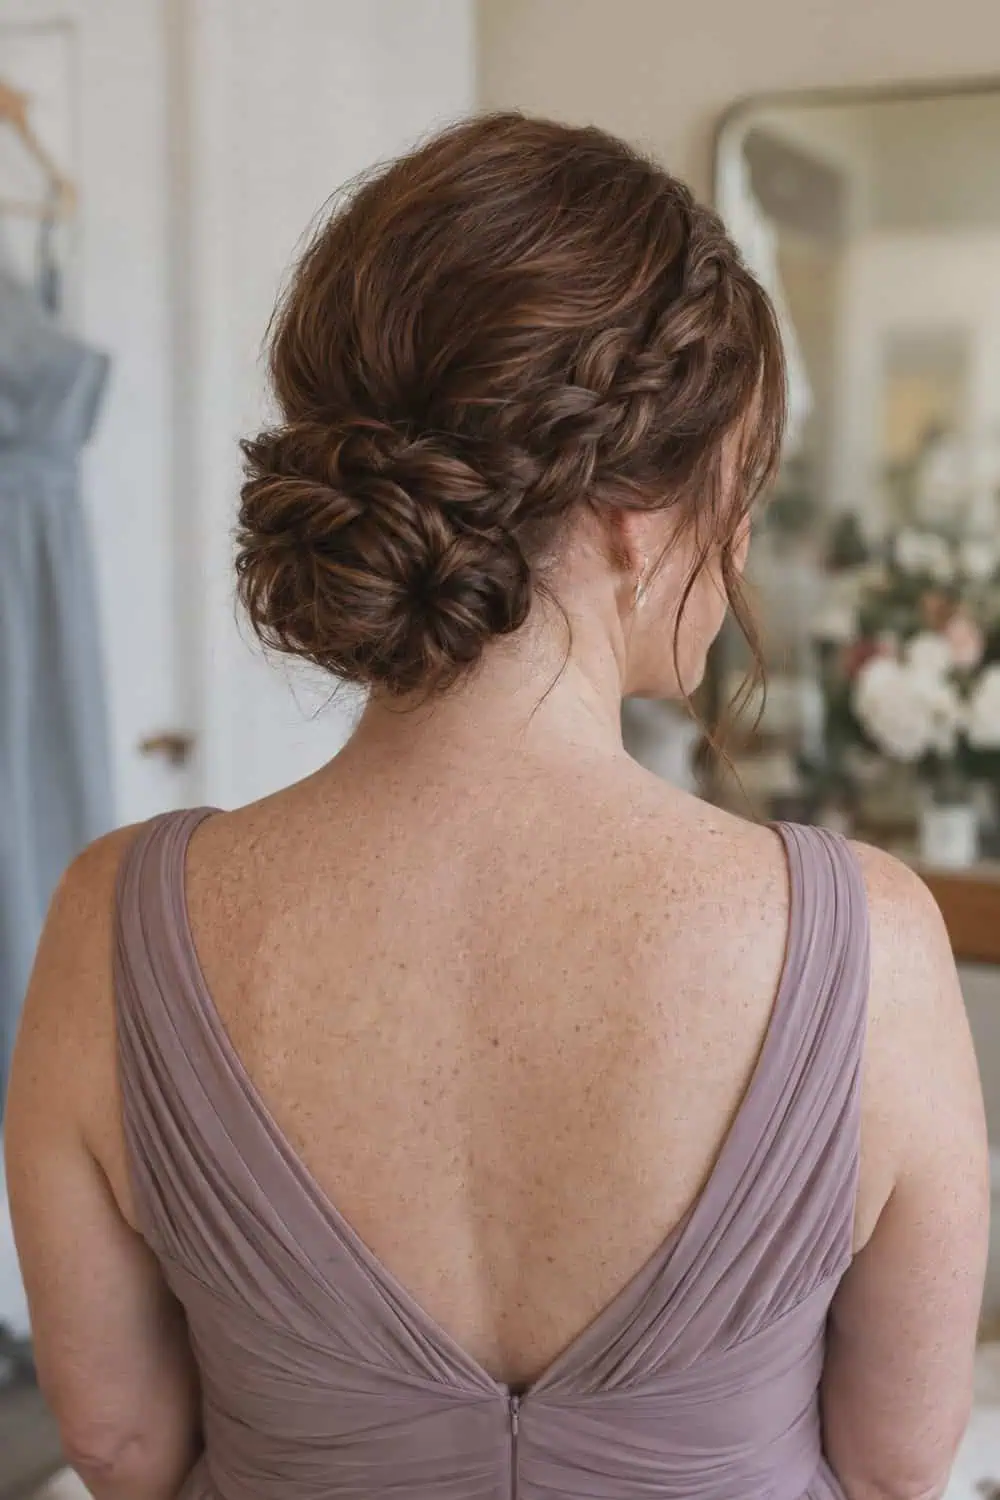
A braided low bun turns long hair into an organized texture. Pin around the braid's outer edge so the coil doesn't sag.
4. Rounded High Bun
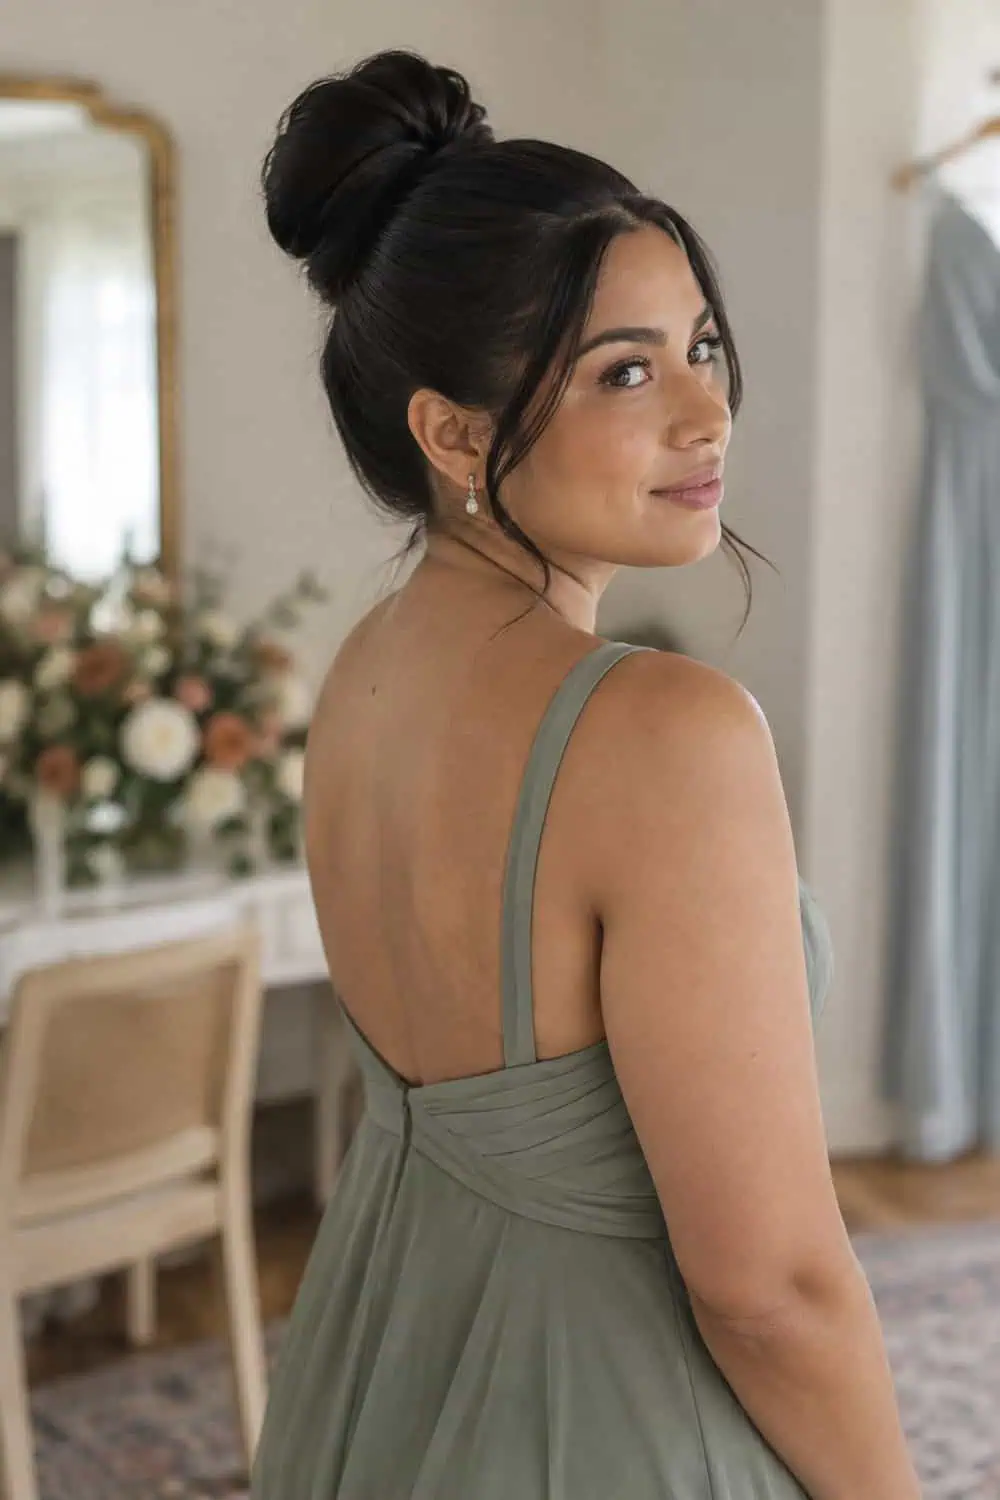
A rounded high bun adds height and clears the back of the dress. Keep the base comfortable and balance the bun directly over it.
5. Twisted Nape Bun
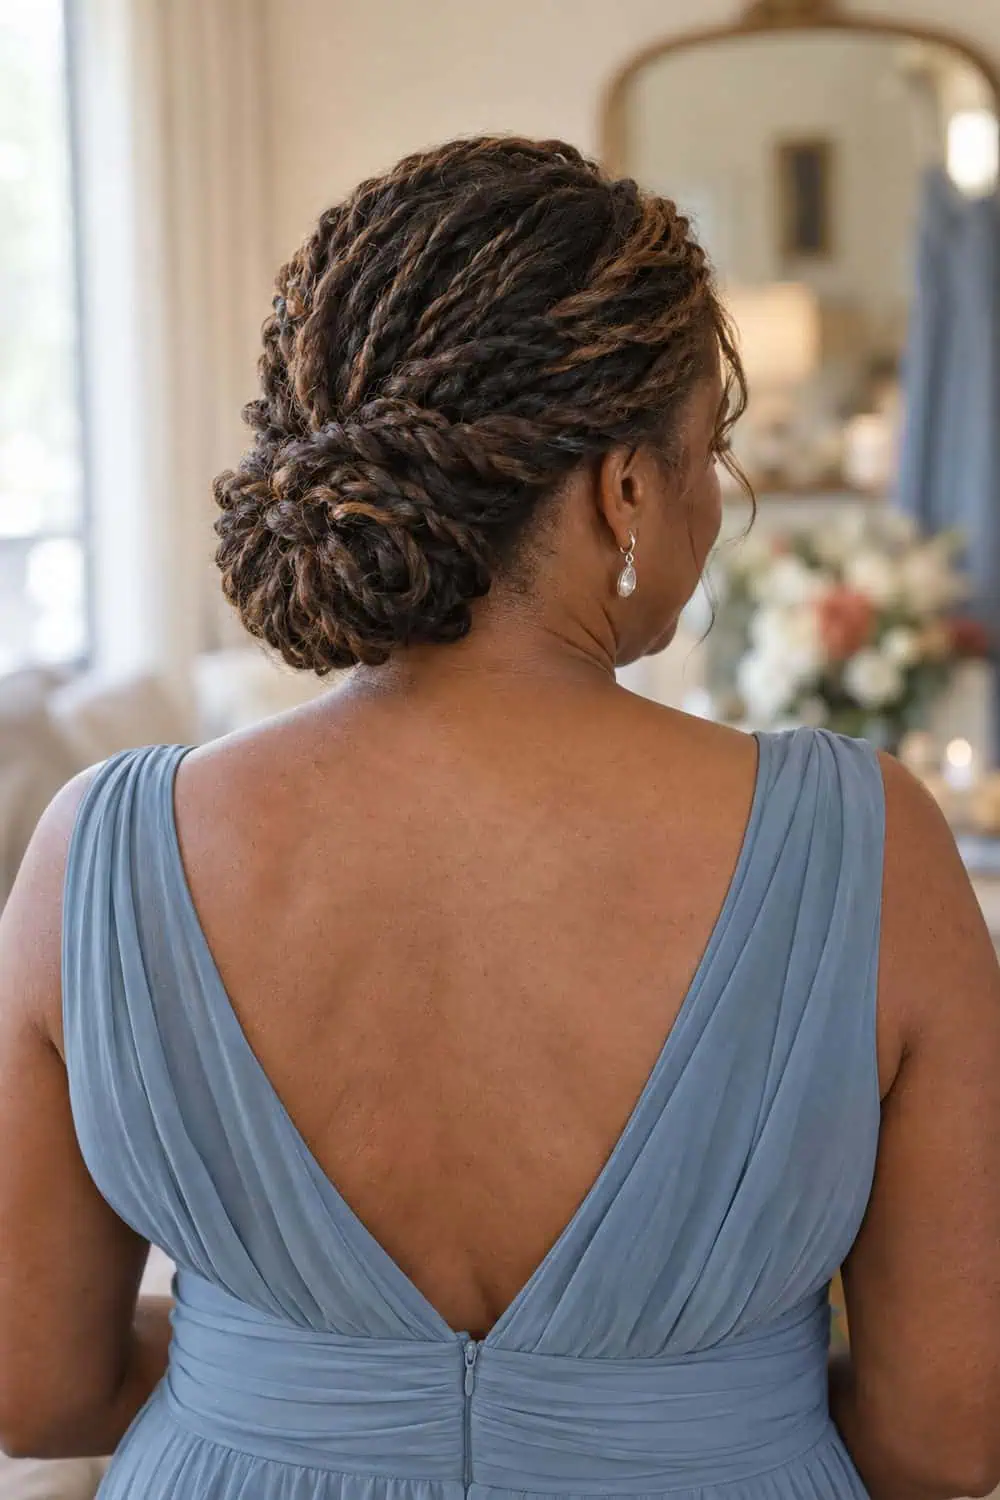
Several twists give a nape bun movement without loose ends. Build the center first and pin the side twists over it.
6. Curly Top Bun
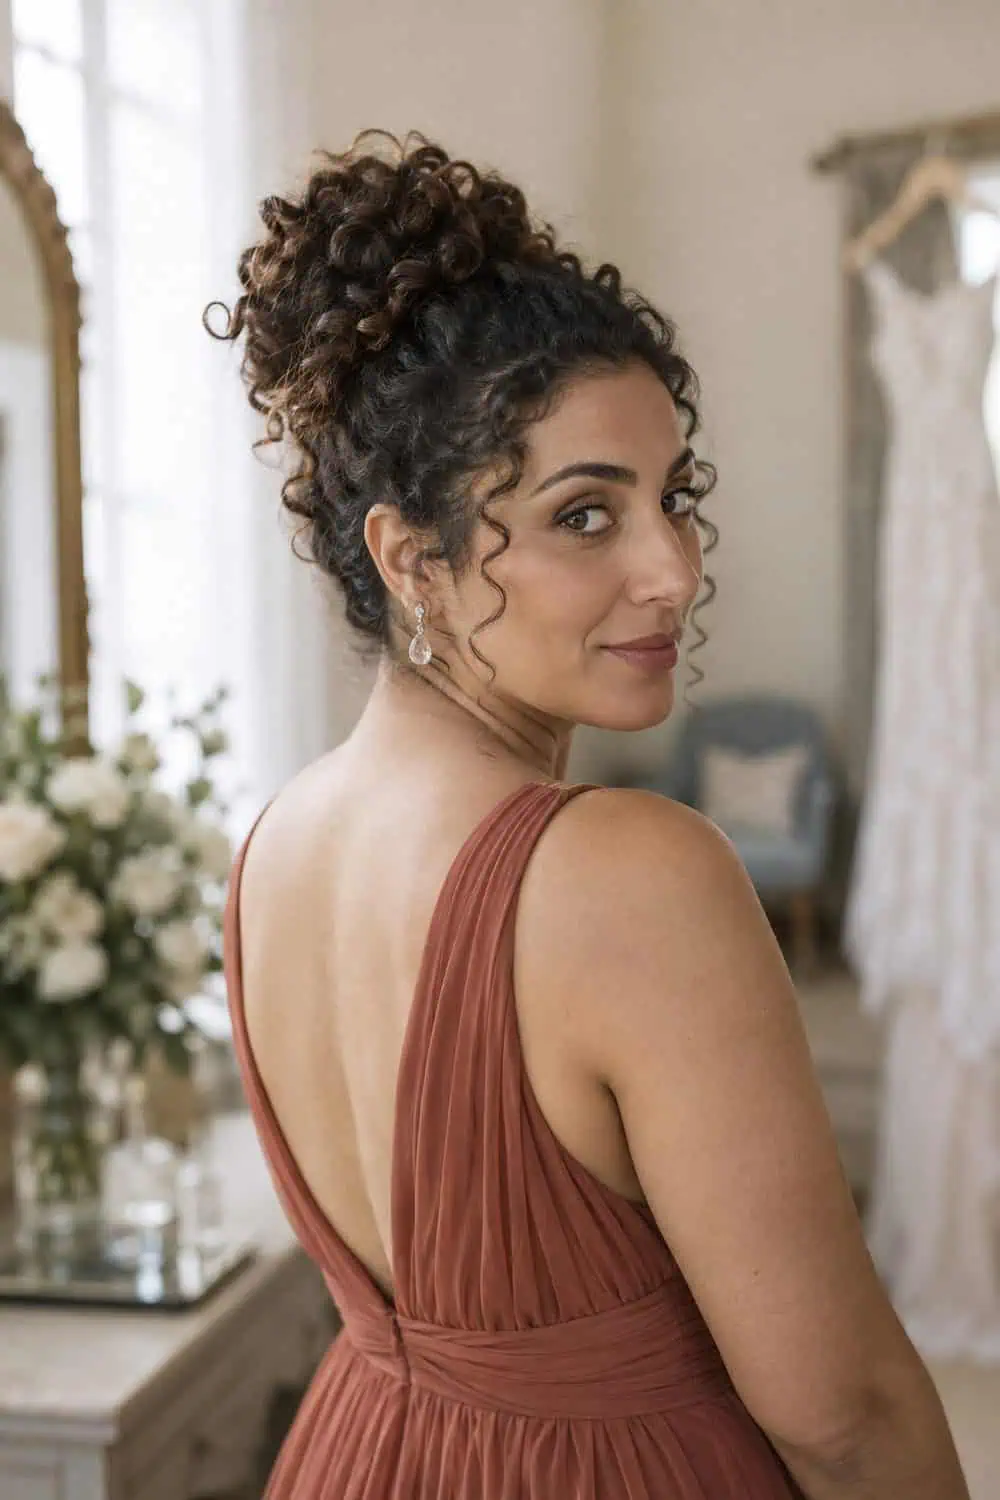
A curly top bun keeps texture visible while lifting it from the neck. Shape the outer curls individually instead of brushing them flat.
7. Sleek Low Knot
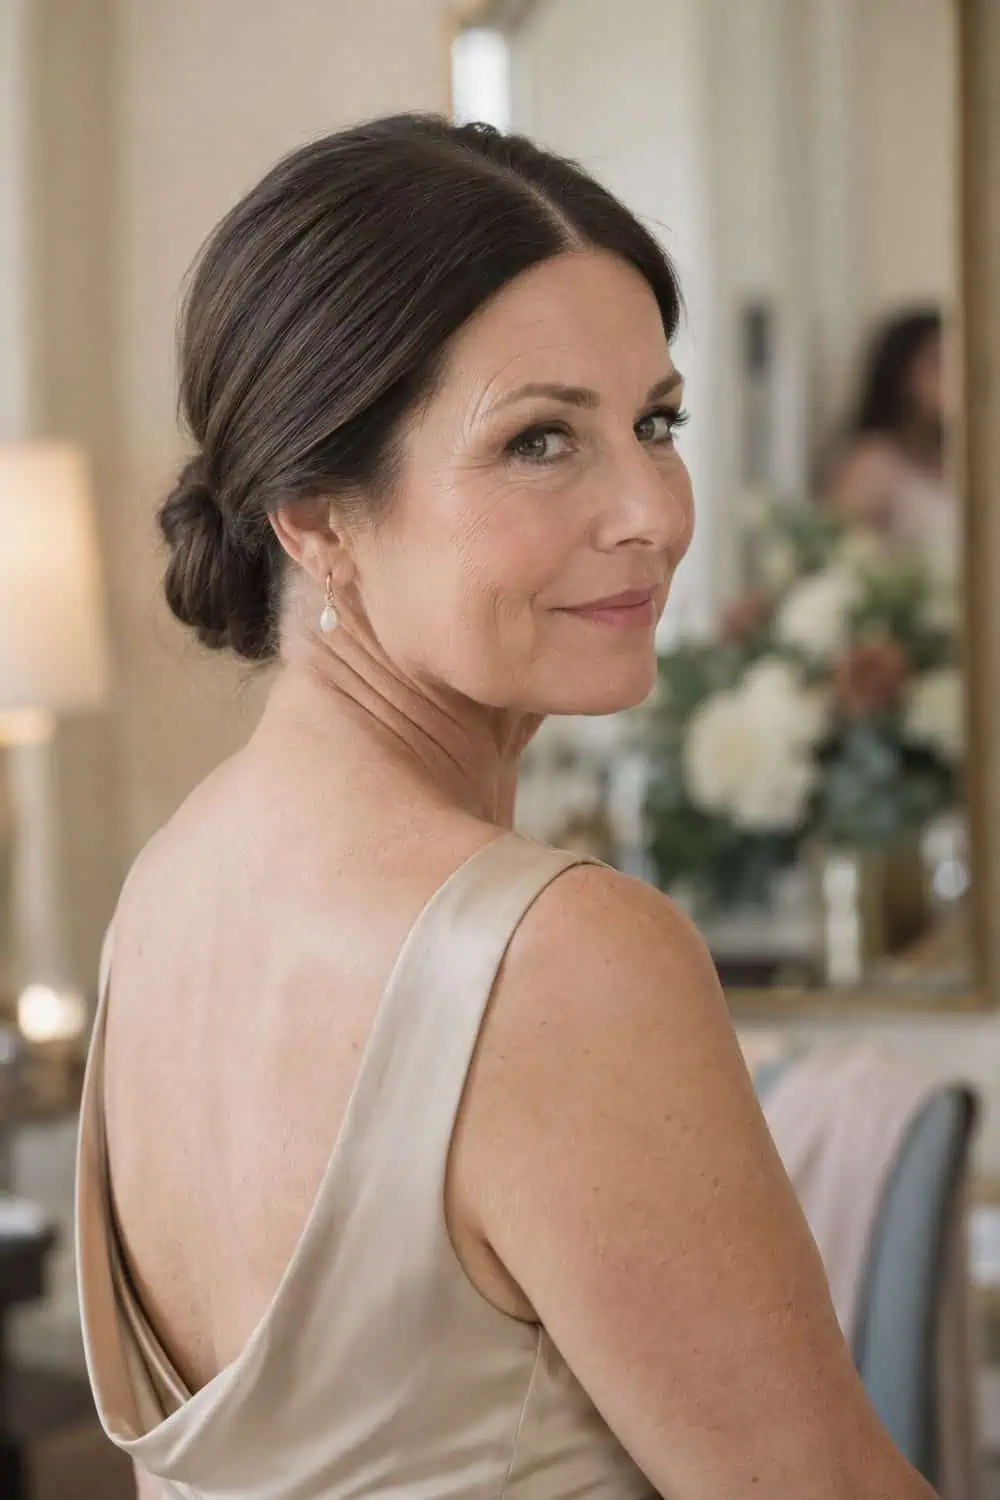
A sleek low knot suits a simple dress and keeps the outline restrained. Smooth in small sections before tying so you don't overwork the surface.
8. Offset Side Chignon
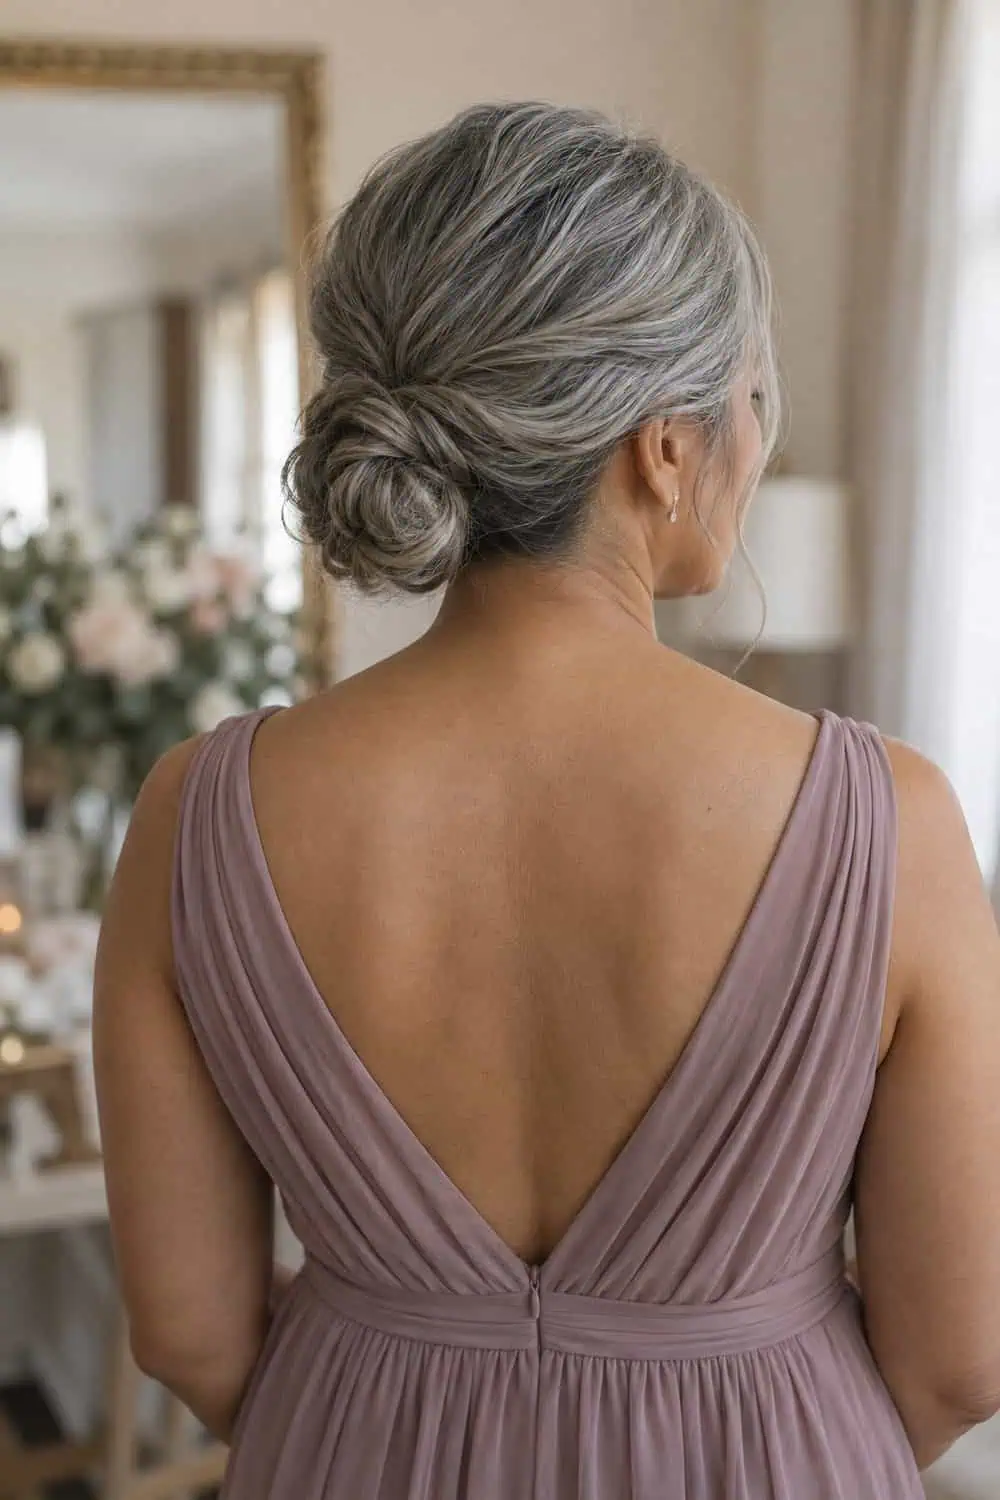
An offset chignon changes the silhouette without increasing the size. Check which side will face the aisle before choosing the placement.
9. Rope-Braid Bun
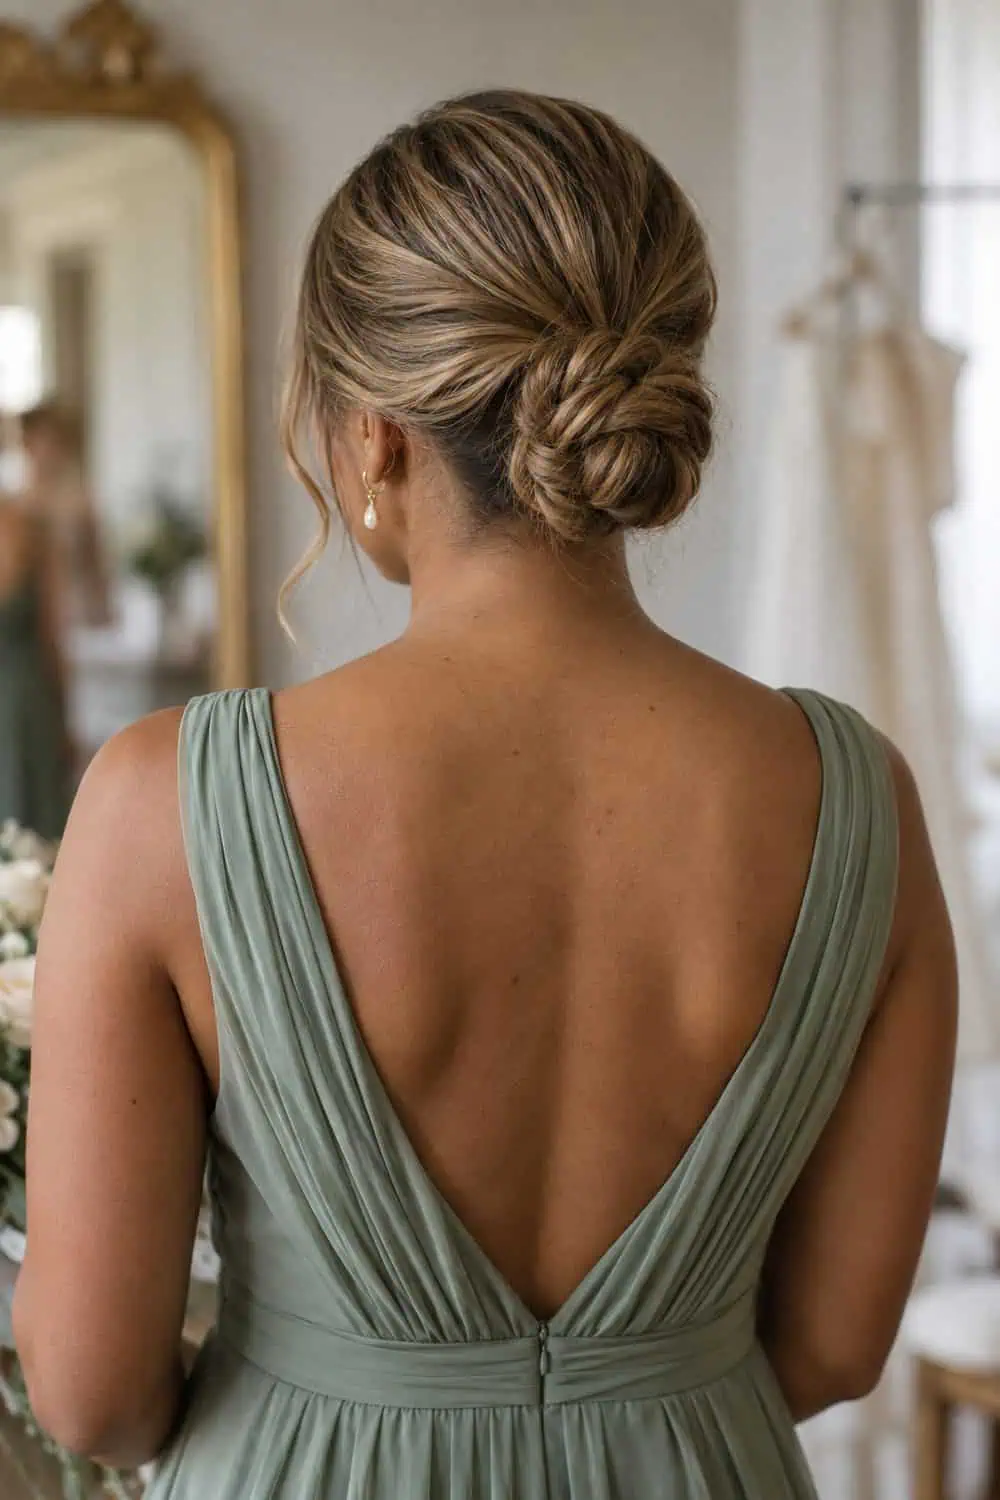
A rope braid creates a clean spiral once it is coiled. Tie the braid end before pinning so the twist stays intact.
10. Low Loc Bun
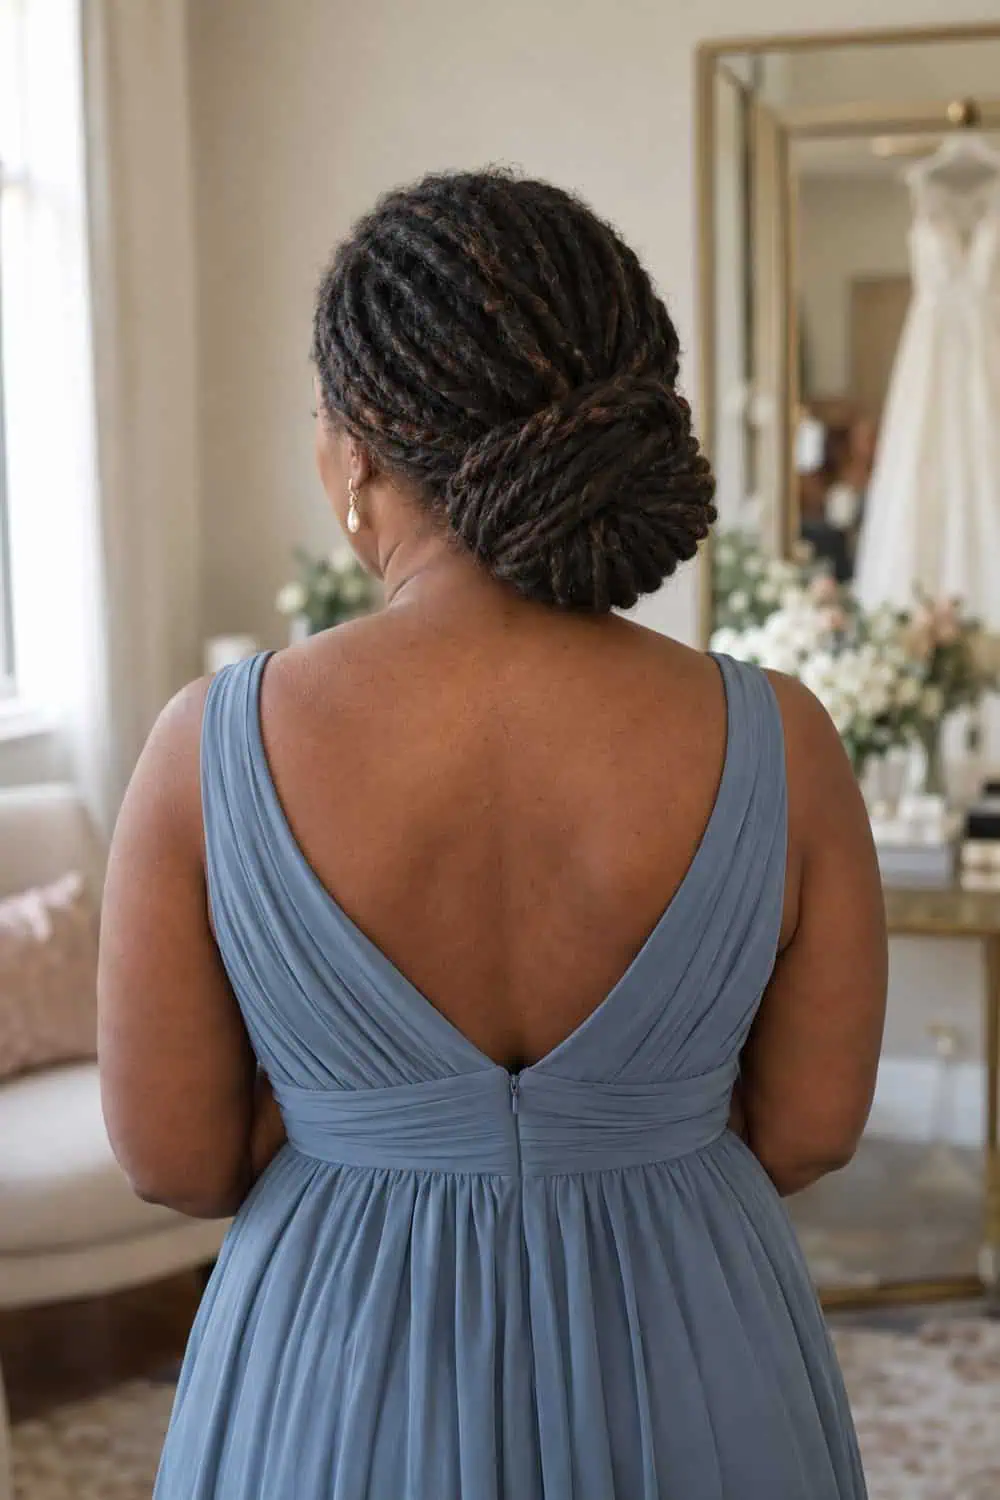
A broad low loc bun spreads the weight and gives a clear shape. Use several anchor points so no single pin carries the full style.
11. Crown Braid Updo
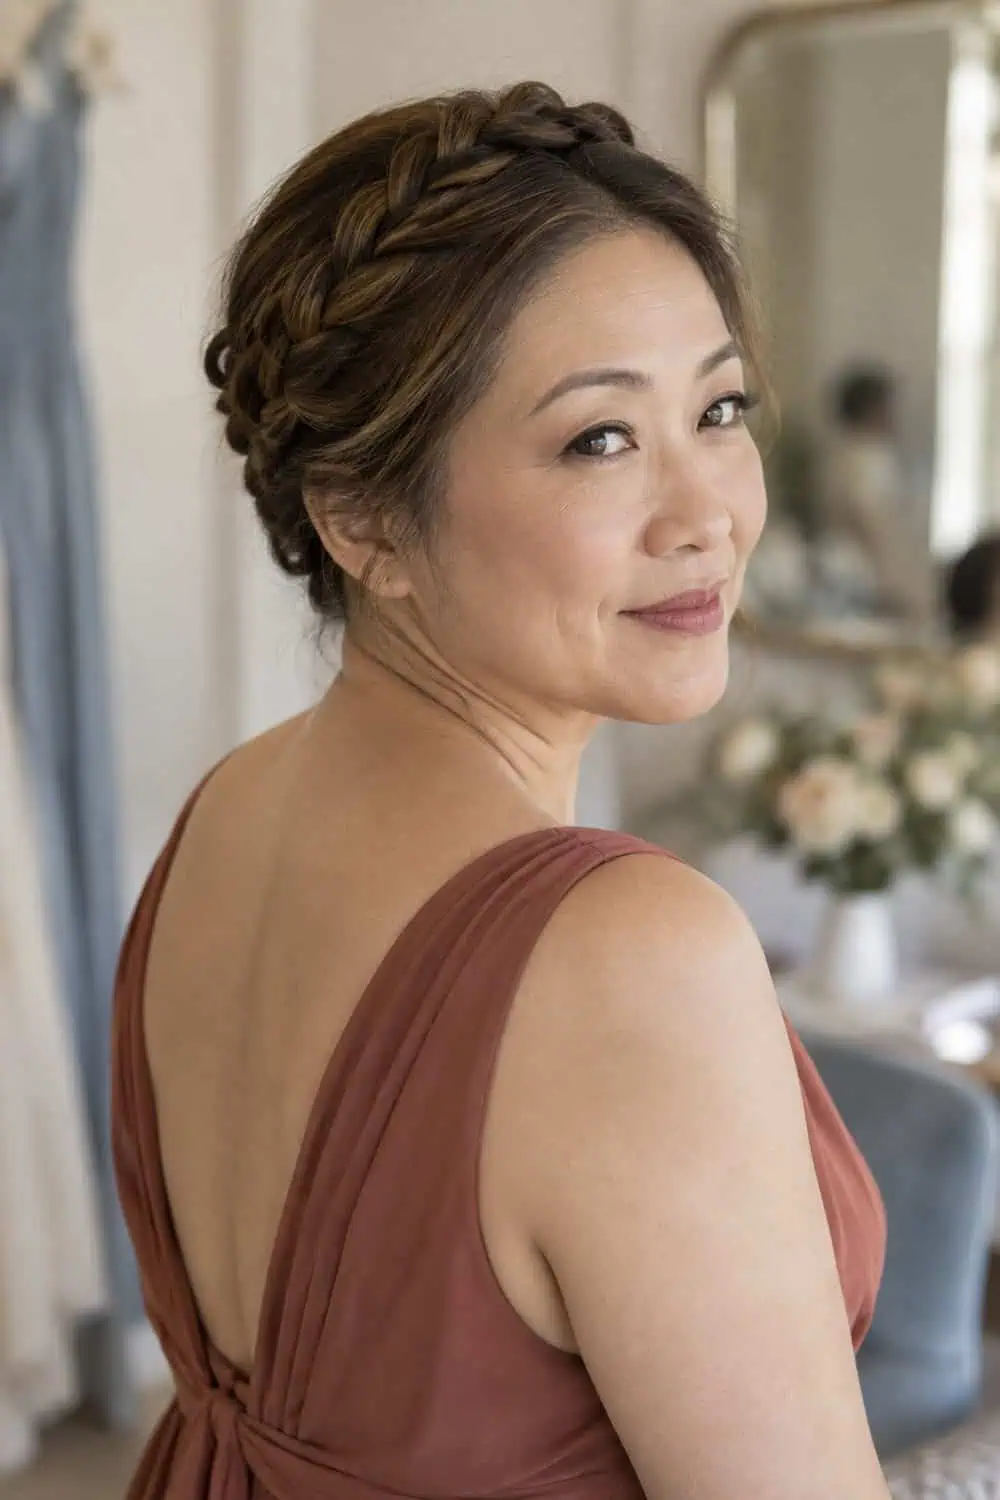
A crown braid keeps every length contained and reads from all sides. Keep the braid close to the head so it doesn't compete with the bridal hairstyle.
12. Tucked Rolled Updo
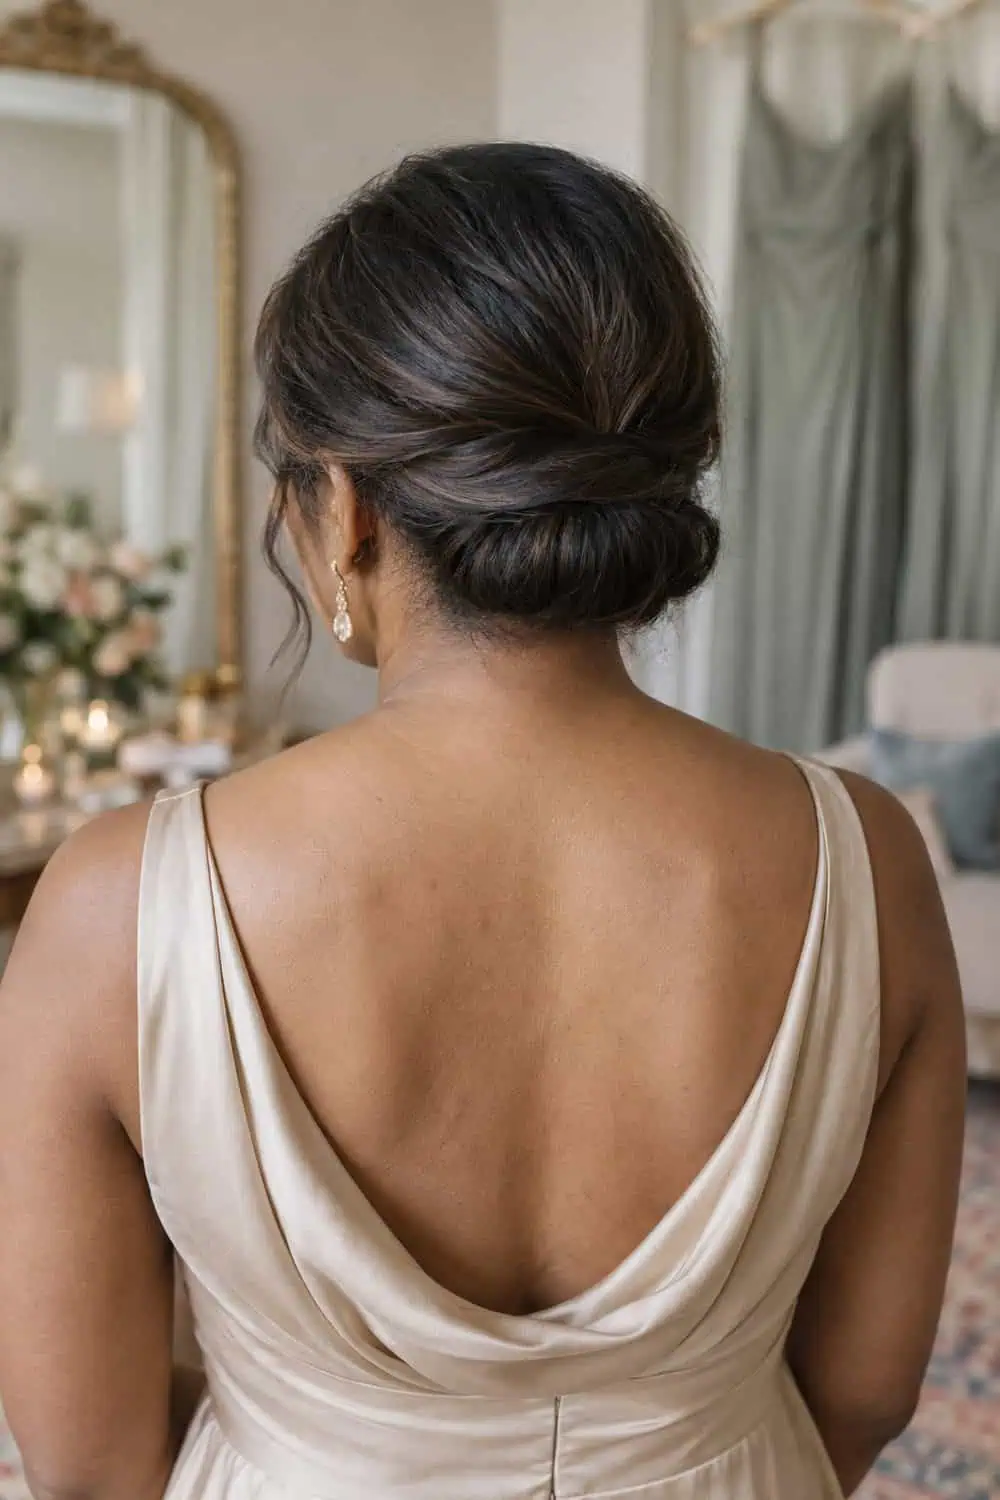
A horizontal rolled updo works with shoulder-length hair that cannot form a large bun. Pin each side toward the center before tucking the ends.
Free Wedding Planning Checklist
Stay organized from engagement to "I do" — get our comprehensive checklist covering every task, deadline, and detail.
13. Ponytail Bun Hybrid
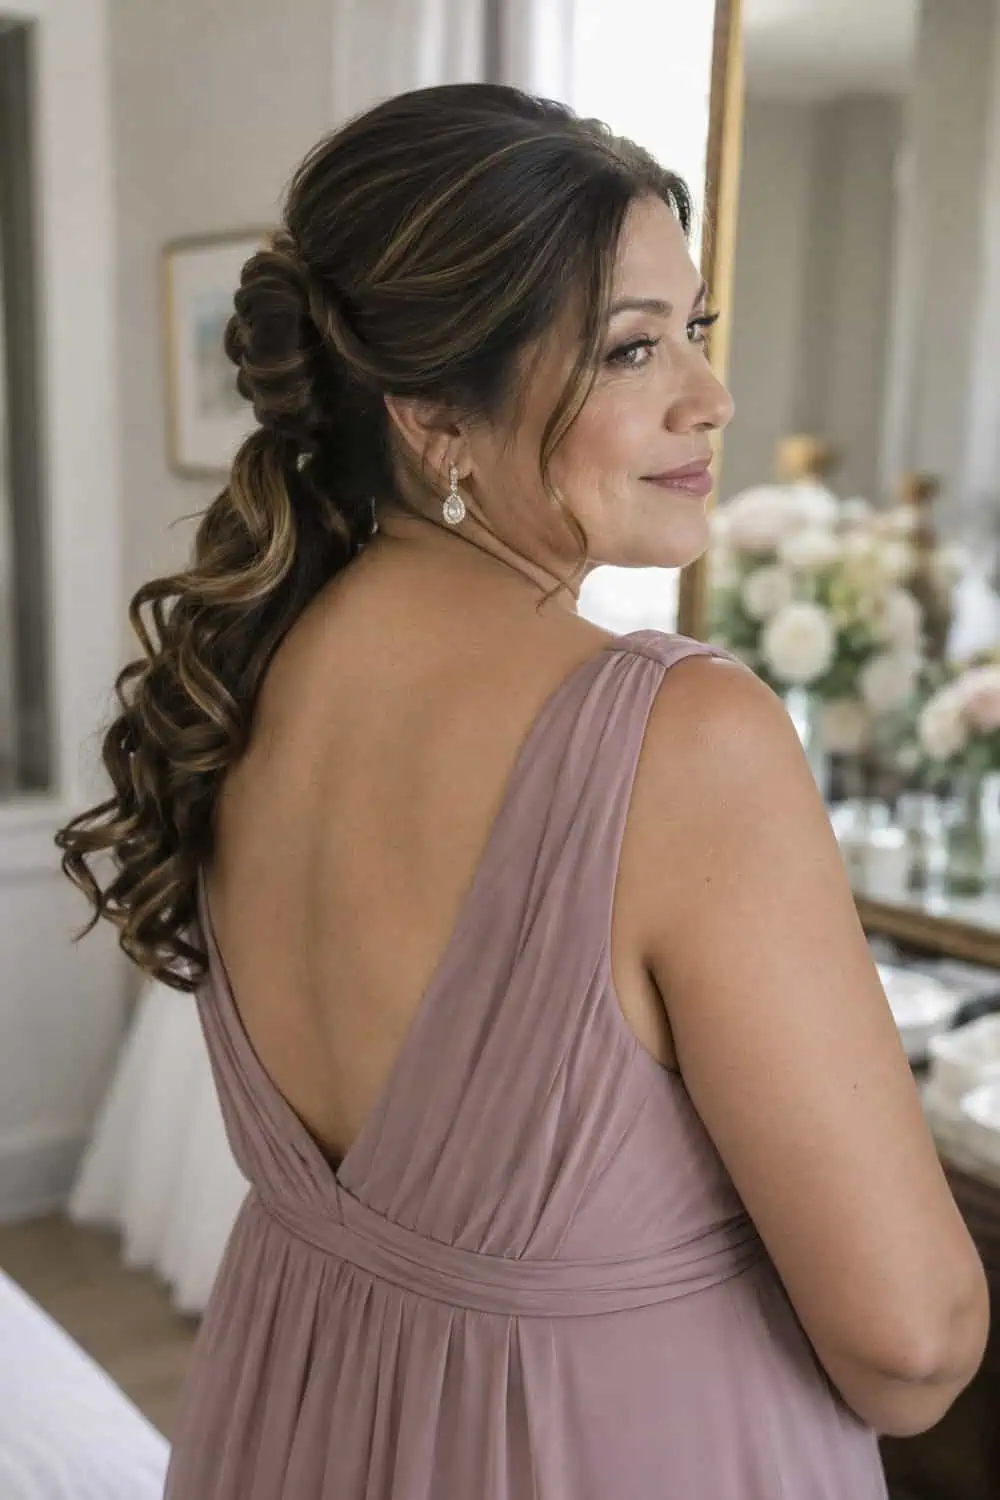
A ponytail-bun hybrid keeps a little movement below a secure base. Limit the loose ends so they don't hide the shape of the bun.
14. Halo Braid Updo
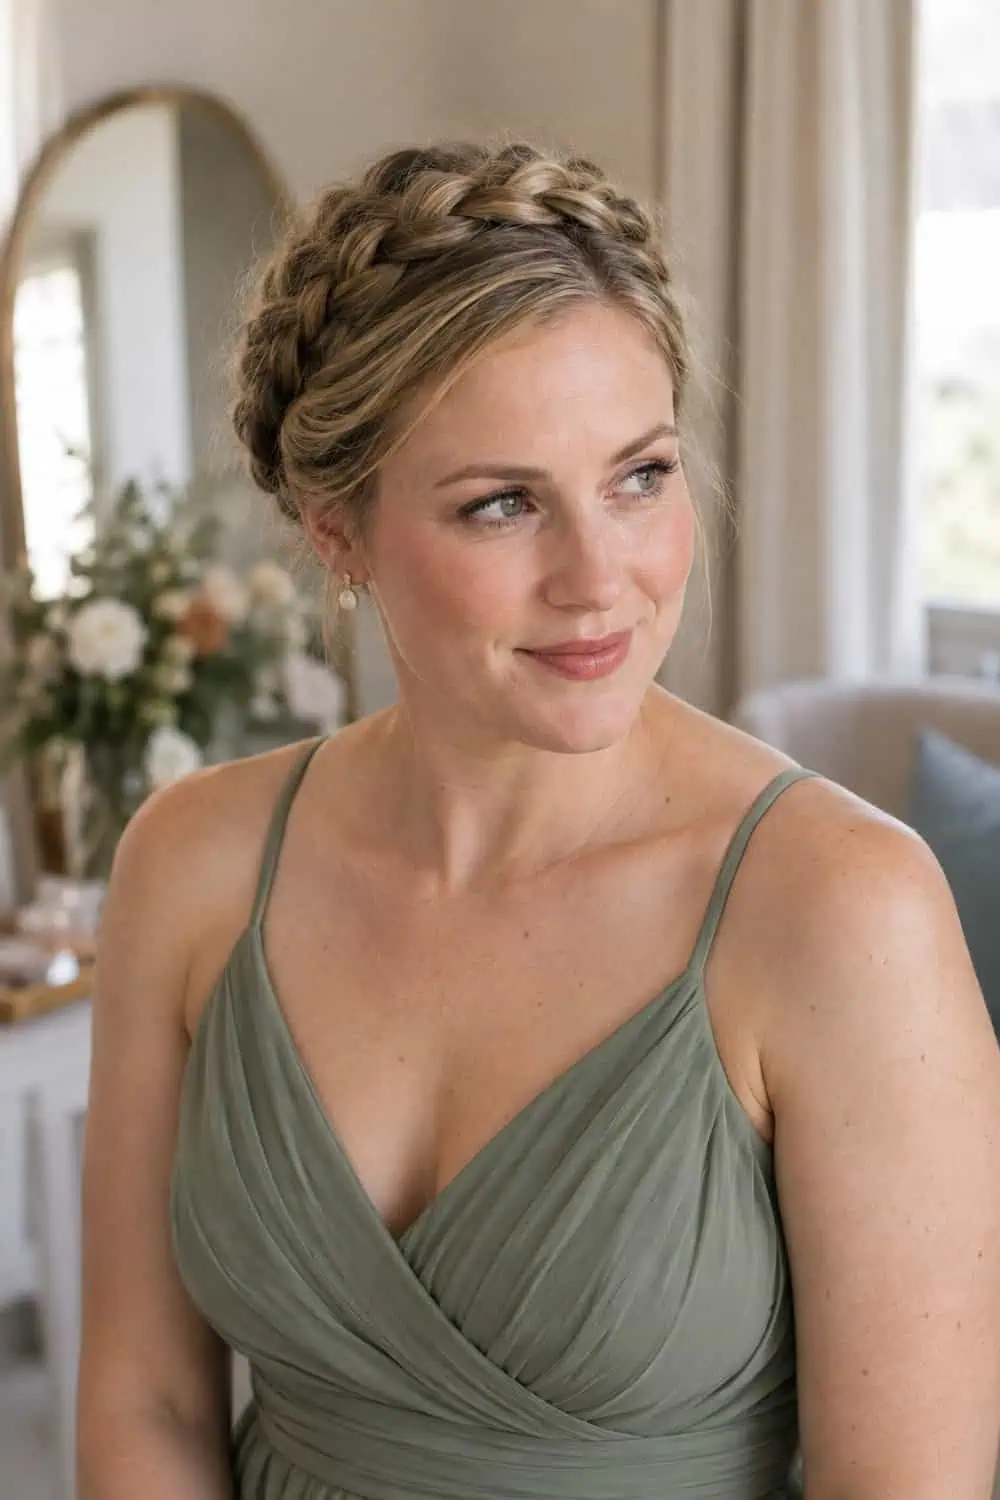
A halo braid frames the head and keeps textured hair fully contained. Set the braid behind the hairline so the front remains comfortable.
15. Coiled Twist Updo
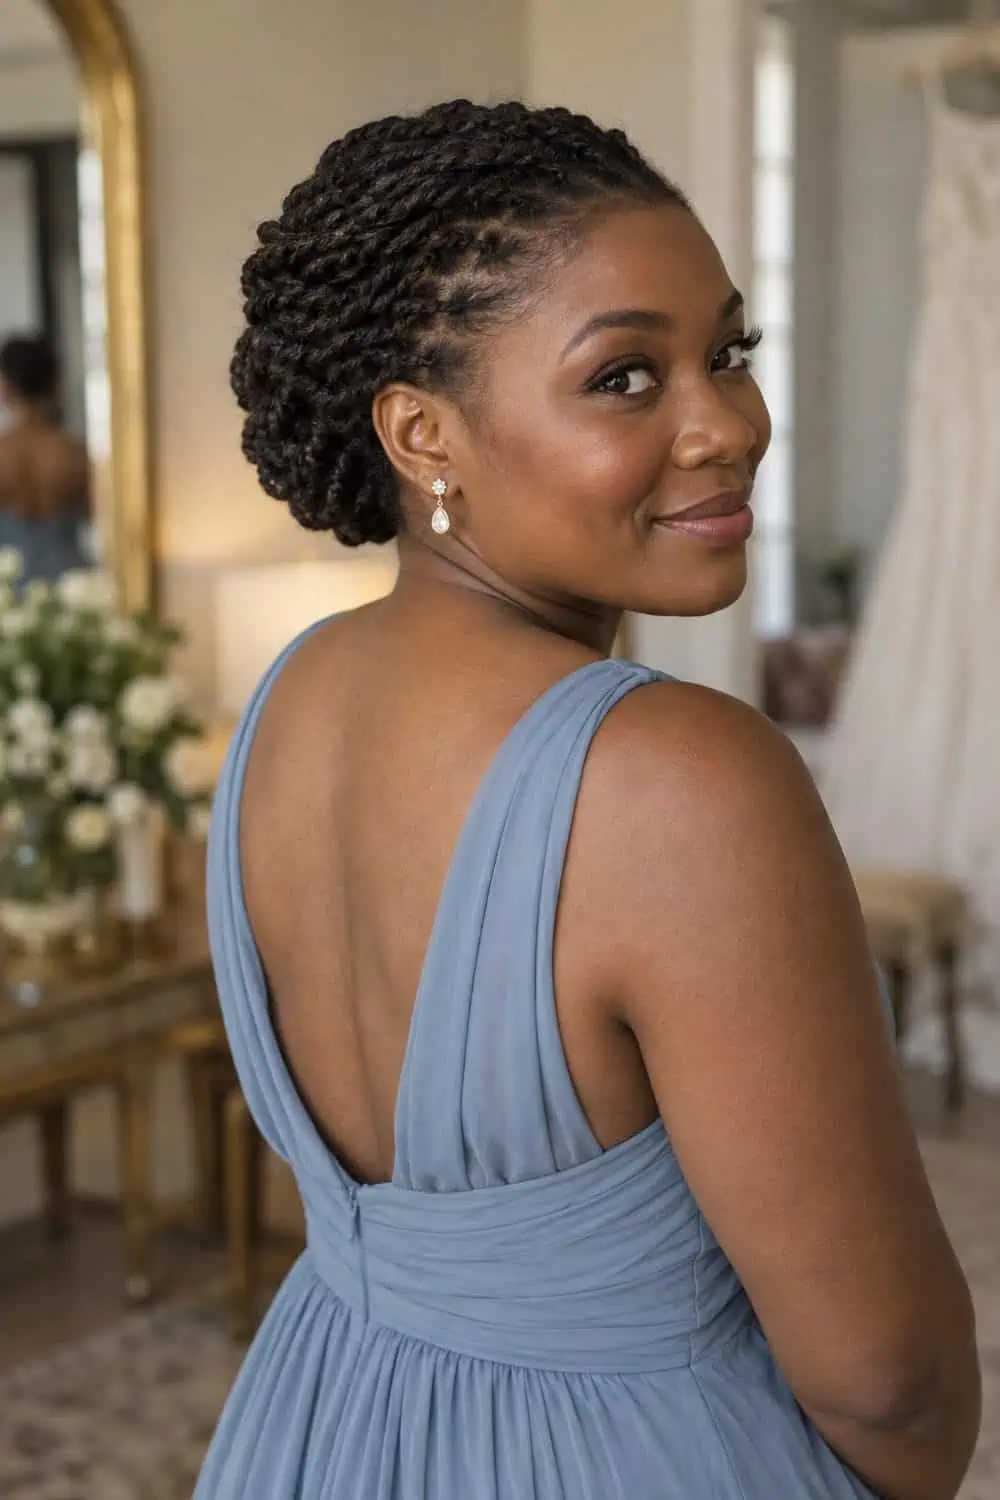
Coiling existing twists creates detail without taking them apart. Tuck the ends toward the center and spread the pins around the base.
16. Braided French Twist
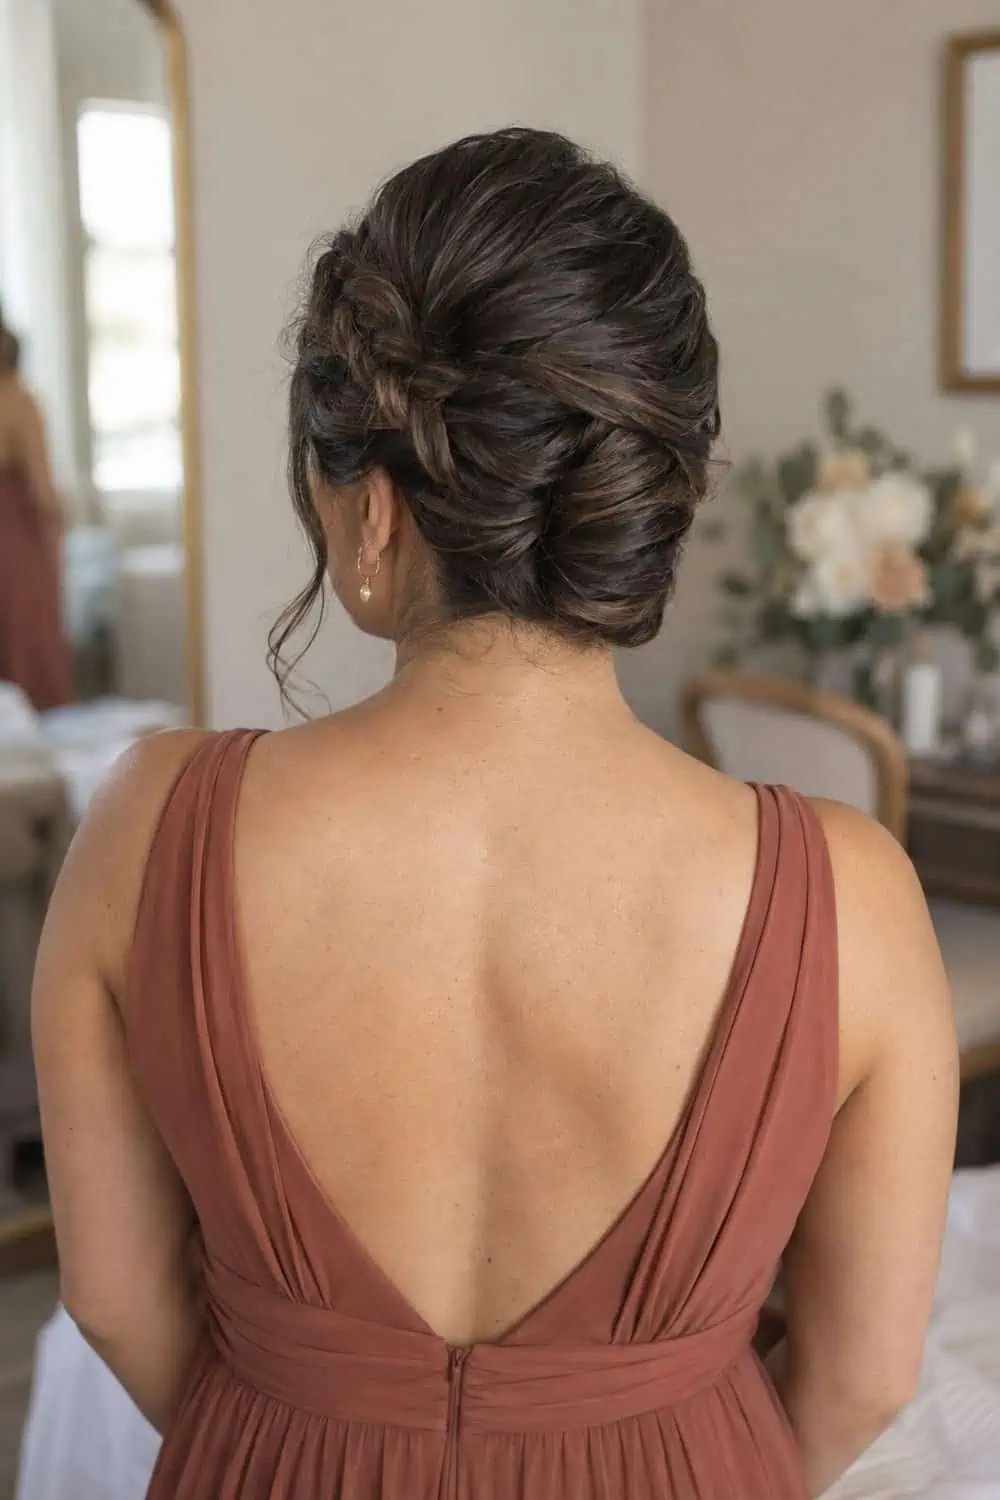
Folding a side braid into a French twist creates texture while keeping the updo narrow. Pin the braid beneath the roll and make sure its end is fully tucked.
17. Low Basket-Weave Bun
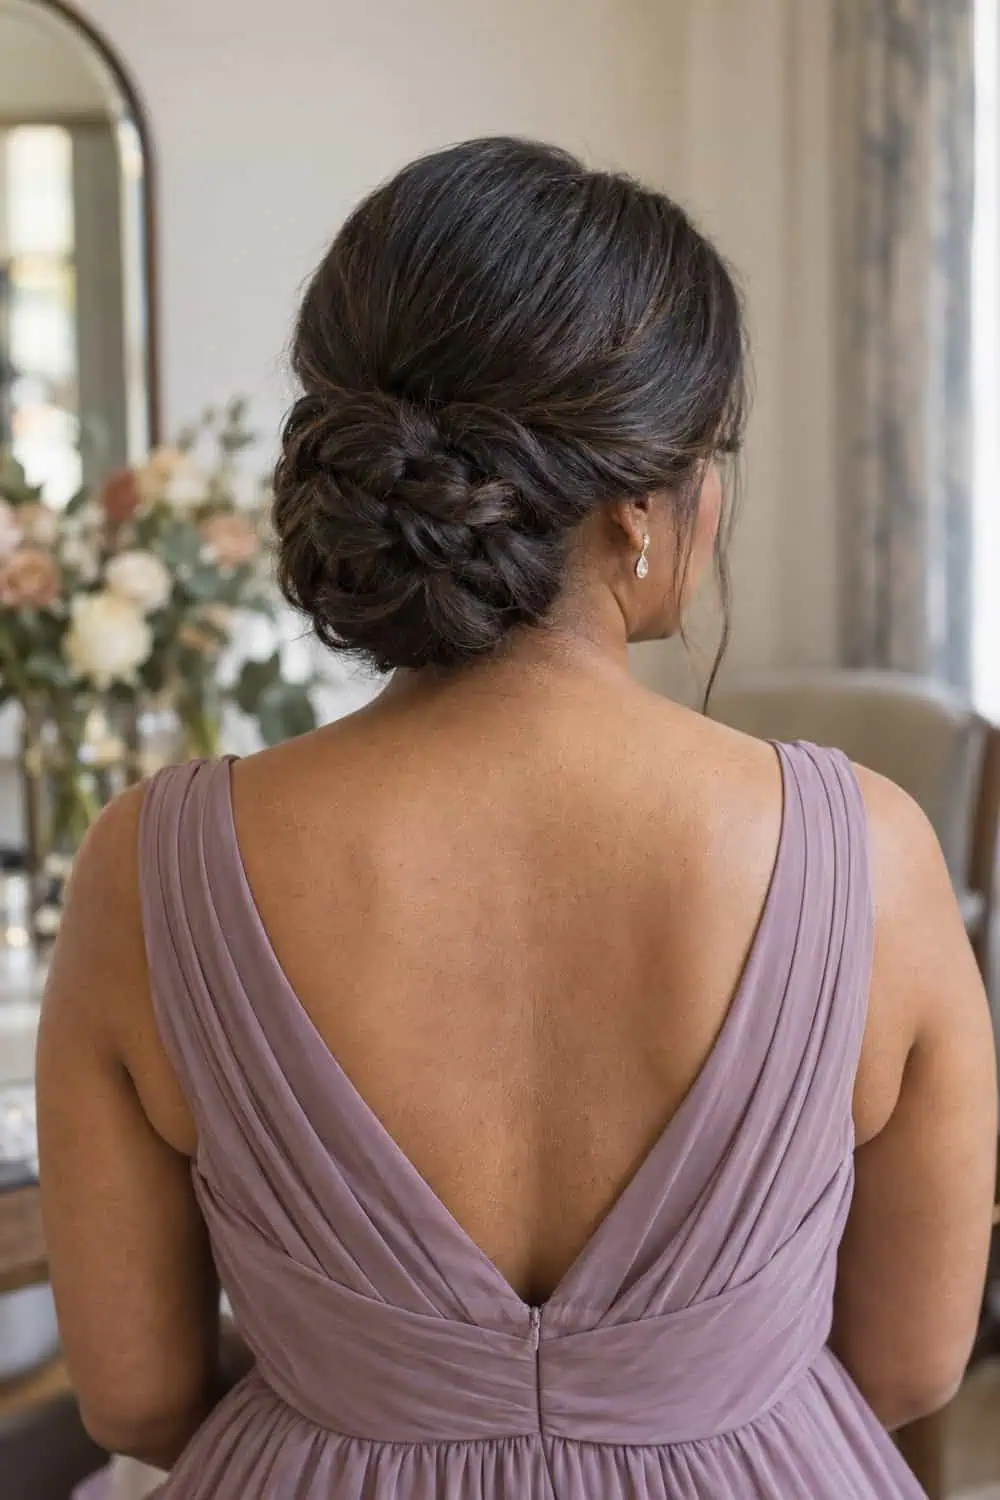
A basket-weave bun spreads long hair into a stable low shape with visible structure. Build it from separate anchored sections so one loose pin cannot release the whole bun.
18. High Twisted Knot
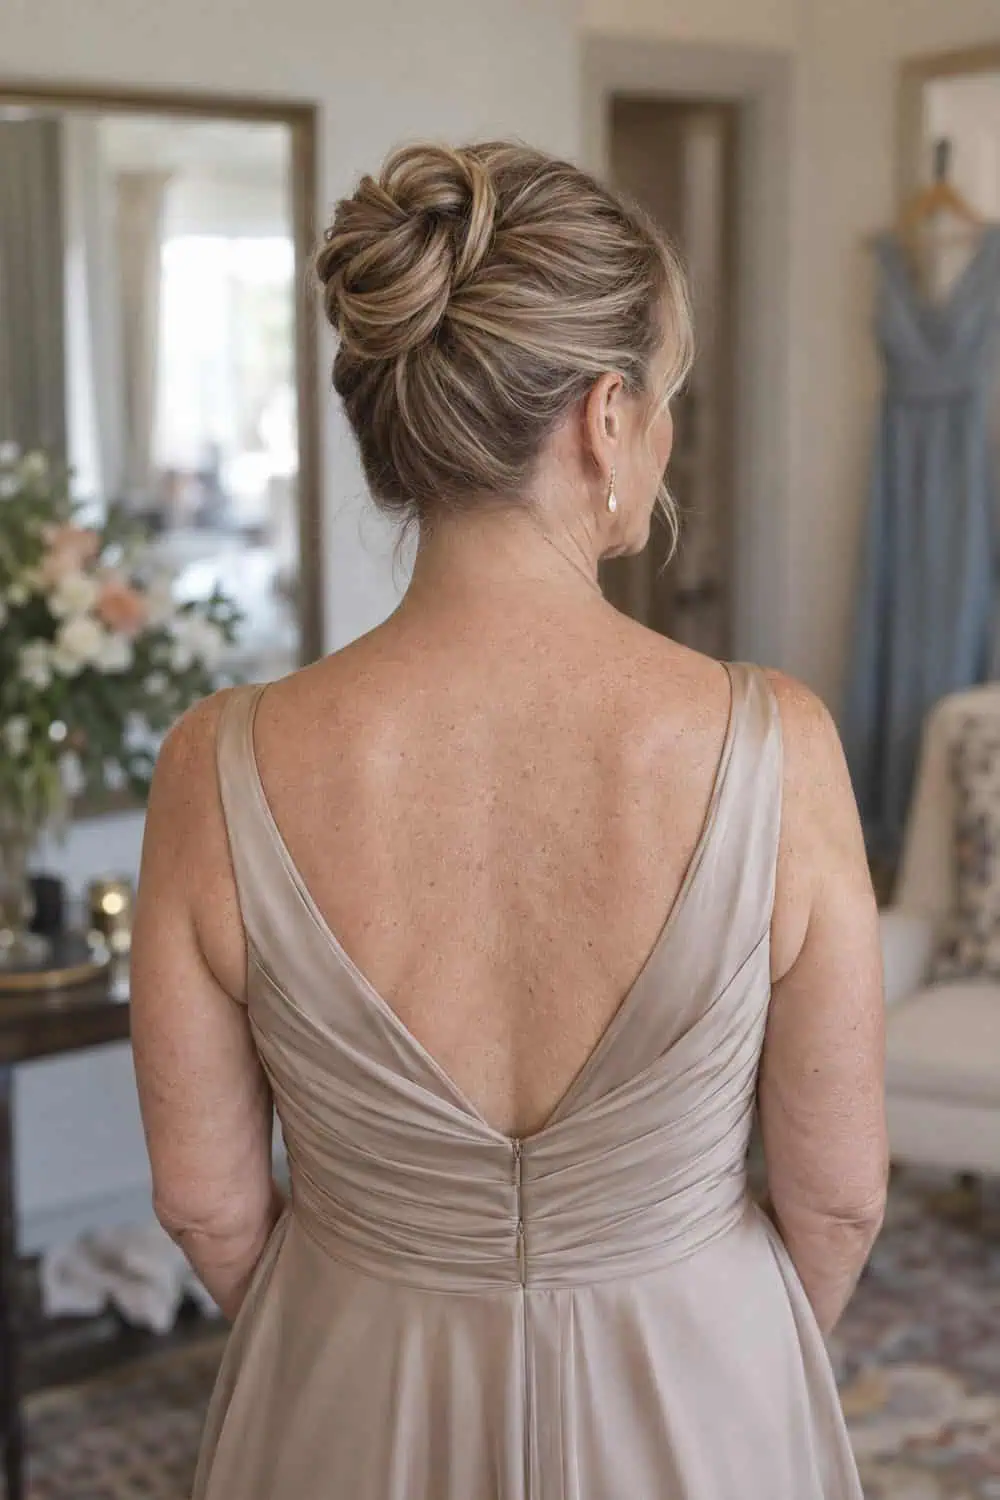
A compact high knot keeps hair clear of higher necklines and gives the group a clean profile. Cross two long pins through the center and avoid placing the knot directly on the crown.
19. Asymmetric Rolled Updo
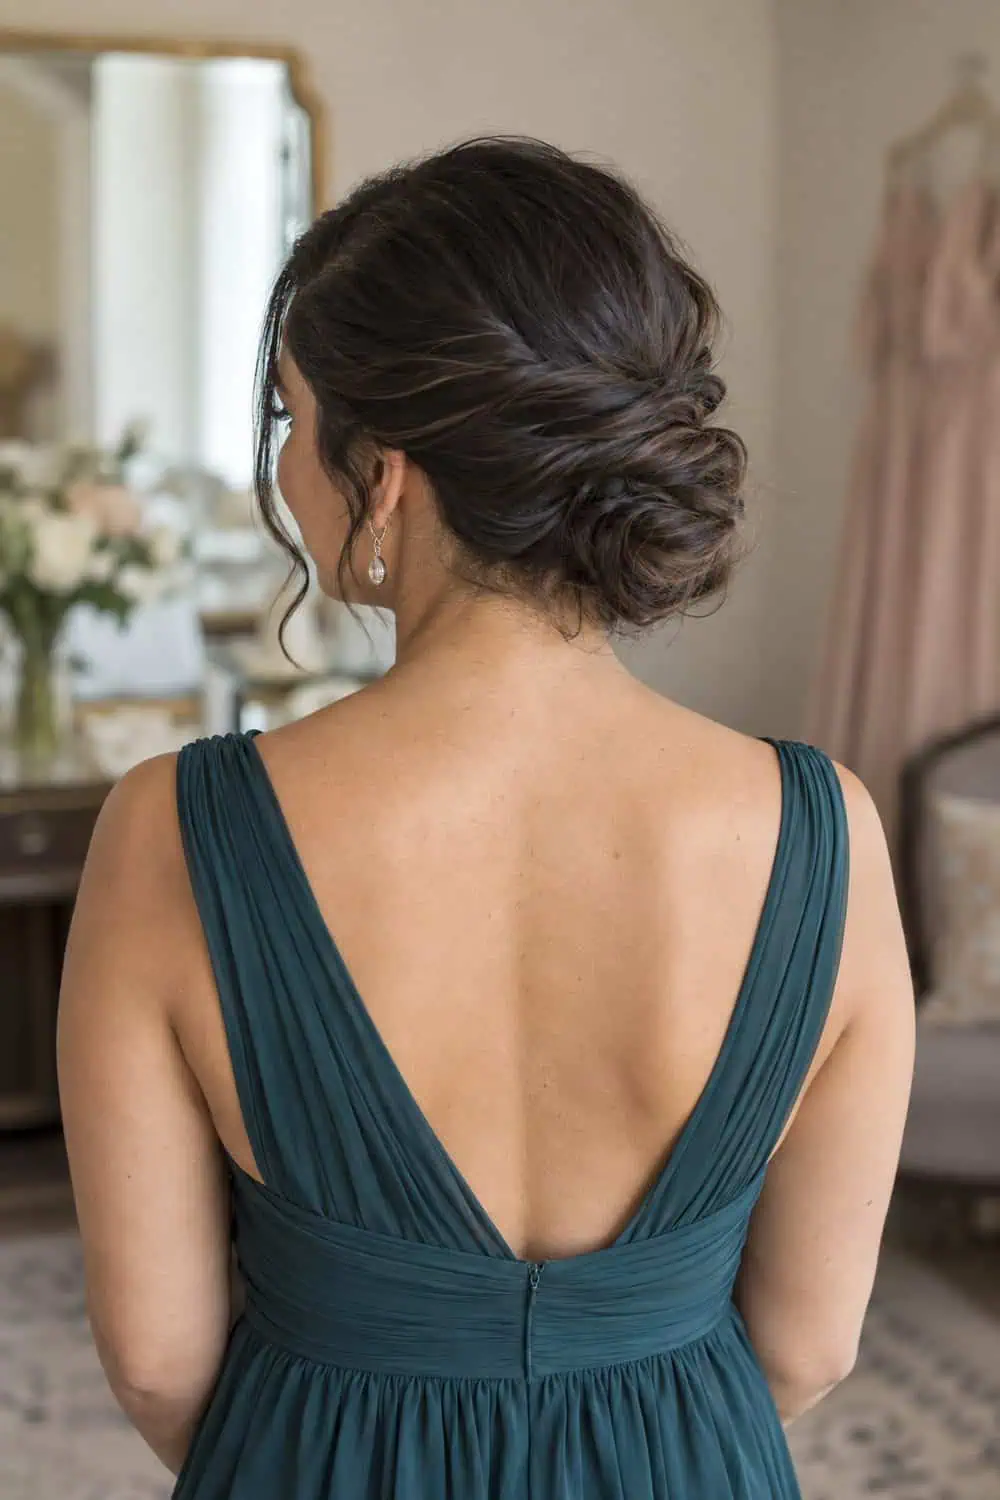
A diagonal roll gives shoulder-length hair an asymmetric updo without requiring a large bun. Start on the fuller side and pin along the seam as the roll travels downward.
20. Braided Mohawk Updo
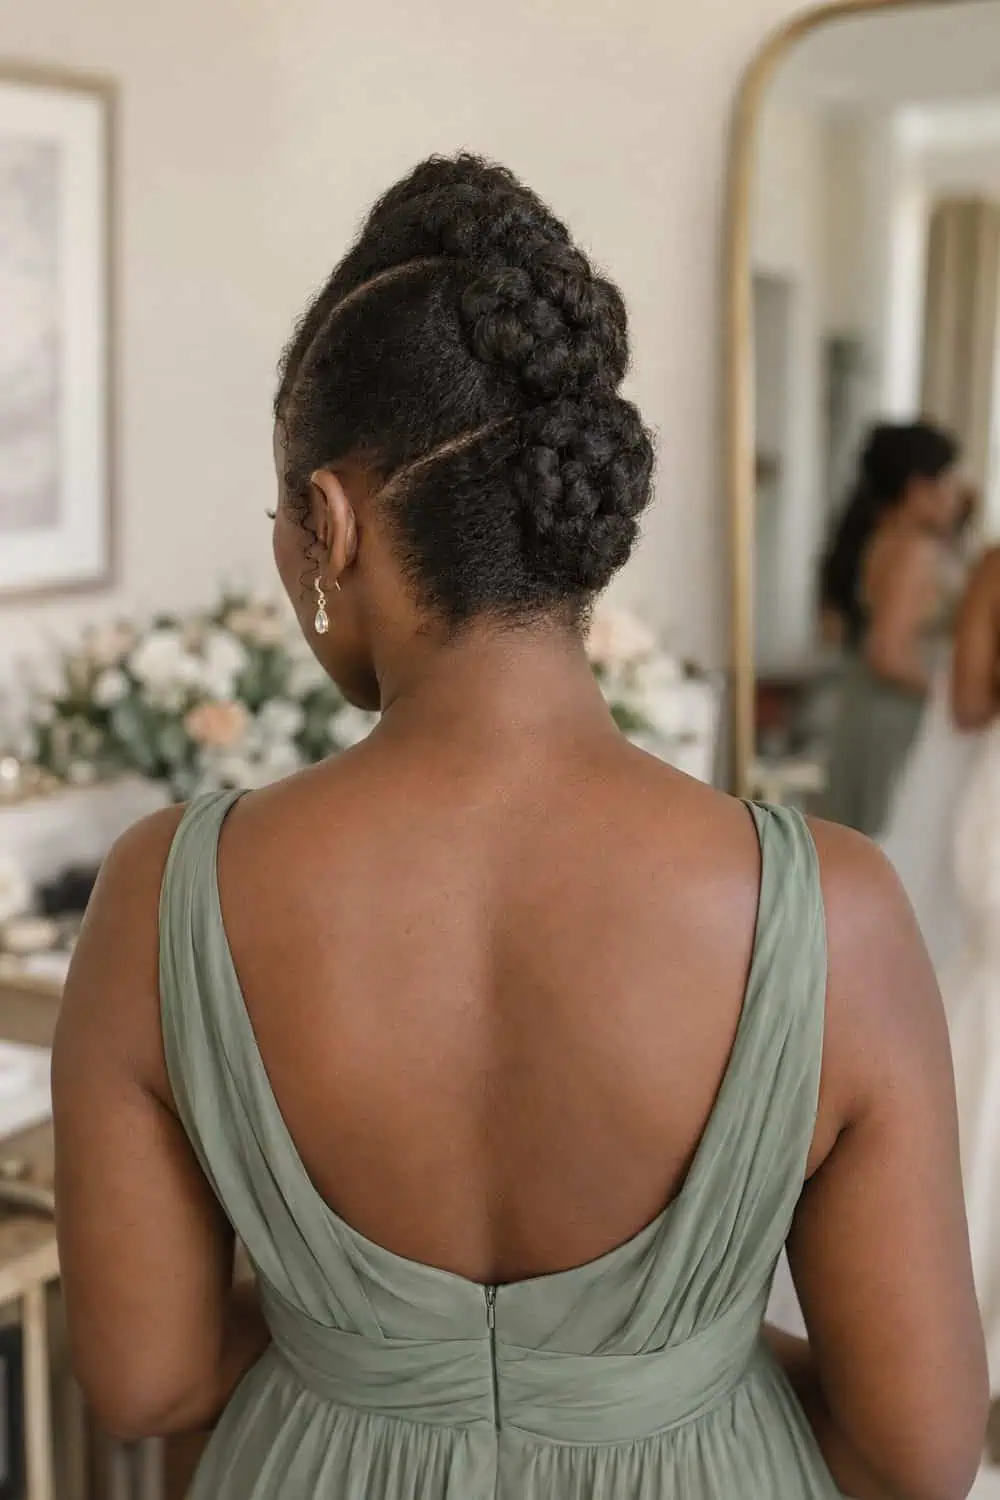
Connected braided sections create height while keeping textured hair securely centered. Keep the profile rounded and tuck every braid end between the sections.
21. Crisscross Nape Updo
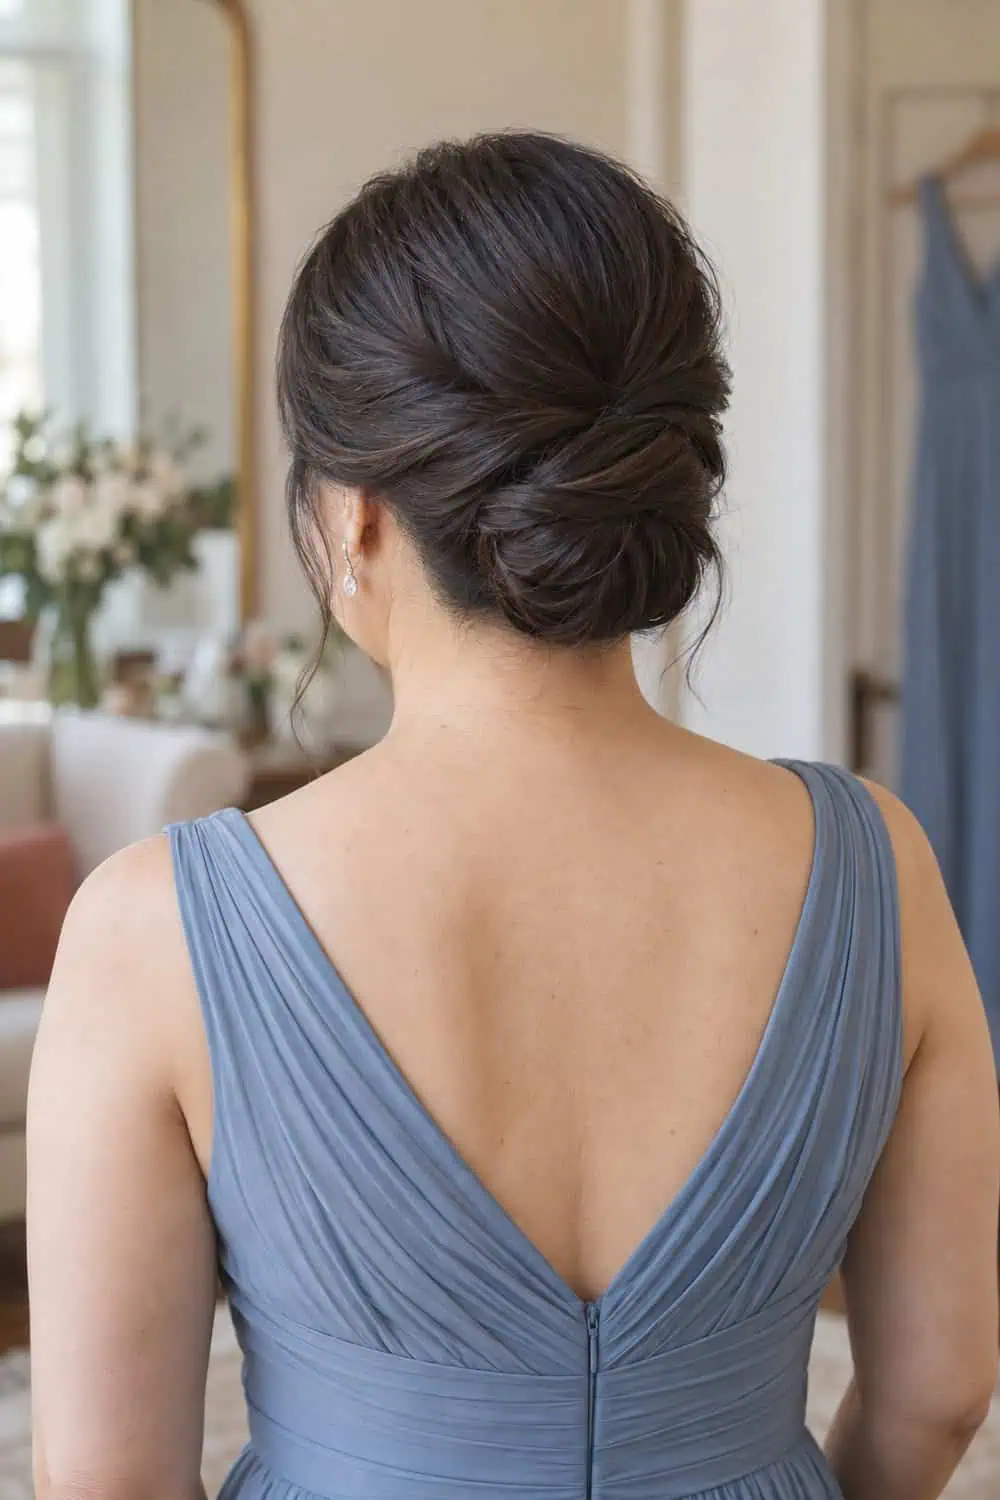
Crisscross sections add a graphic back detail to a low rolled updo. Pin each crossing before forming the roll so the top structure does not shift.
22. Curly Gibson Tuck
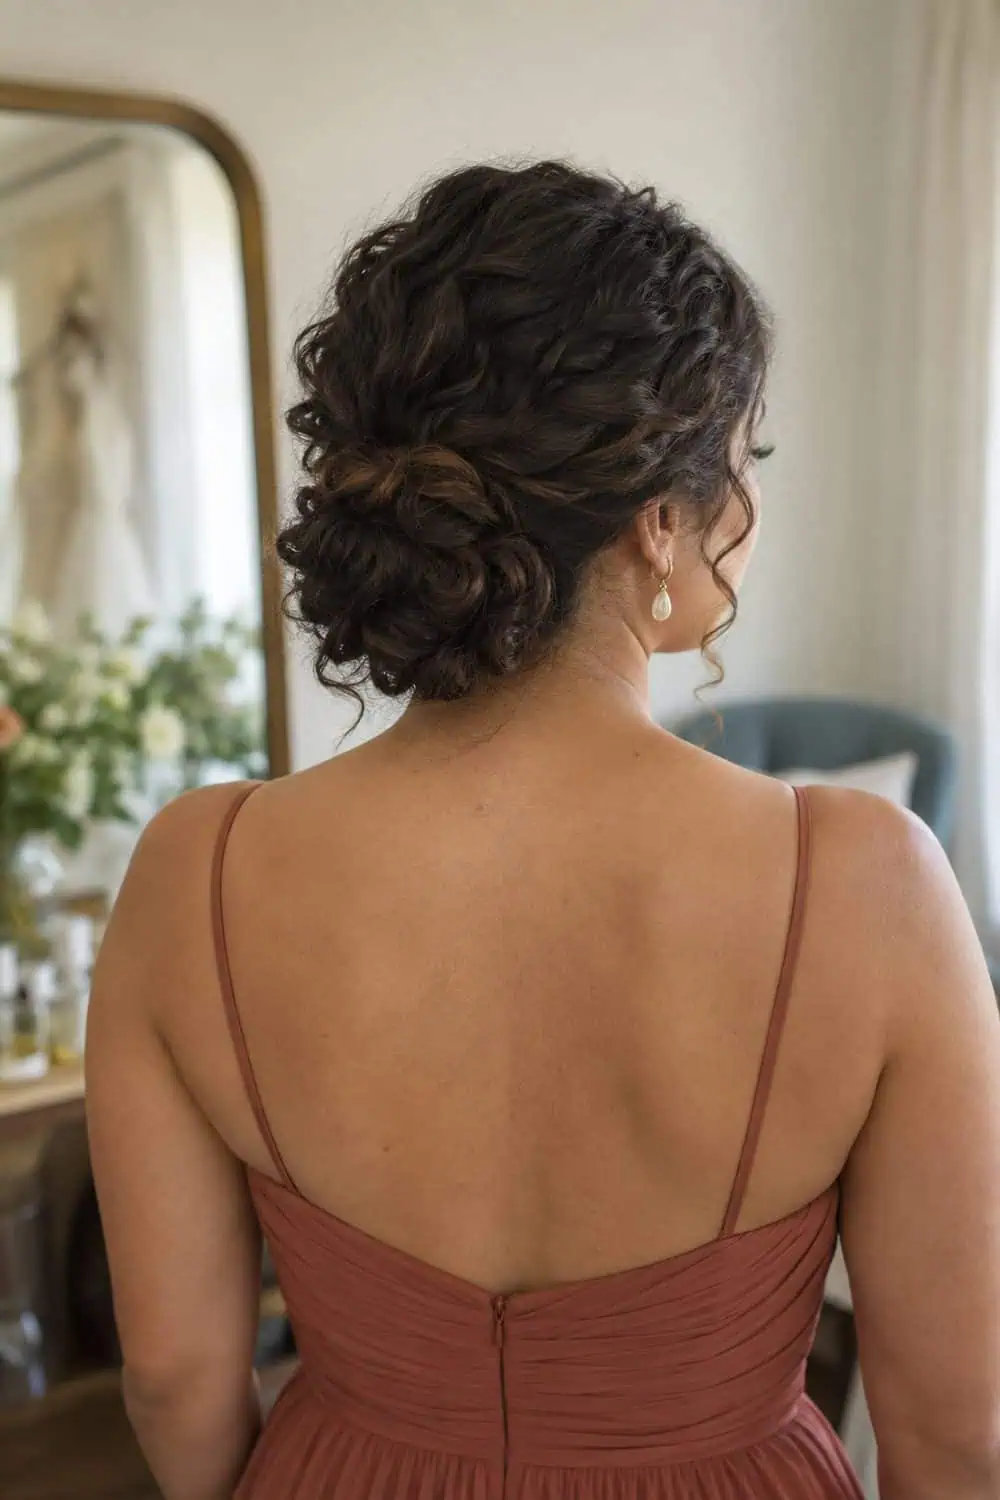
A Gibson tuck gathers shoulder-length curls without smoothing away their surface pattern. Use a soft internal roll and pin through it rather than flattening the curls against the head.
23. Mini-Braid Cluster Updo
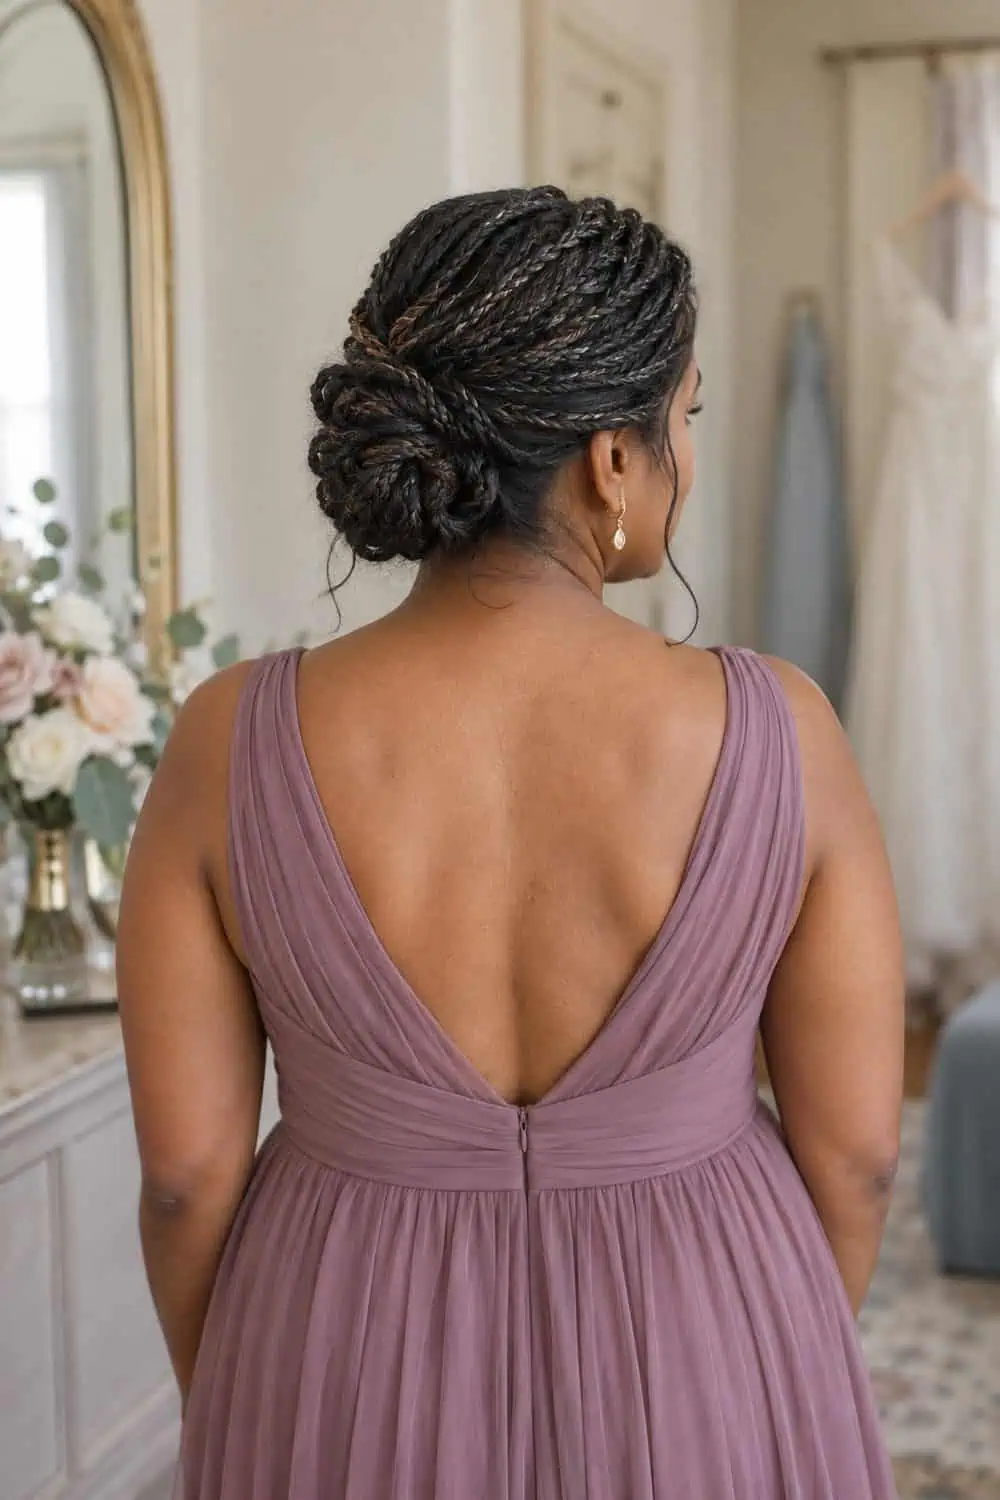
A cluster of slim braids creates a detailed updo with multiple independent anchor points. Coil and pin each braid separately so the shape stays secure even if one section loosens.
24. Sculpted S-Roll Updo
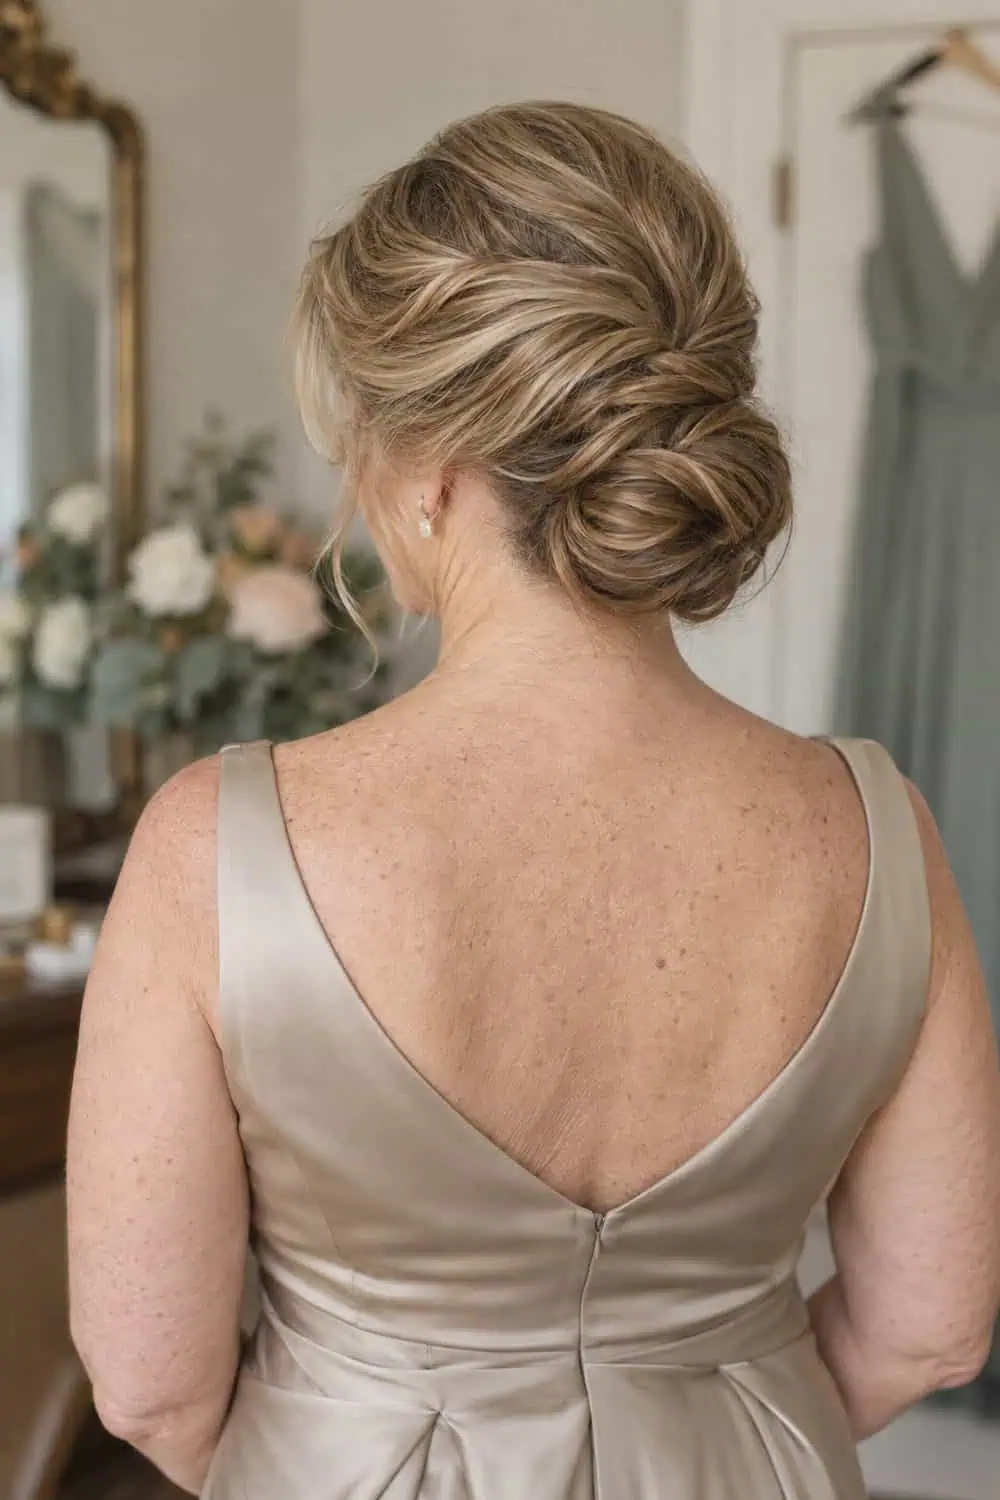
Two sculpted rolls make an elegant updo that stays close to the head. Form the lower curve first and overlap the upper section across its pin line.
25. Flat-Twist Crown Updo
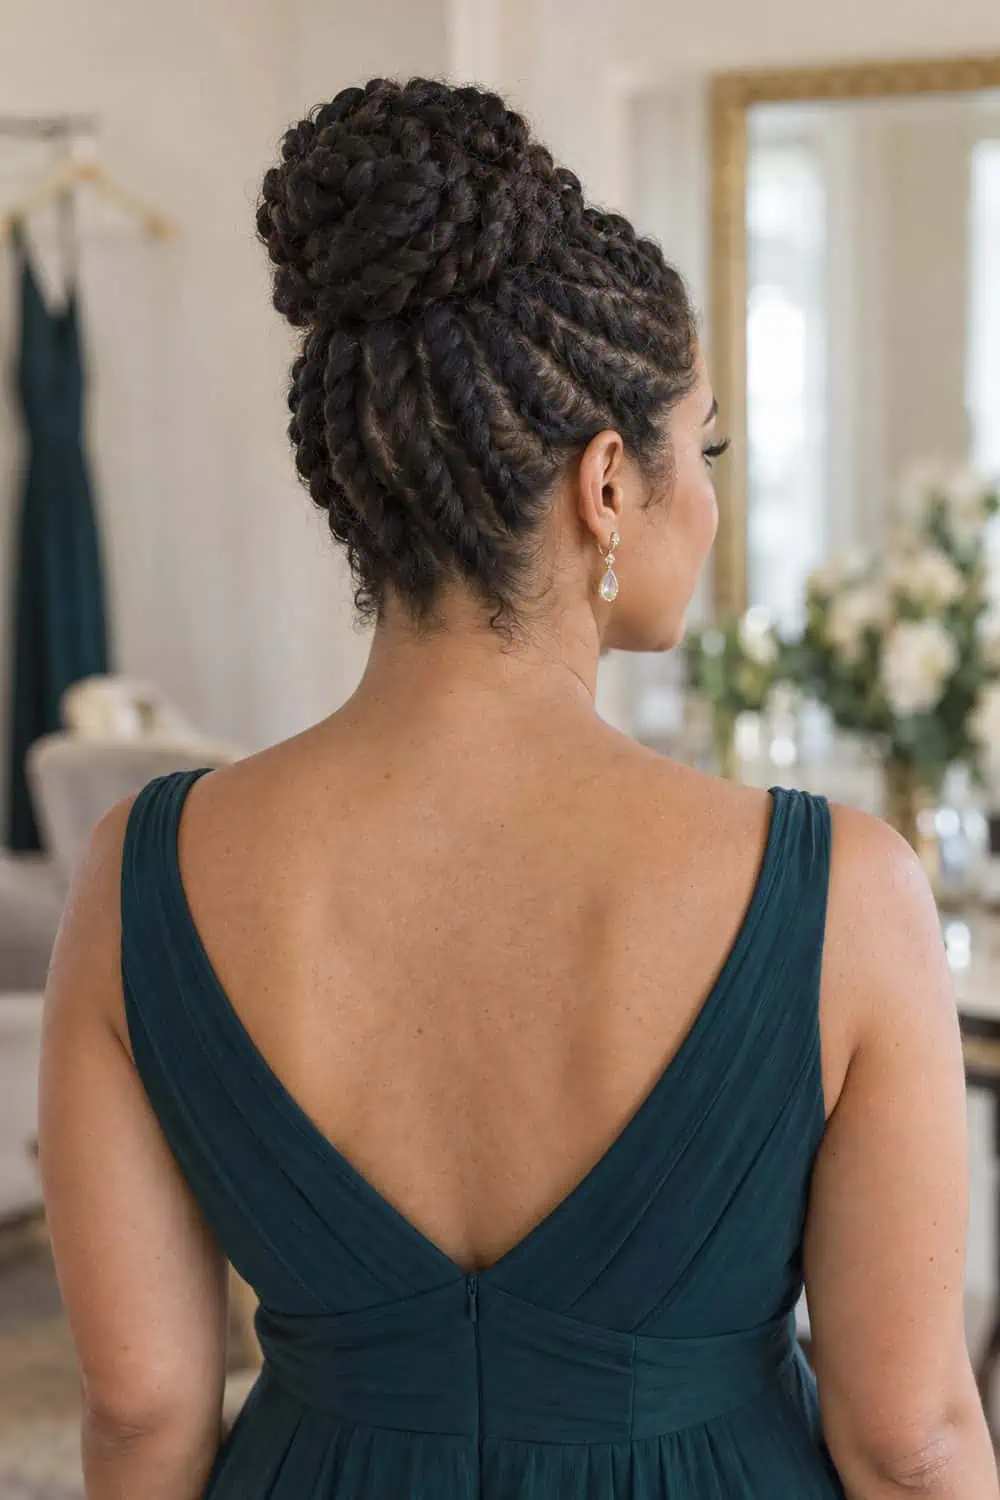
Upward flat twists support a crown bun and keep the sides controlled without a slick finish. Avoid pulling the hairline tight and anchor the bun into the ends of the twists.
26. Knotted Ponytail Updo
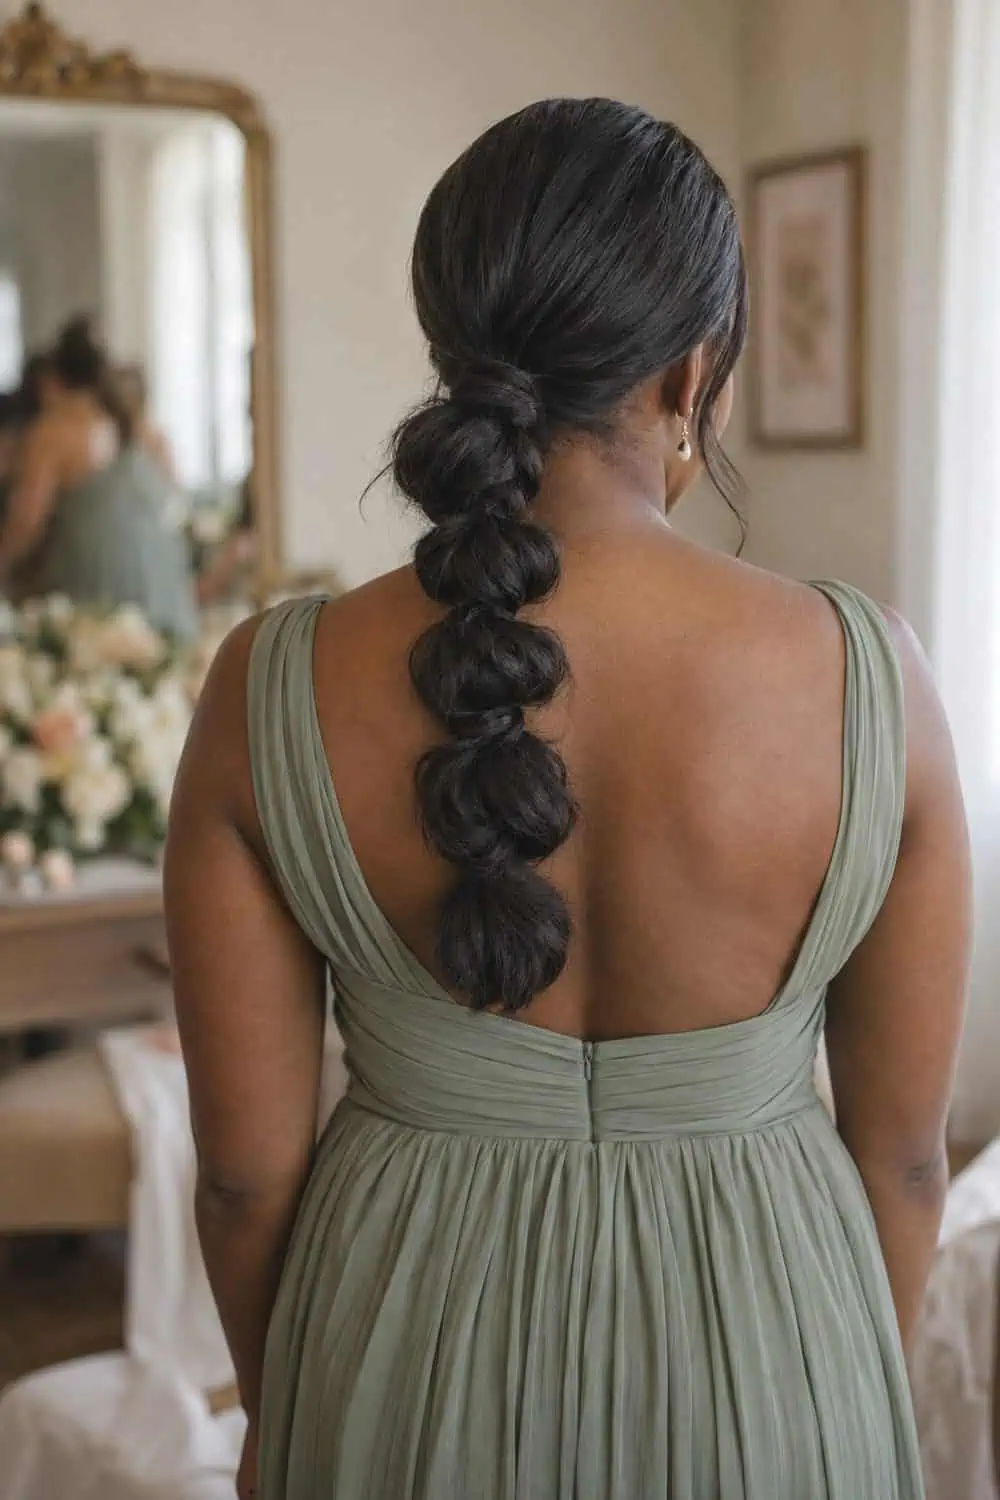
A series of soft knots turns a ponytail into an updo with a strong vertical shape. Pin every knot to the base before forming the next so the weight stays distributed.
The most useful choice is the updo you can wear without developing pressure at the crown or nape. I'd distribute pins around heavier buns, keep loose pieces away from lip products, and carry a few matching pins rather than assuming spray can fix movement.