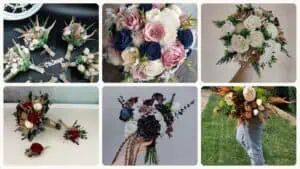
When I got married on a budget, I wanted the stunning Instagram-ready bridesmaid bouquets, but without the wedding industry markup. Sounds impossible. It did to me too at first.

Sandals Will Throw Your Wedding for Free
Stay 7 nights in a Club or Butler suite and Sandals covers the wedding: a personal planner, the ceremony, a private cocktail reception, a two-tier cake, your bouquet and boutonniere, plus $200 toward photos and $200 toward video. No venue hunt, no vendor juggling.
The truth is, overspending on things like bridesmaid florals is a choice, and you can opt out of it by simply going to your local grocery store. It's the small upgrades that separate a cheap bouquet from something that looks luxurious.
The Reveal: The Six-Dollar Upgrade
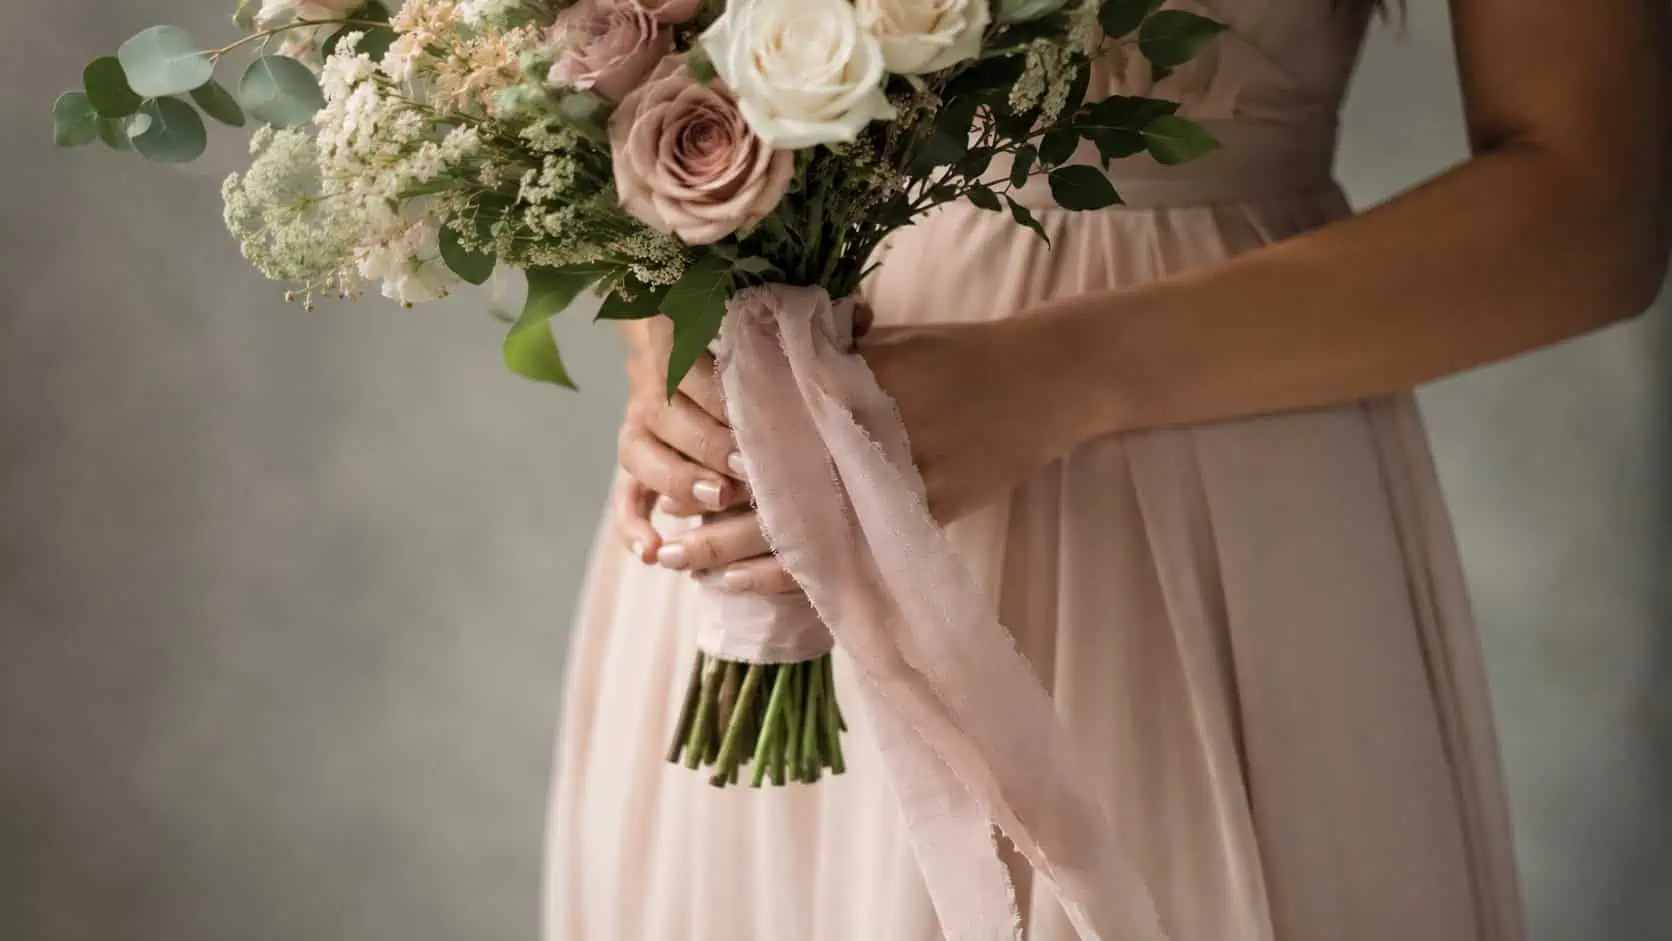
Most florists use either green floral tape or a shiny satin ribbon on their standard sixty-dollar bridesmaid bouquet. These don't exactly scream luxe aesthetics. For six dollars, you can change the perception of the entire bouquet by simply replacing the standard green tape with either silk or chiffon ribbon, the kind that premium florists use.
Make sure you pick something with either raw or torn edges. The cleaner the ribbon is cut, the cheaper it will look. You want to go for that organic edge that signals "intentional" and "fine art."
The Math: Why This Trade-Off Makes Sense
Going with the DIY version of a ribbon, you can save a large chunk. A spool of ribbon will add about six dollars to each bouquet, which is four times less than the 25 dollars the florist would charge. What you're paying for with the florist is the right wrapping and obviously their labor.
When you're considering this for five bridesmaids, you're looking at saving about 370 dollars in total, which could help cover other wedding expenses such as your dress alterations. Do bear in mind that the way you're saving the money, you will actually spend more time on the flowers, so you should add about an extra 10 minutes for placing the ribbon around each bouquet.
Free Wedding Planning Checklist
Stay organized from engagement to "I do" — get our comprehensive checklist covering every task, deadline, and detail.
| Expense Item | Budget Bouquet + Upgrade | Premium Florist Bouquet |
|---|---|---|
| Base Flowers & Assembly | $60.00 | $95.00 |
| Stem Wrap / Ribbon | $6.00 (DIY spool) | $25.00 (Florist markup) |
| Design & Labor Premium | $0.00 | $20.00 |
| Total Cost (Per Bridesmaid) | $66.00 | $140.00 |
| Total Cost (Party of 5) | $330.00 | $700.00 |
Sourcing the Materials
I'd advise against getting the ribbon from a wedding boutique. Stores there often mark up significantly, and you can find the exact same product for up to five times less at a craft store, or even online, depending on the aesthetic you're going for. Search for things such as raw chiffon, hand-dyed silk, and frayed edge. Generic internet searches will not surface the right look you're going for.
You can also save a good chunk on corsage pins, which run about four dollars at a craft store such as Michaels or Hobby Lobby. DIYing the bridesmaid bouquet is a great way to save on budget, but avoid buying satin ribbon instead of chiffon or silk, since the former doesn't look as good in photos, and you want to go for that prime Pinterest look.

MEEDEE Ivory Chiffon Fringe Ribbon
Check PriceThe Execution: How to Wrap the Bouquet
Tying your bridesmaid bouquets isn't extremely complicated, but there are a few things you should bear in mind. First things first, make sure the stems are fully dry. Use paper towels, as any moisture can cause the ribbon to slip or even stain, which could ruin your photos.
Don't remove the floral tape and rubber bands, as they serve as a sort of structural skeleton for your bouquet. Without them, your arrangement might fall apart mid-ceremony. Just make sure you wrap over them so they're not visible.
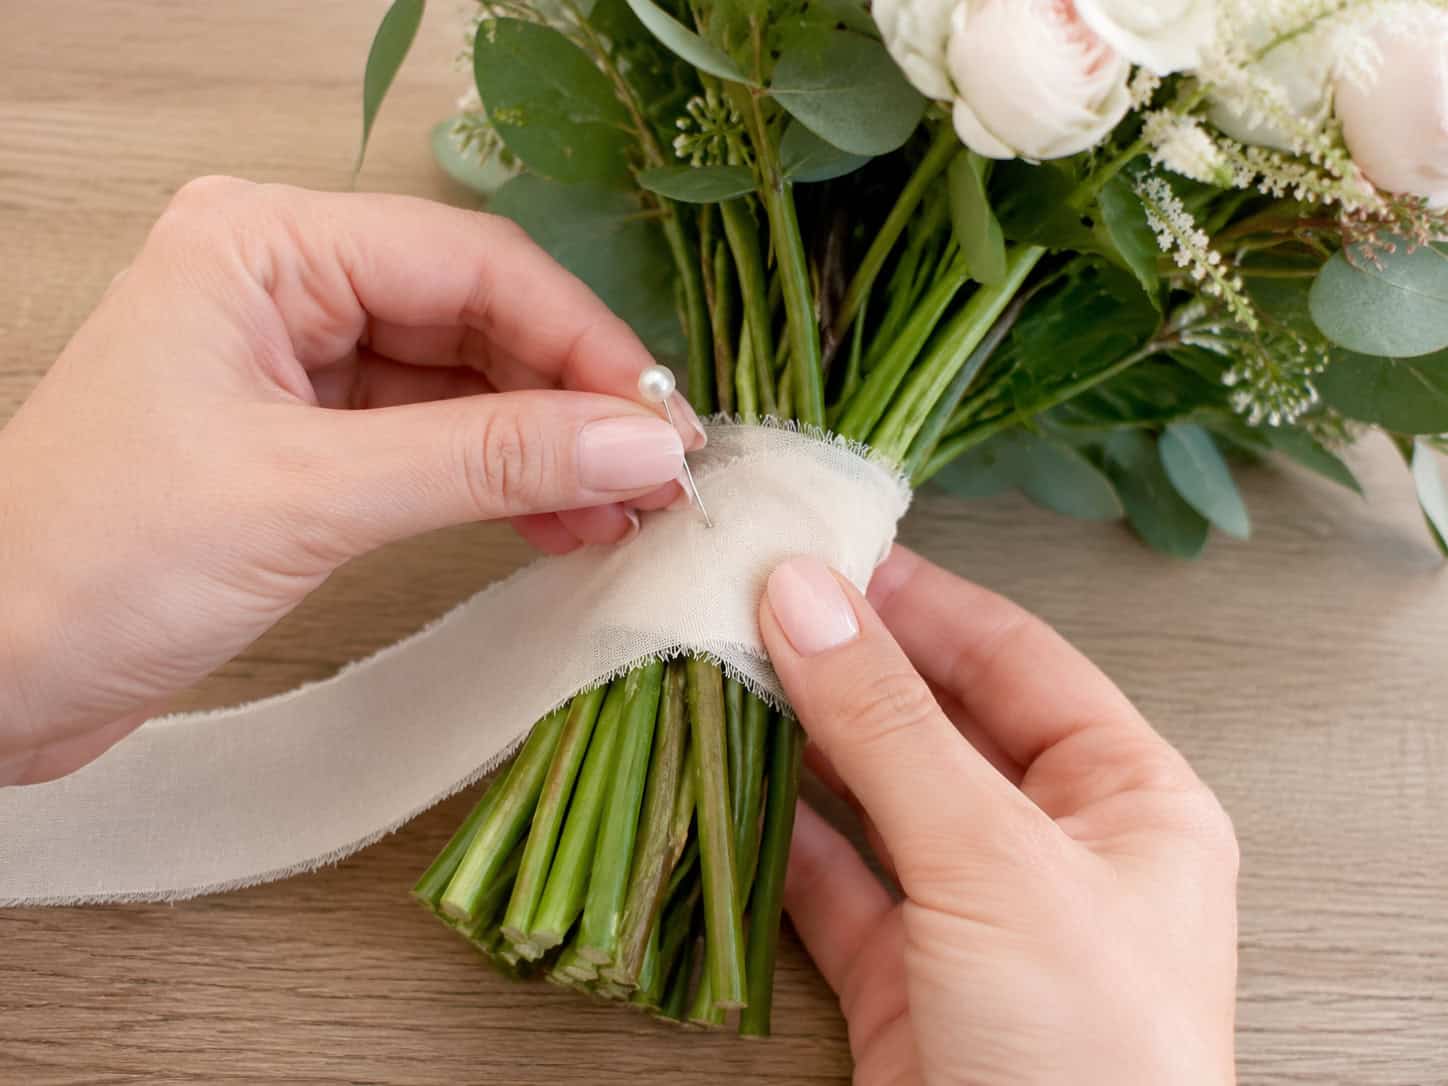
The pearl corsage pins are great for holding it all together, and as a bonus, they are a beautiful decorative detail that will look great in photos. Just try not to pin through too many ribbon layers at once, as it will make the pin hard to push and the surface bumpy.
The Bouquet Upgrade Checklist
- Step 1: Make sure to dry the stems completely. Remove the budget bouquet from its water source and dry the stems with a paper towel.
- Step 2: Structural tape can be left as is. Don’t take off the green floral tape or rubber bands. That is the structural support of the arrangement, and you are just covering it.
- Step 3: Pin the starting edge. To hide the fray, fold the top edge of your ribbon down by a quarter inch. Using a pearl-headed corsage pin, pin it downward at an angle such that the pin does not come through the other side into the thickest part of the stems at the top of the green tape.
- Step 4: Wrap downward tightly. Wrap the ribbon around the stems all the way and make sure you cover the green tape completely as you go around the stems and overlap a little each time.
- Step 5: At the bottom of the tape where you will reach, put another pearl pin (again, angled upward this time) to hold the wrap in position.
- Step 6: Add the trailing tails. Take a new ribbon (about 3 to 4 feet long) cut it, and tie it in a simple, loose knot directly over the bottom pin. Let the long ends trail down naturally.
The Bottom Line
The truth is that many wedding vendors, especially florists, add a three- or five-times markup for anything related to weddings. Less than ideal if you are trying to have a beautiful day on a budget. But it's unlikely your bridesmaid bouquets will be the focal point of any photos, which is why this is somewhere you can comfortably spend a bit less money.
Do bear in mind that DIYing your bouquets, or using grocery store flowers instead of florist arrangements, means you will have to prep them yourself, and they do risk wilting before you need them for the big day.