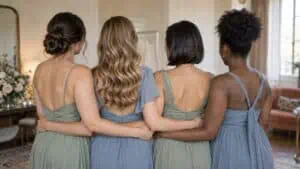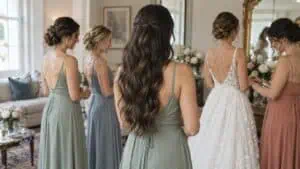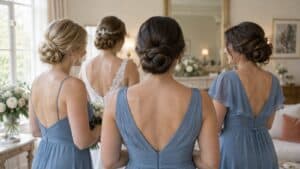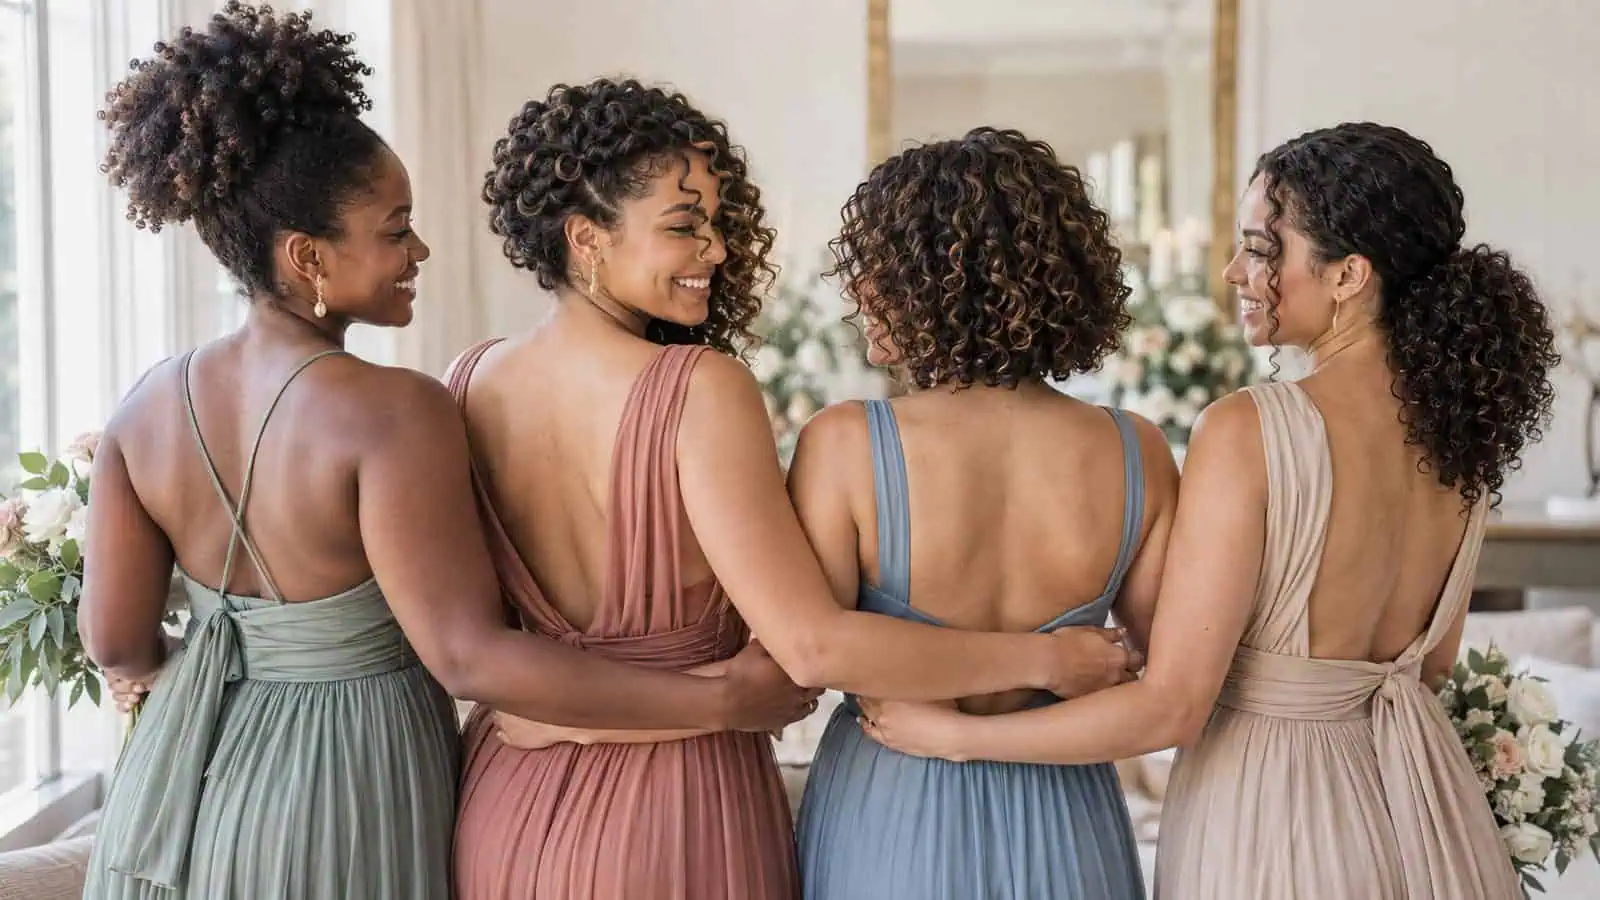
Curly bridesmaid hairstyles should preserve the curl pattern instead of brushing it into someone else's idea of formal hair. These options include loose shapes, puffs, ponytails, braids and buns for waves, ringlets, coils and curly locs. Define the style on the texture you have, then choose pins and ties that hold without crushing it.

Sandals Will Throw Your Wedding for Free
Stay 7 nights in a Club or Butler suite and Sandals covers the wedding: a personal planner, the ceremony, a private cocktail reception, a two-tier cake, your bouquet and boutonniere, plus $200 toward photos and $200 toward video. No venue hunt, no vendor juggling.
Images are AI-generated illustrations of the ideas described.
1. Defined Curly Low Bun
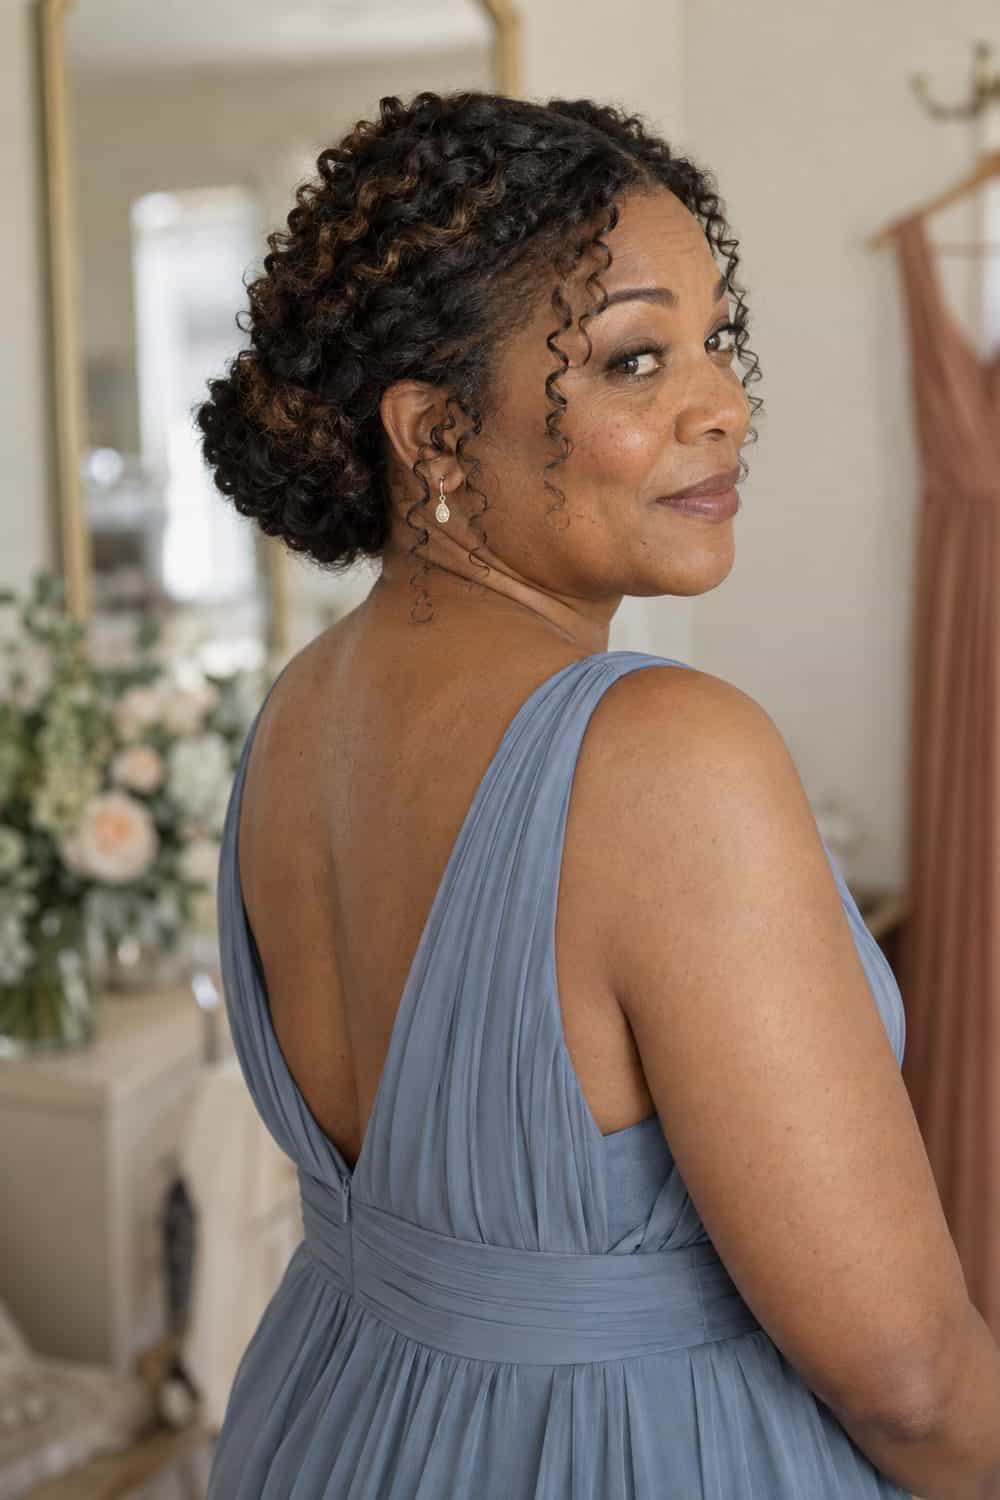
A low bun contains the length while keeping the curl pattern visible. Pin the base first and shape only a few outer curls.
2. High Curly Puff
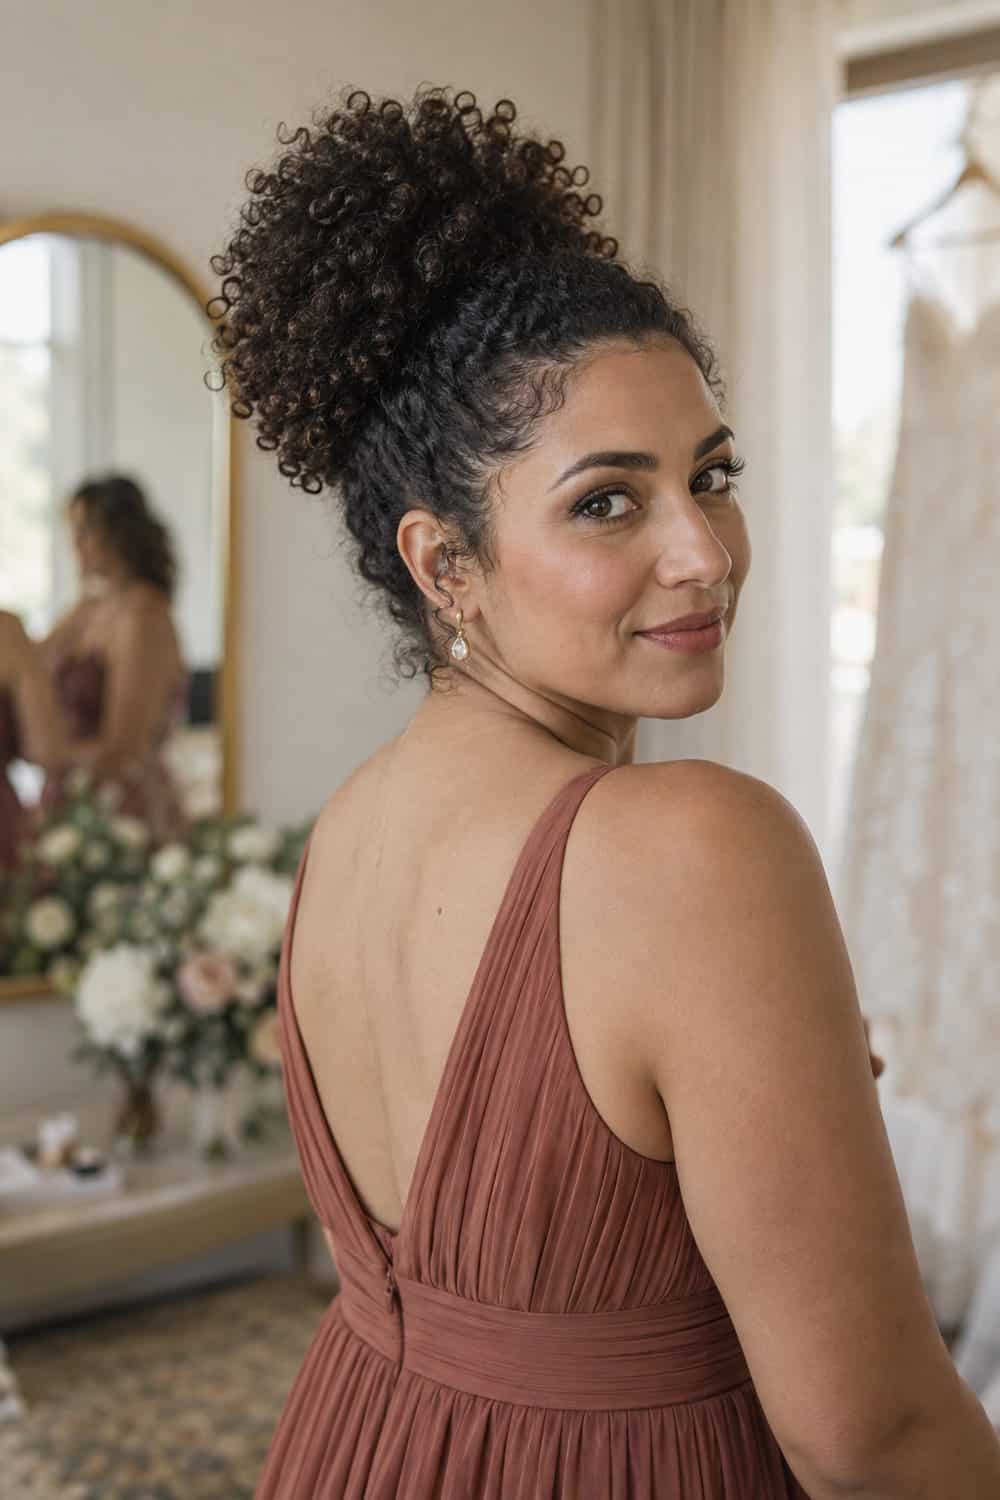
A high puff gives coils height and clears the dress neckline. Use a comfortable band and resist tightening it for a smoother front.
3. Side-Swept Long Curls
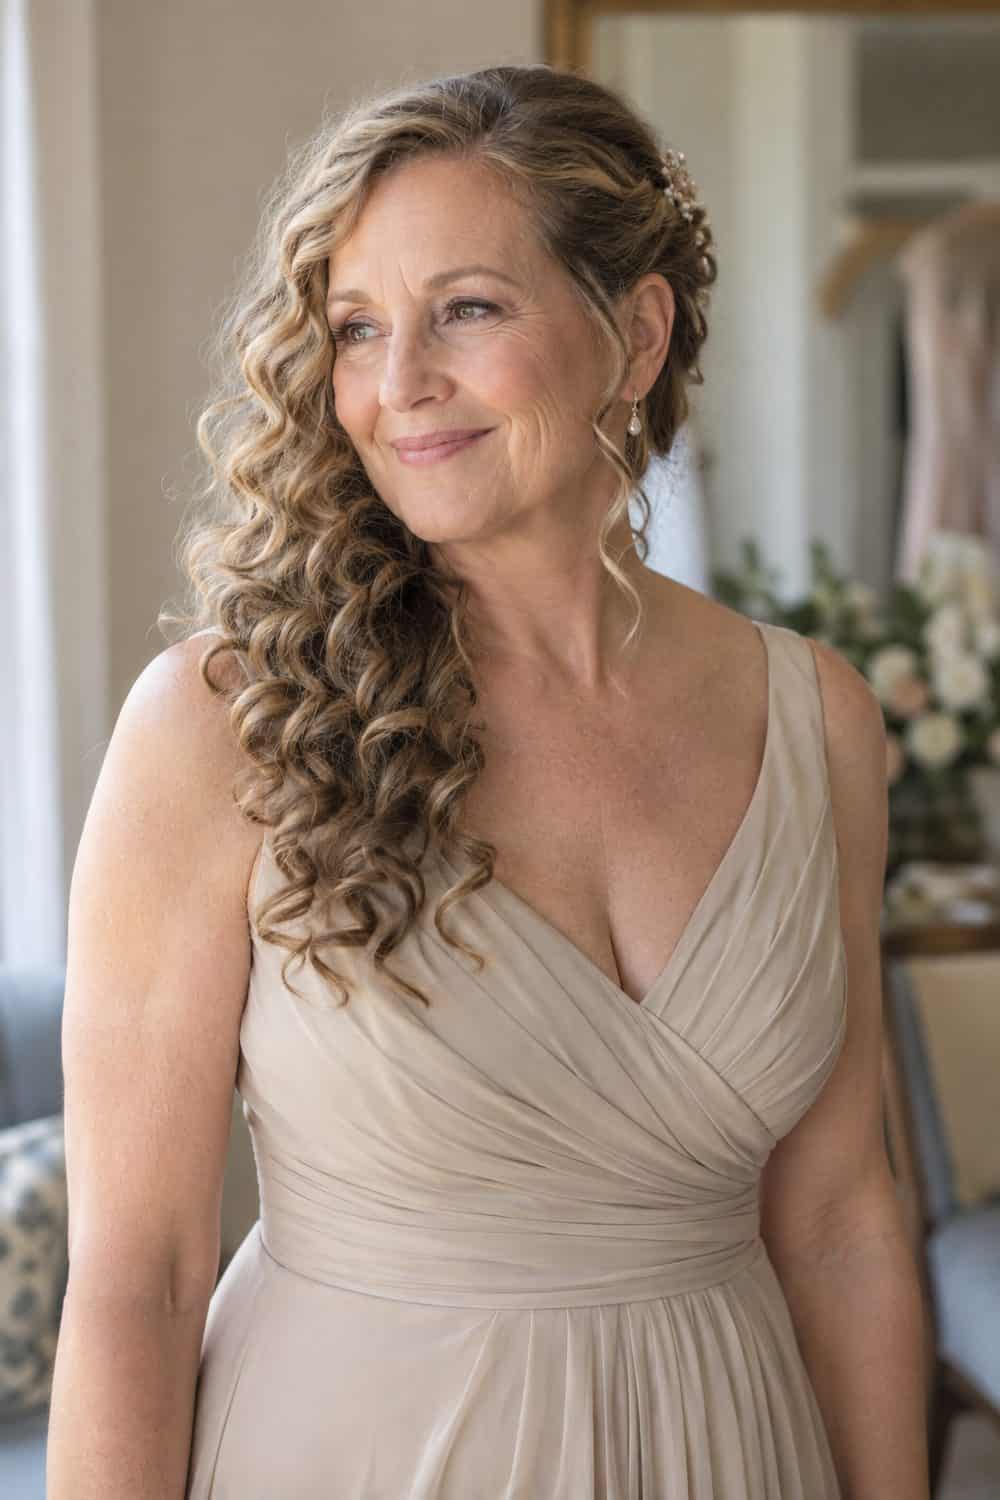
Side-swept curls leave one shoulder open and show the full length from the front. Secure the hidden side beneath the top curls so the pins disappear.
4. Curly Half-Up Twist
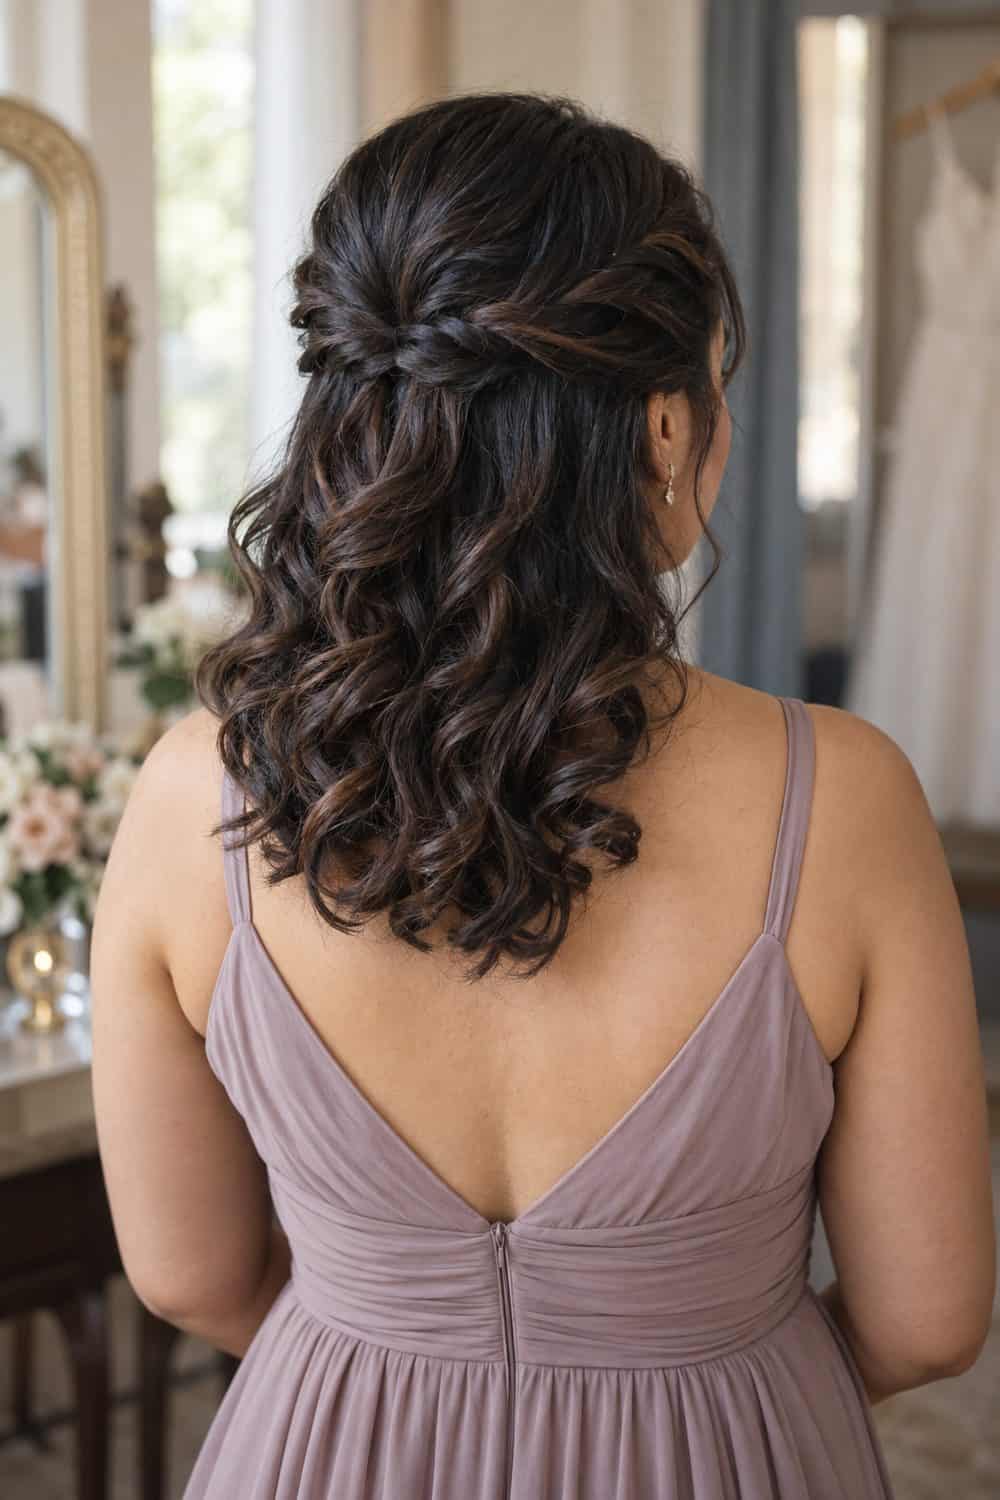
Two twists clear the face while keeping most curls untouched. Take shallow side sections so the lower half remains full.
5. Low Curly Ponytail
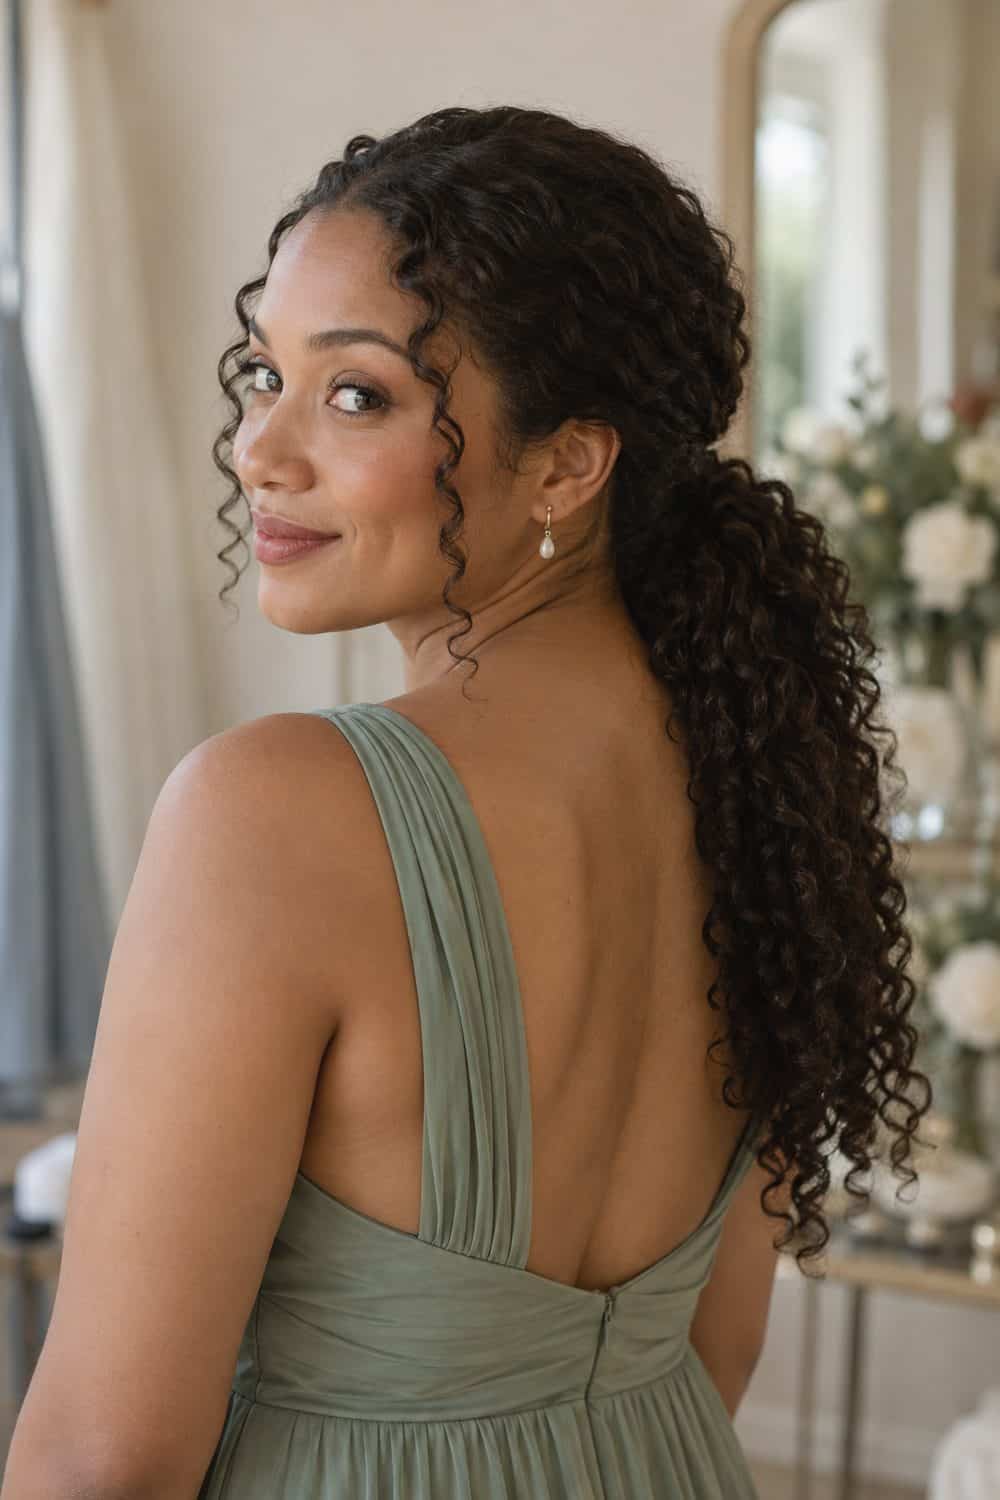
A low ponytail controls long curls without hiding their movement. Use a broad tie and define the ends individually after securing it.
6. Curly Crown Braid
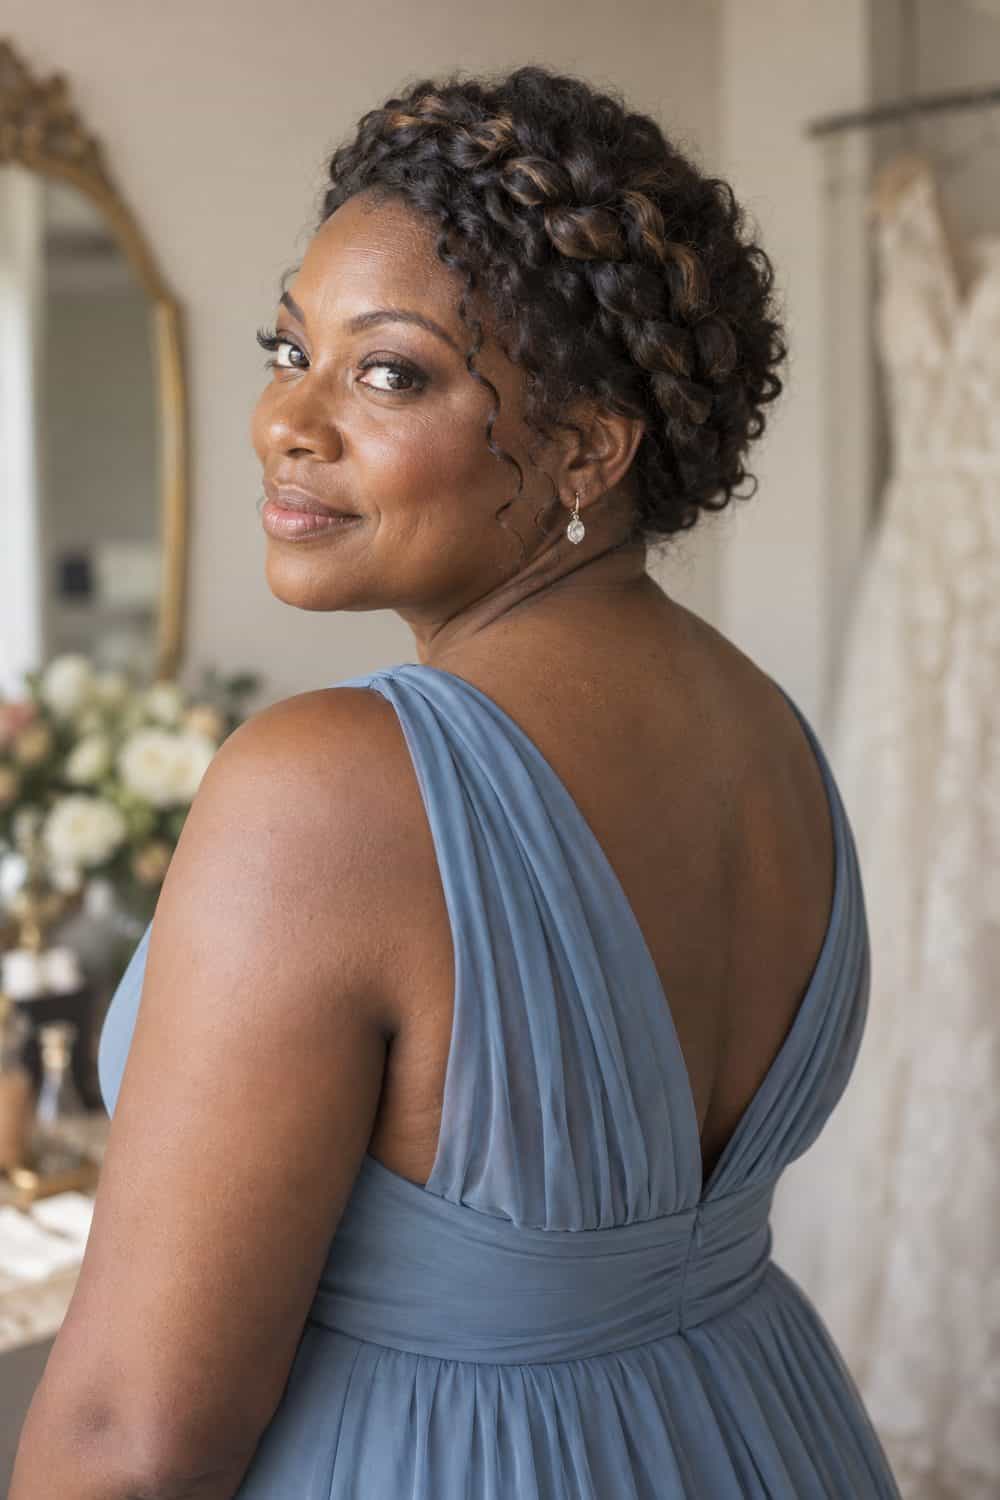
A crown braid contains curly hair while retaining visible texture. Keep the braid close to the head and tuck the end fully.
7. Side-Pinned Curly Bob
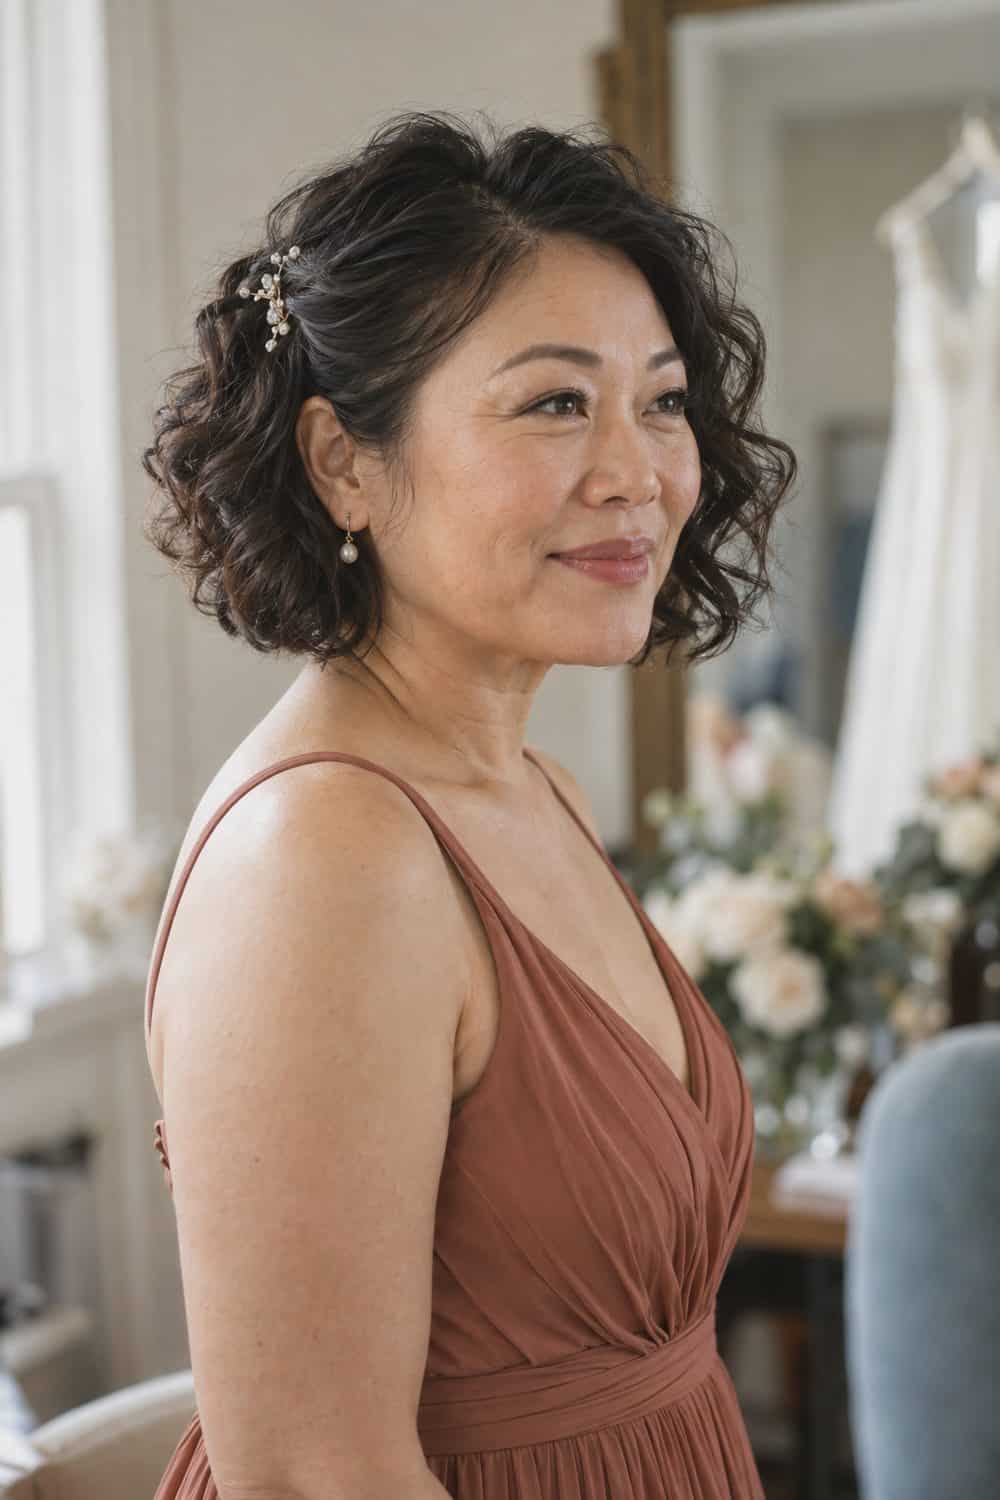
One pinned side gives a curly bob an intentional asymmetric outline. Place the pins underneath the curls rather than flattening the side.
8. Curly Pineapple Updo
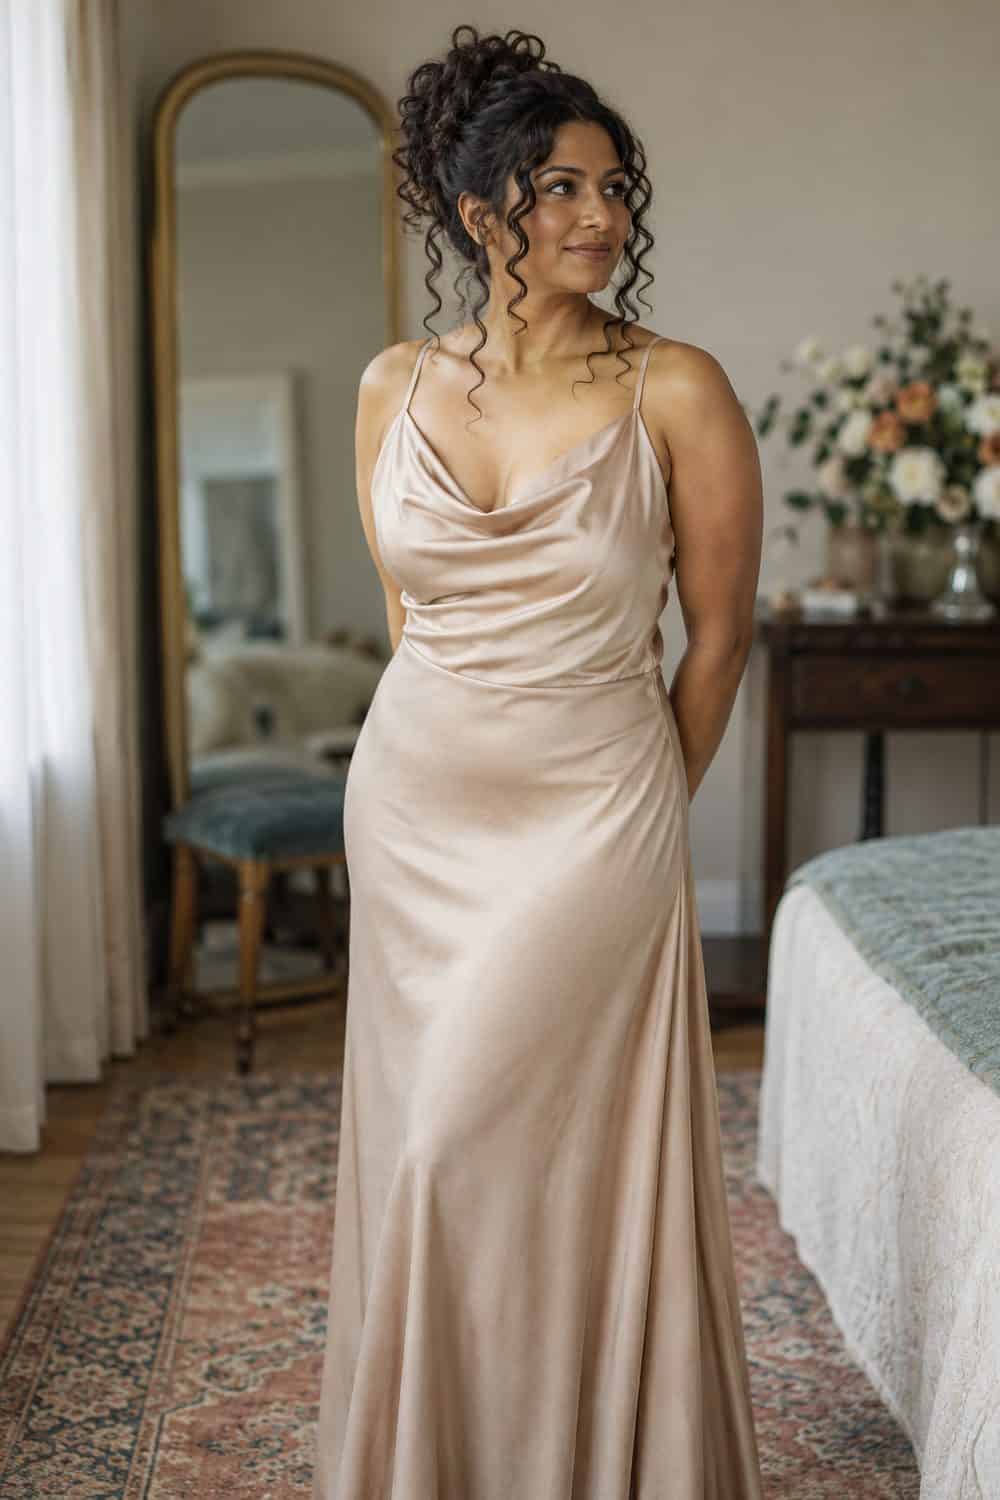
A pineapple updo moves the curls upward without twisting them into a bun. Balance the fall of the curls so they don't cover the eyes.
9. Twisted Curly Nape Updo
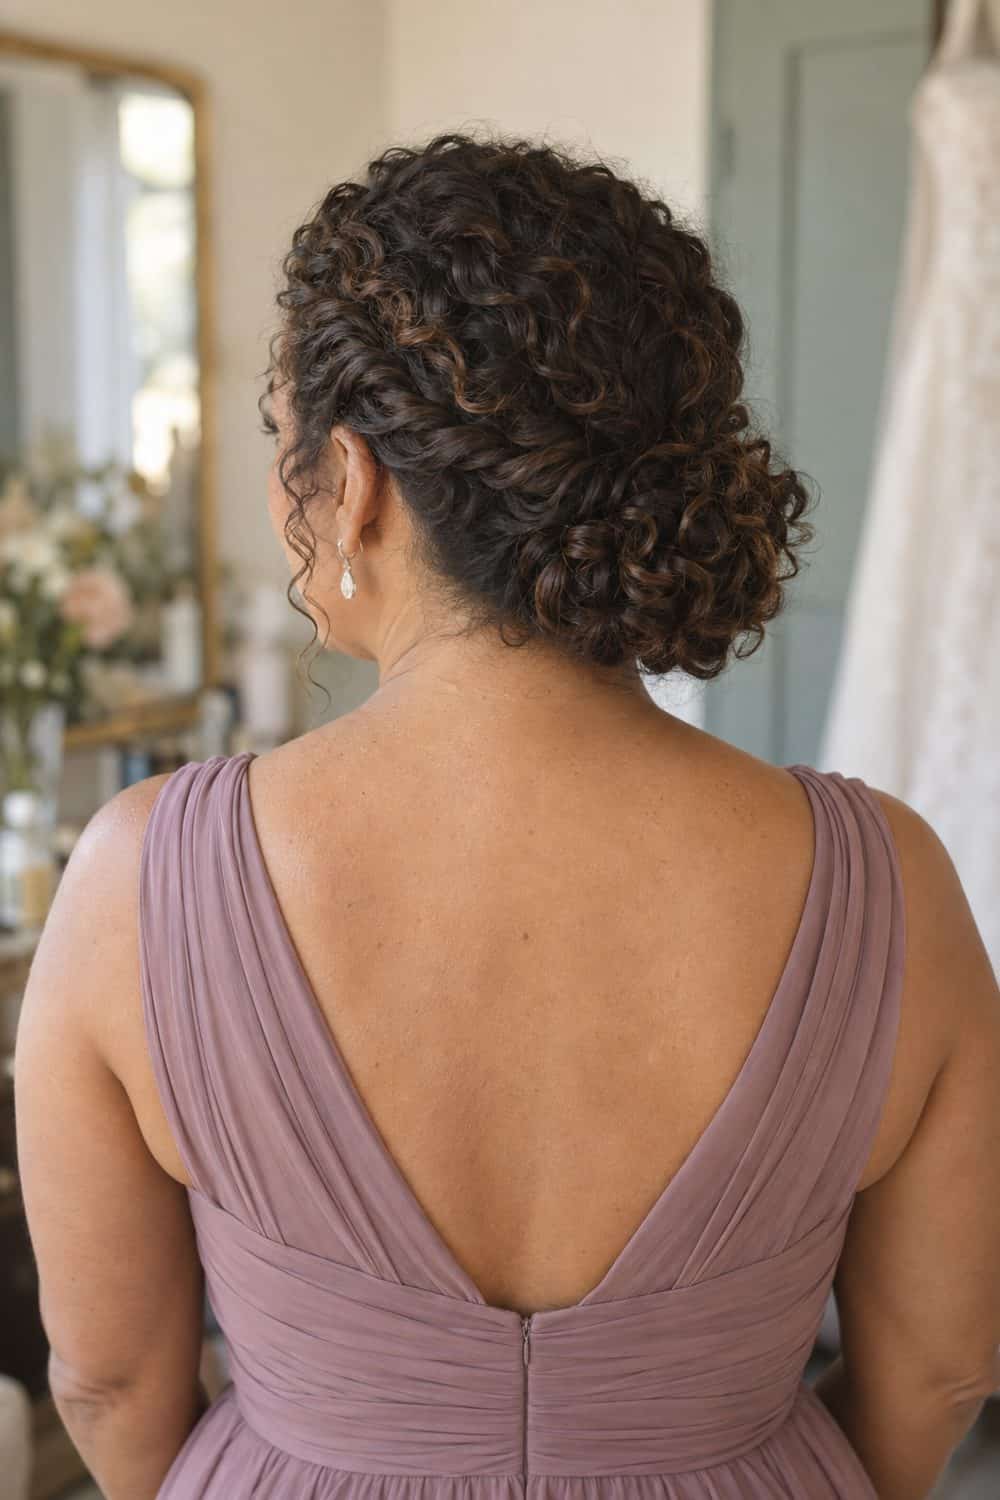
Twisted sections give medium curls a secure nape shape. Pin each twist separately so one loose section doesn't release the whole style.
Free Wedding Planning Checklist
Stay organized from engagement to "I do" — get our comprehensive checklist covering every task, deadline, and detail.
10. Curly Shag with Side Part
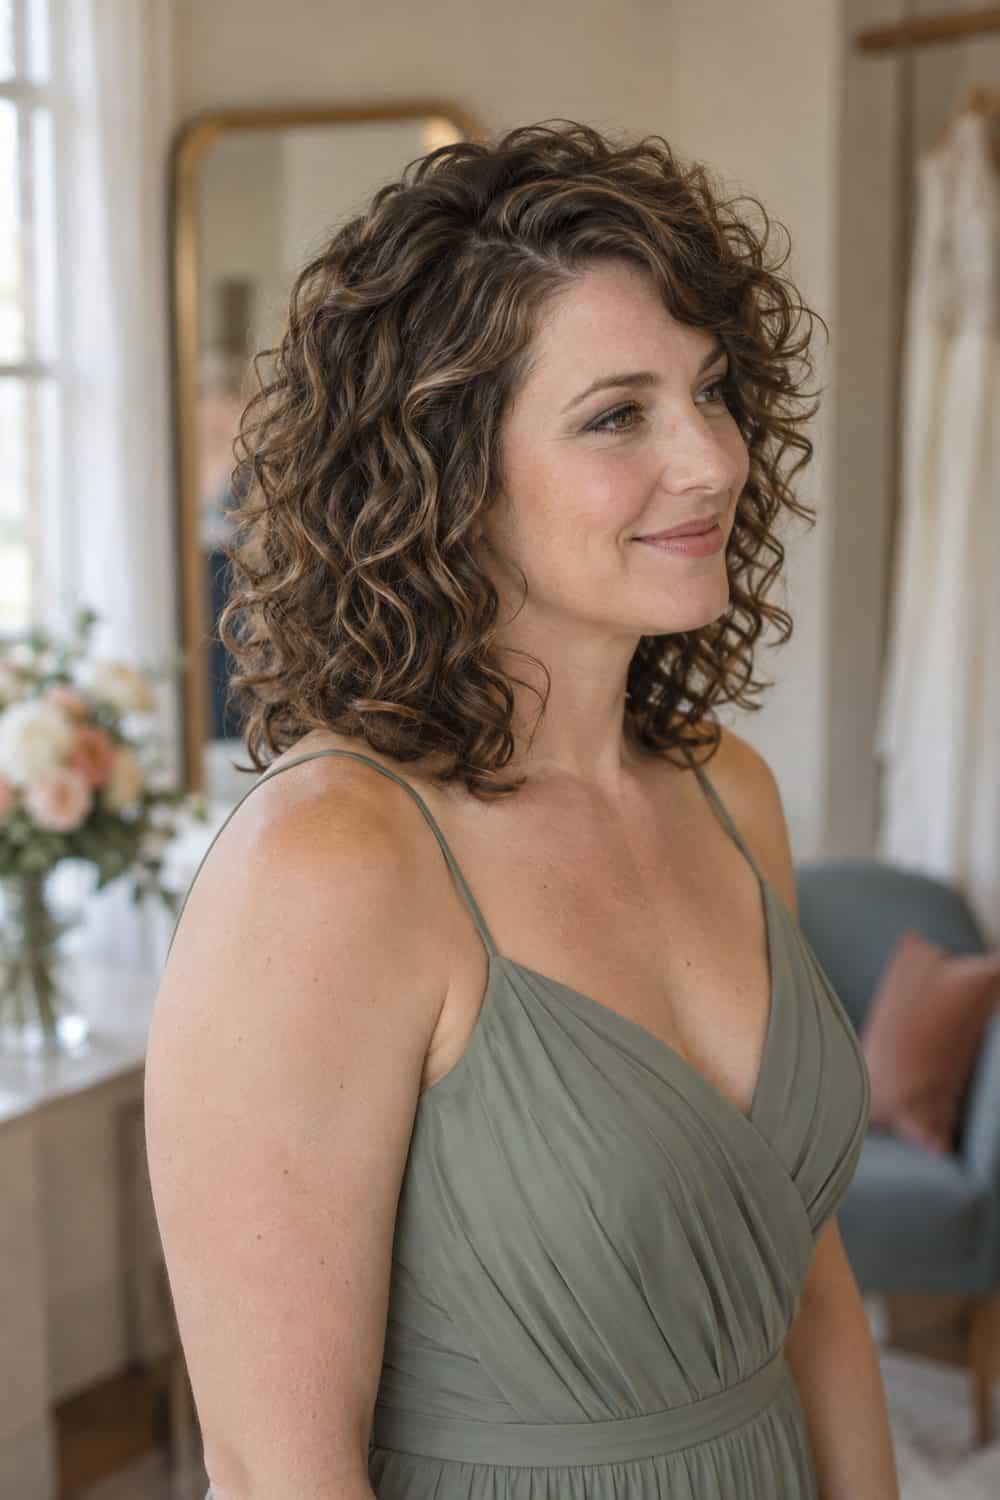
A curly shag can rely on its layered shape rather than being pinned up. Refresh the shortest front layers and leave the wider outline intact.
11. Curly Braided Ponytail
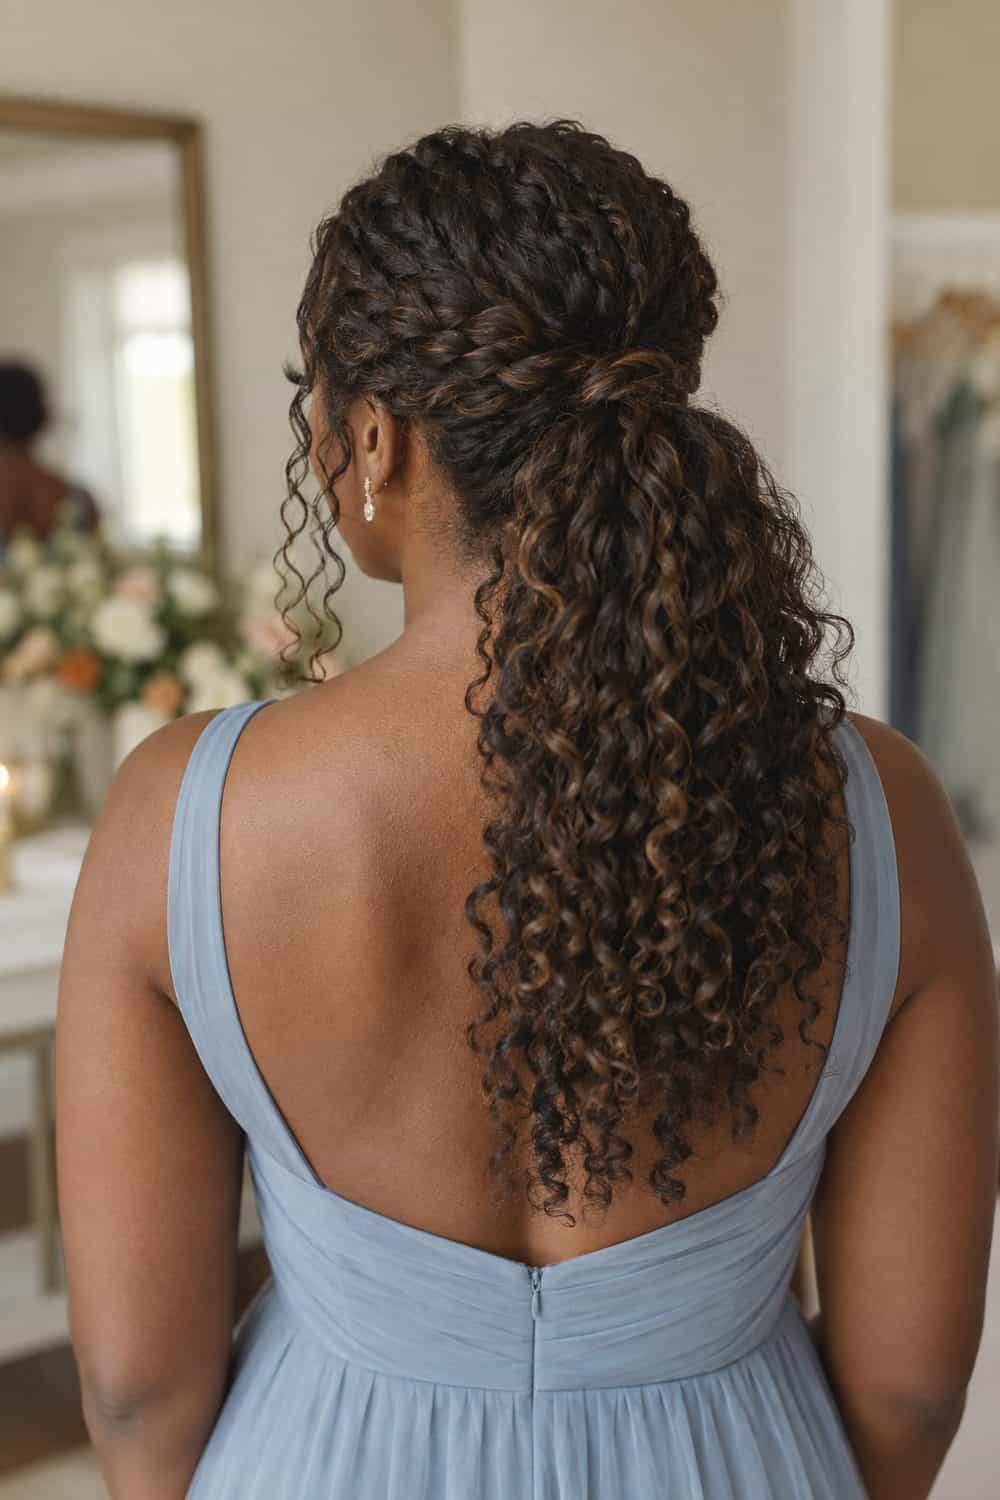
A partial braid controls the upper ponytail while the ends retain their curl. Stop the braid above the ends and tie it without compressing the curls.
12. Rounded Coily Afro
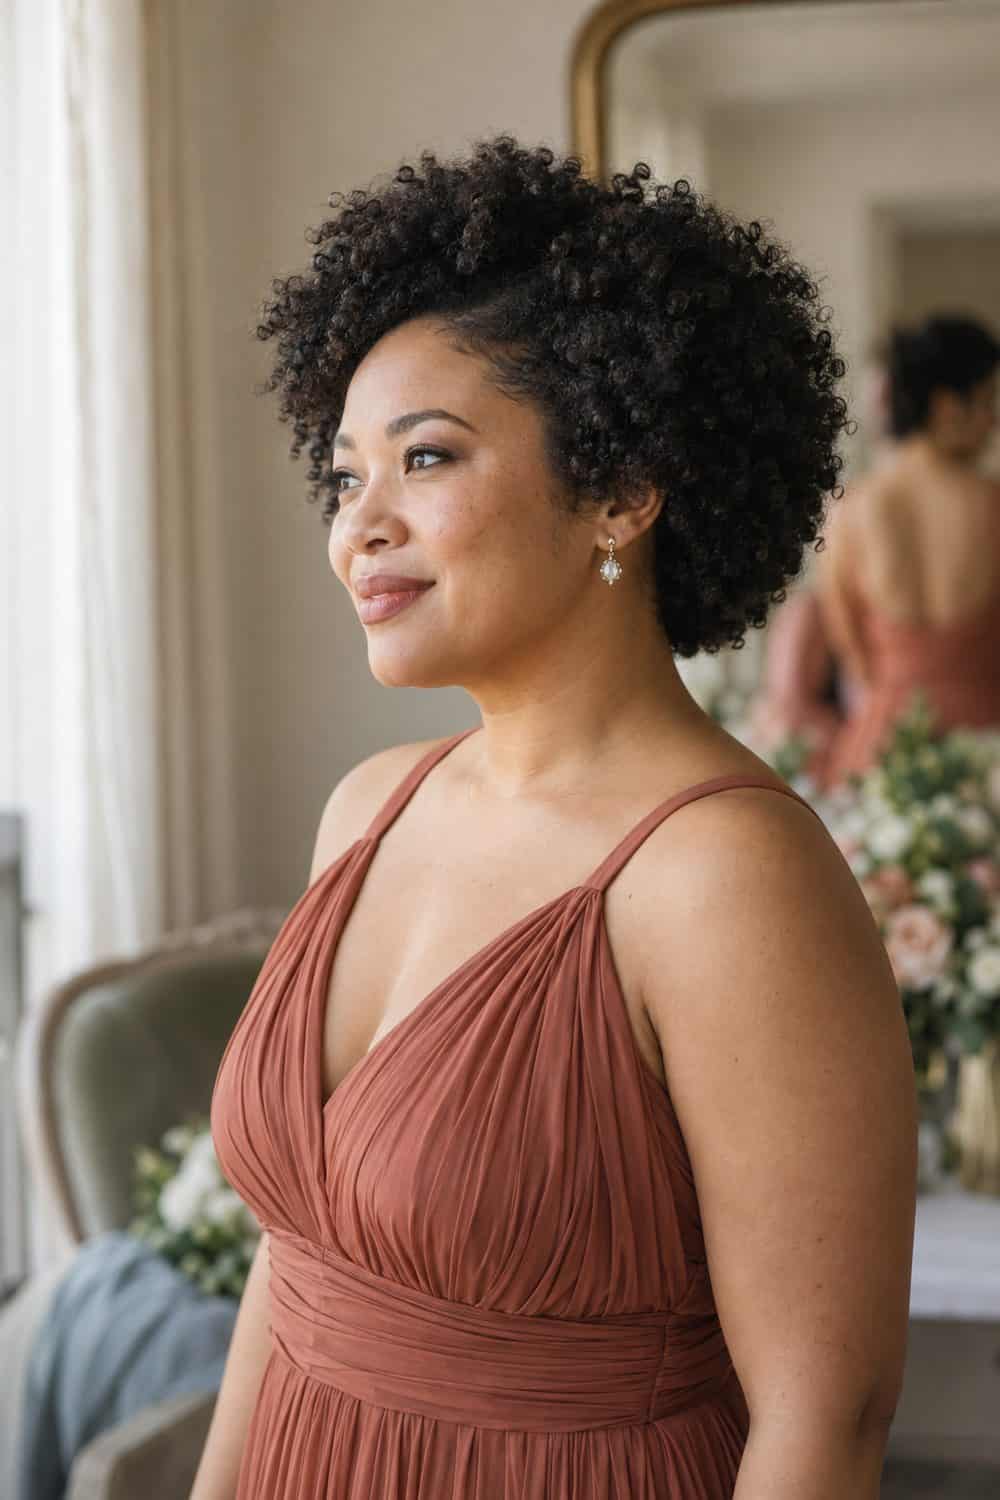
A rounded Afro gives short coils a clear formal silhouette without added pieces. Shape the outline lightly and keep the natural texture visible.
13. Curly Faux Hawk
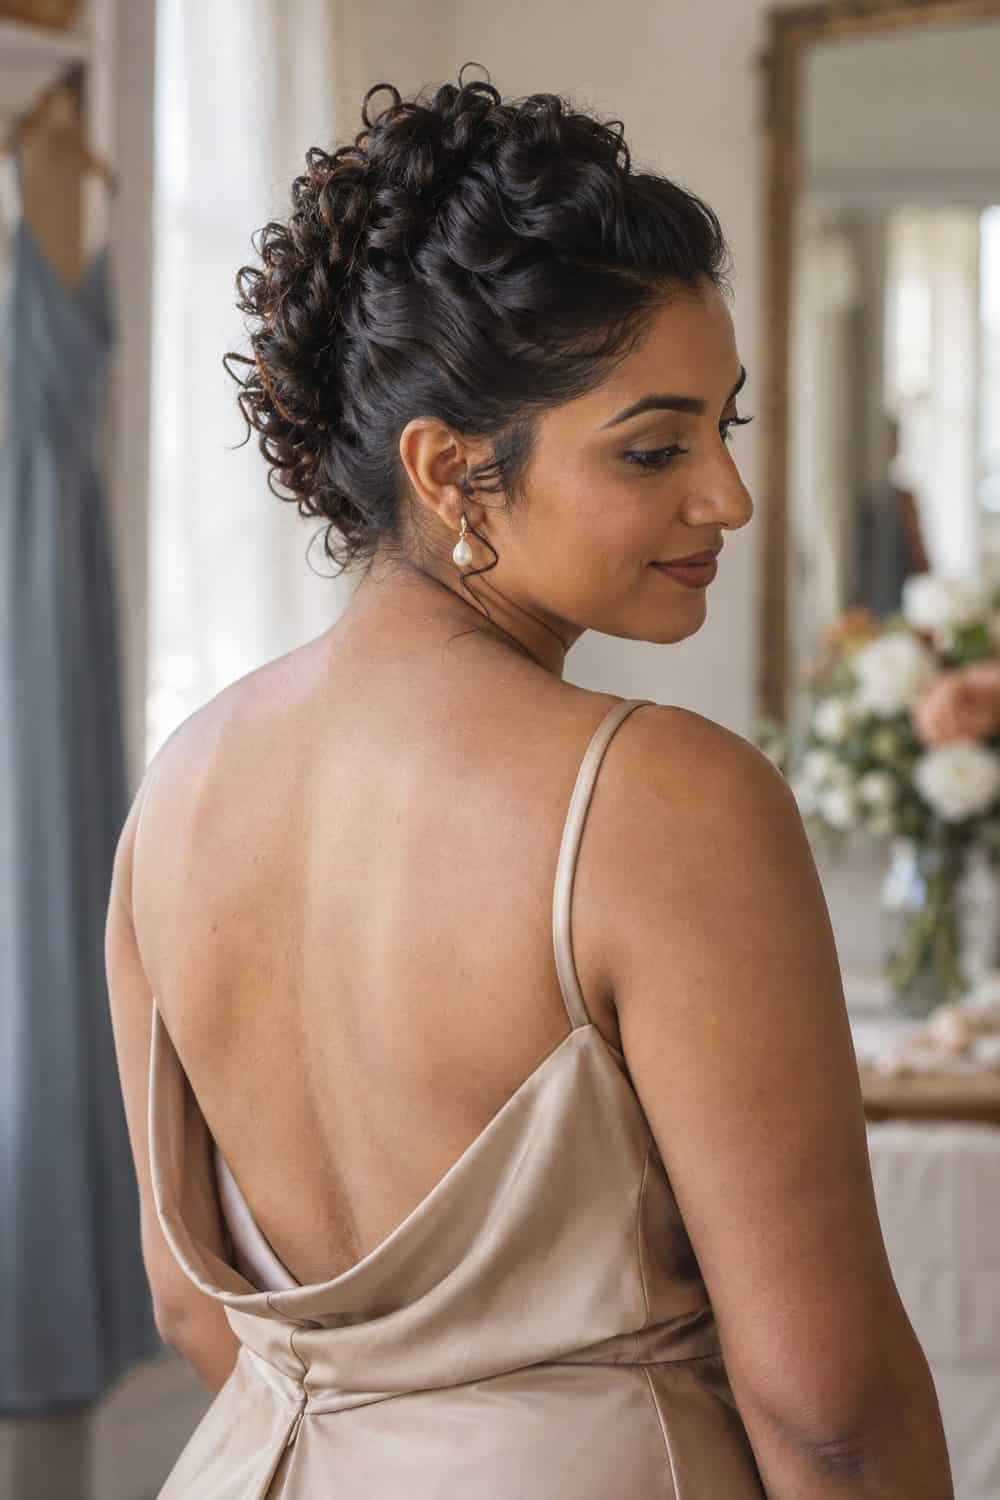
A curly faux hawk creates height while keeping the sides controlled. Use several small anchor sections so the center doesn't collapse into one mass.
14. Half-Up Curly Locs
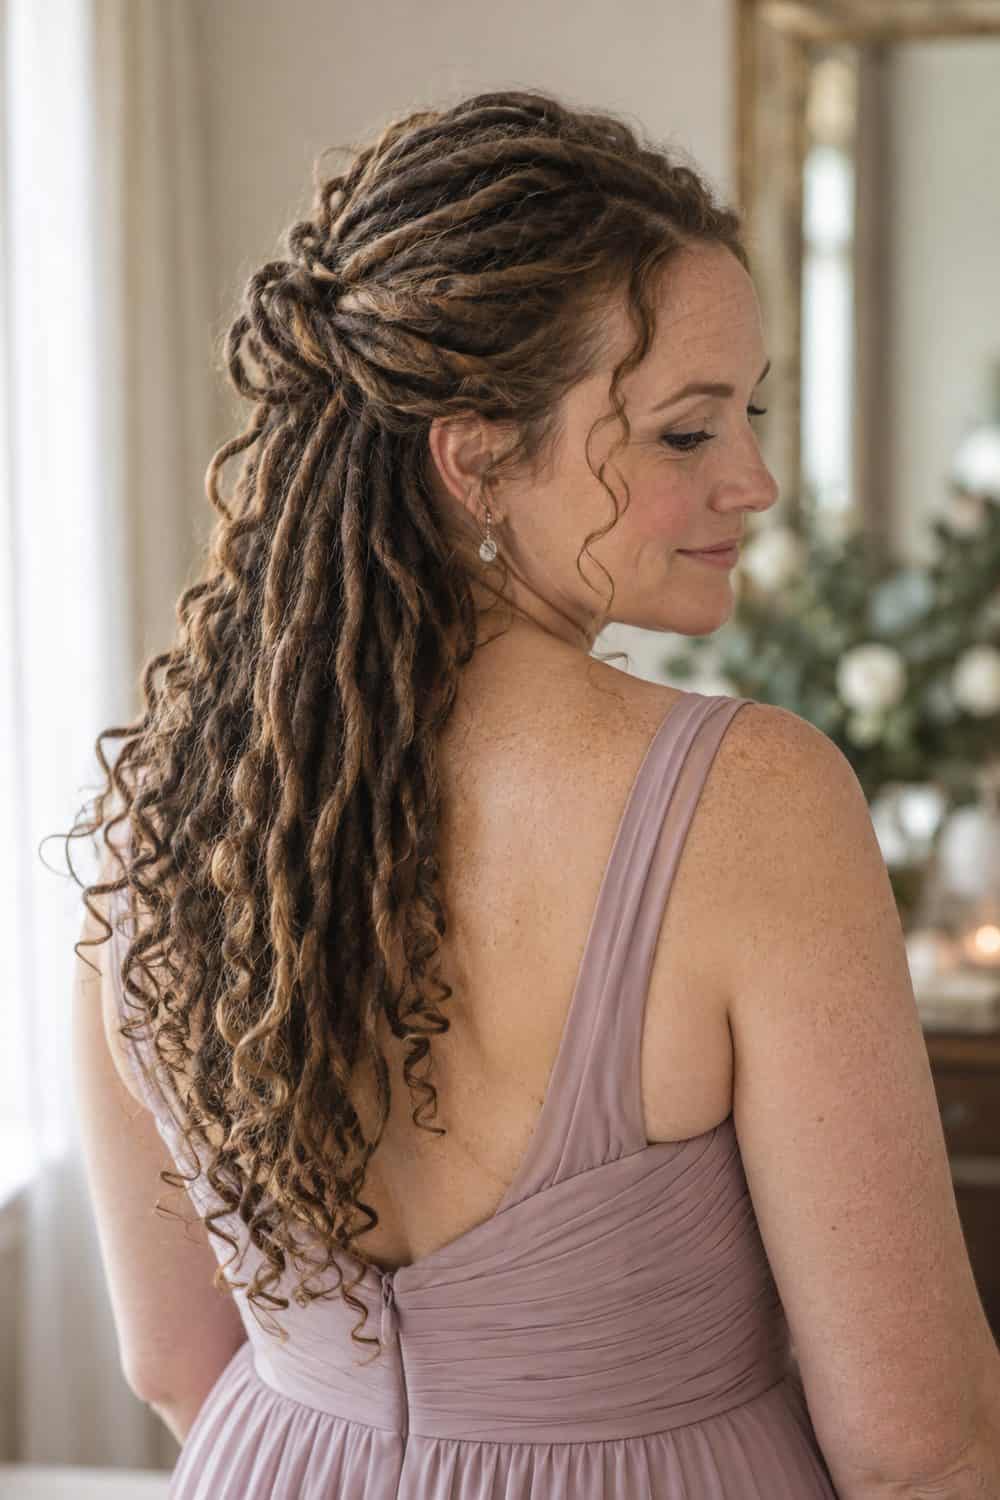
Half-up curly locs keep the face clear while showing both texture and length. Secure a modest upper section so the crown isn't carrying too much weight.
15. Loose Curls with One Twist
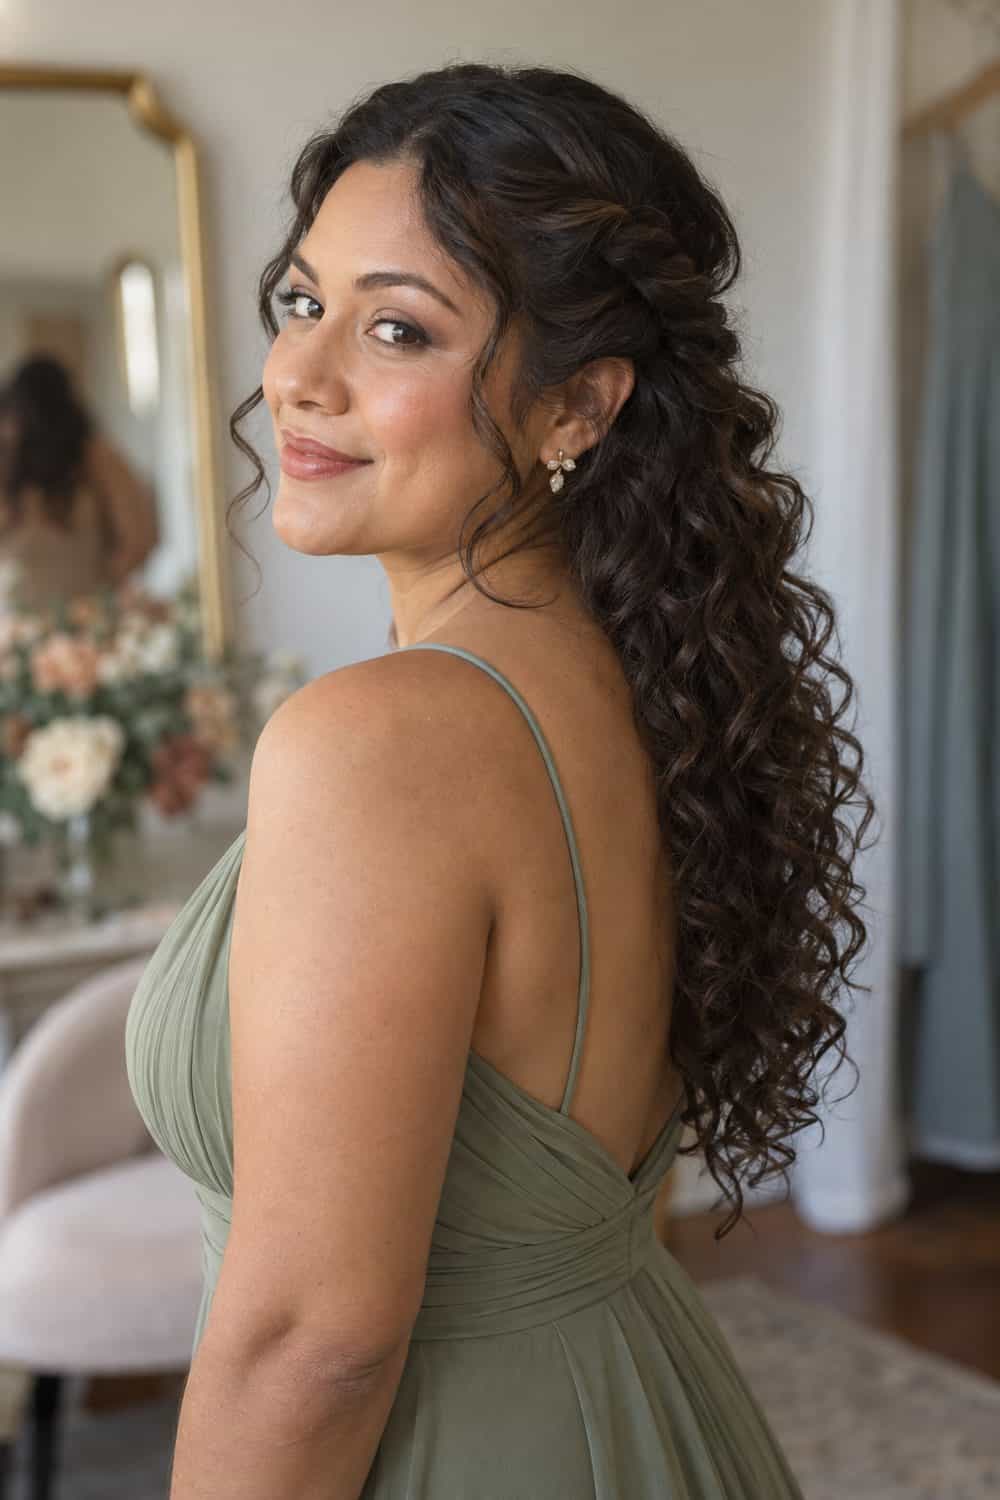
One side twist adds structure while leaving the curl pattern mostly undisturbed. Twist loosely enough that the front curls don't stretch straight.
16. Curly Low Side Ponytail
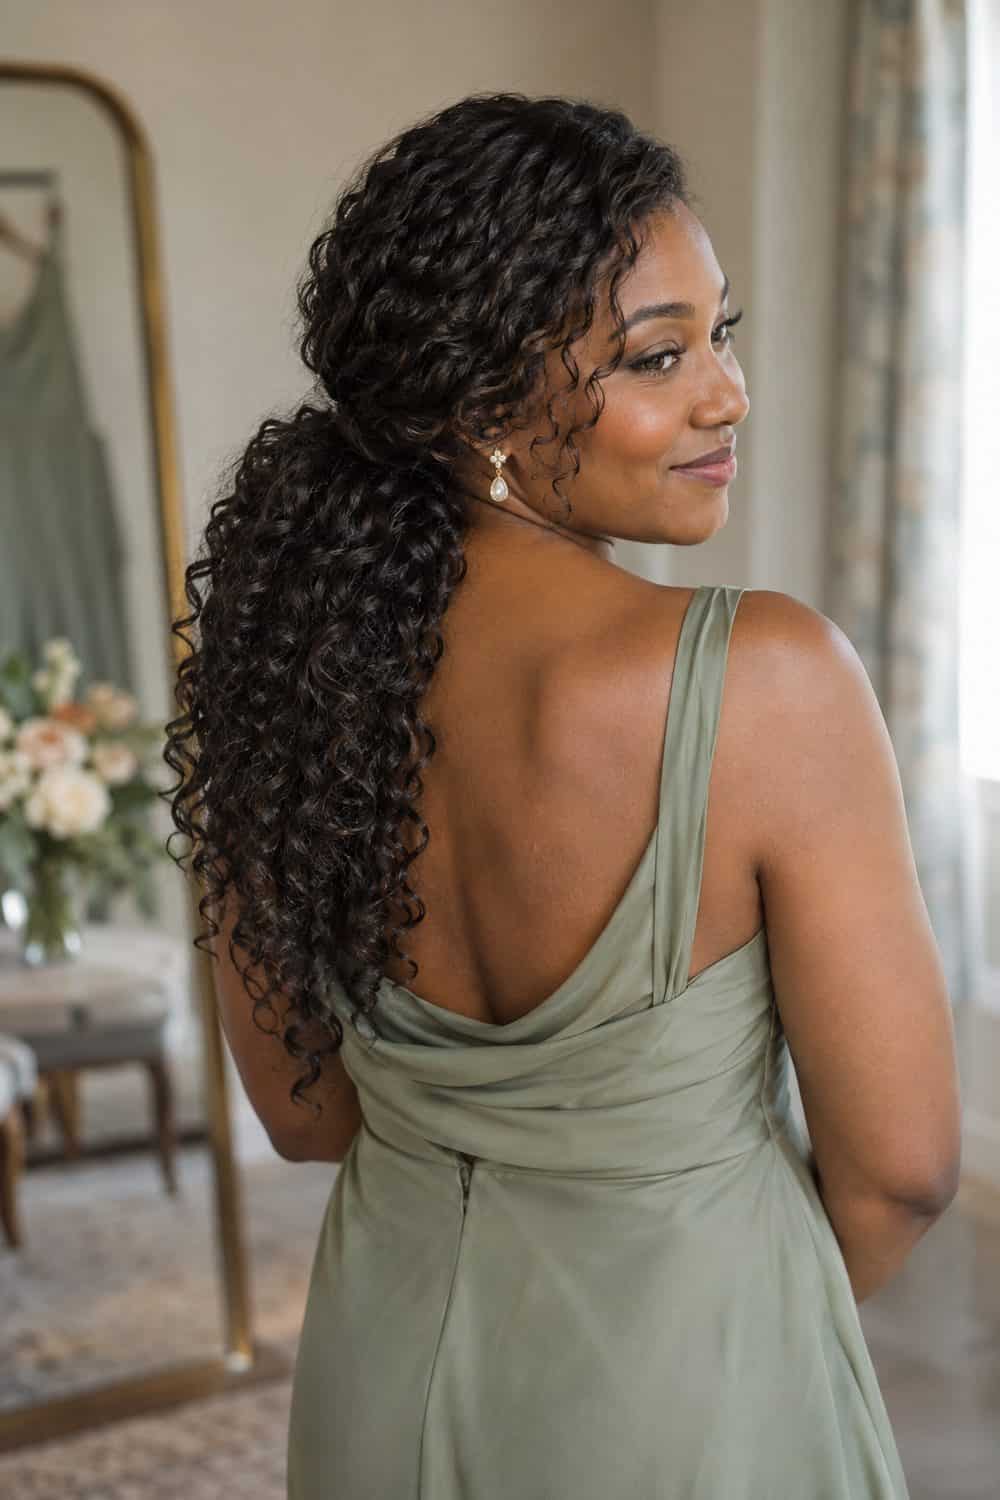
A low side ponytail controls long curls while keeping their length prominent. Secure it behind the ear and leave the front curl pattern undisturbed.
17. Double-Puff Curly Updo
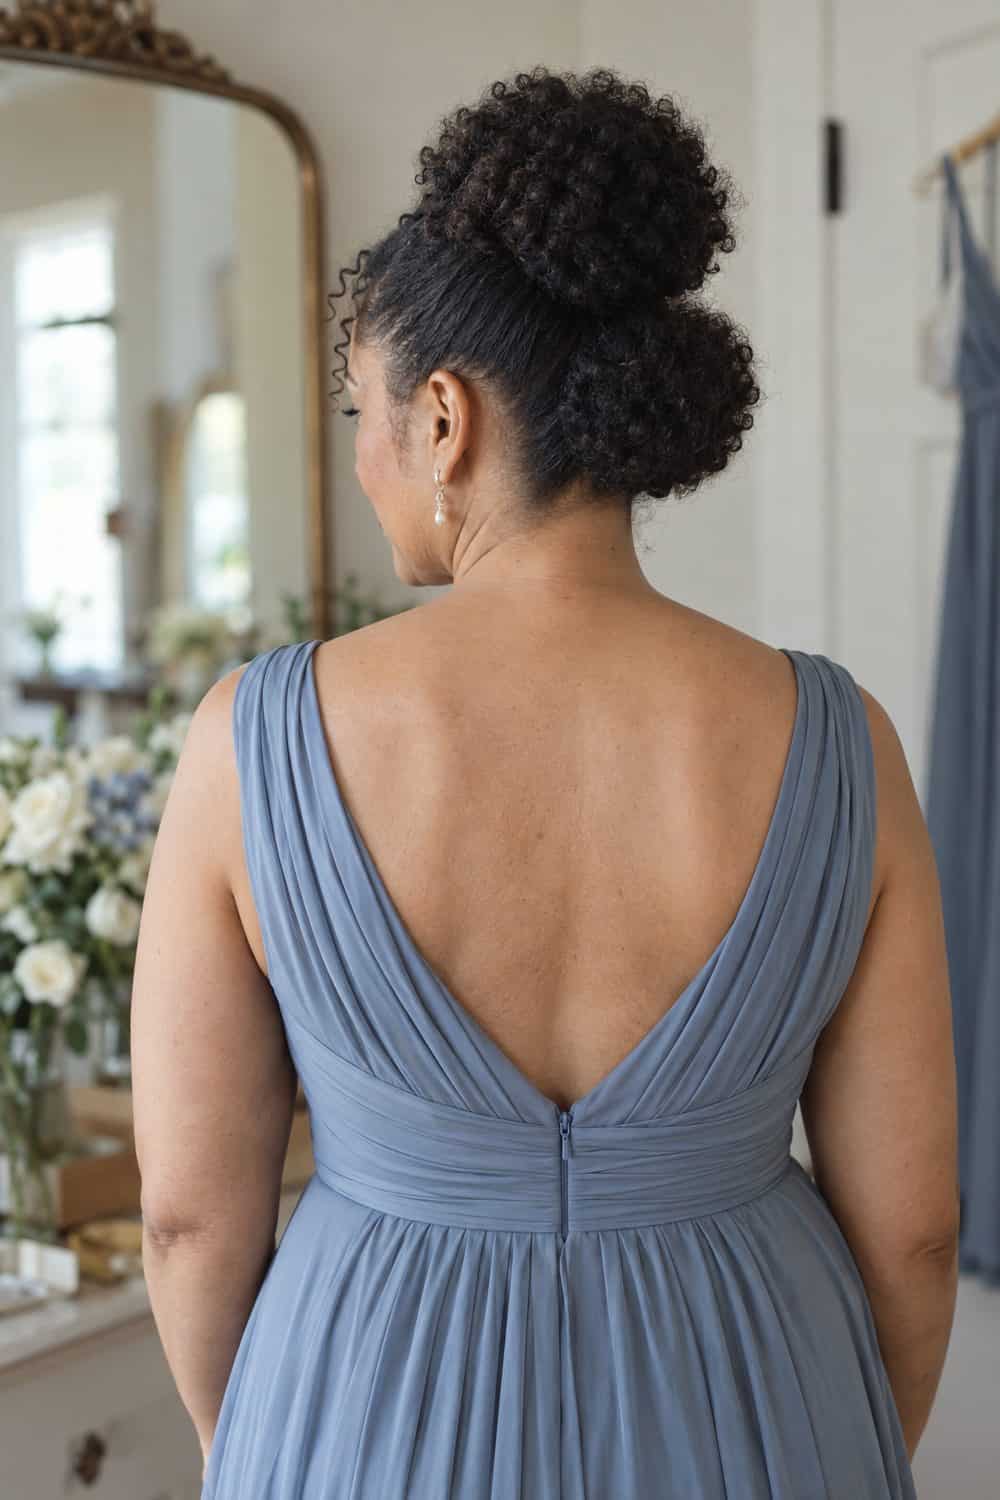
Two stacked puffs create an elongated updo without stretching natural coils smooth. Keep the sections close together and shape their outer edges into one continuous silhouette.
18. Curly Bob with a Braided Side
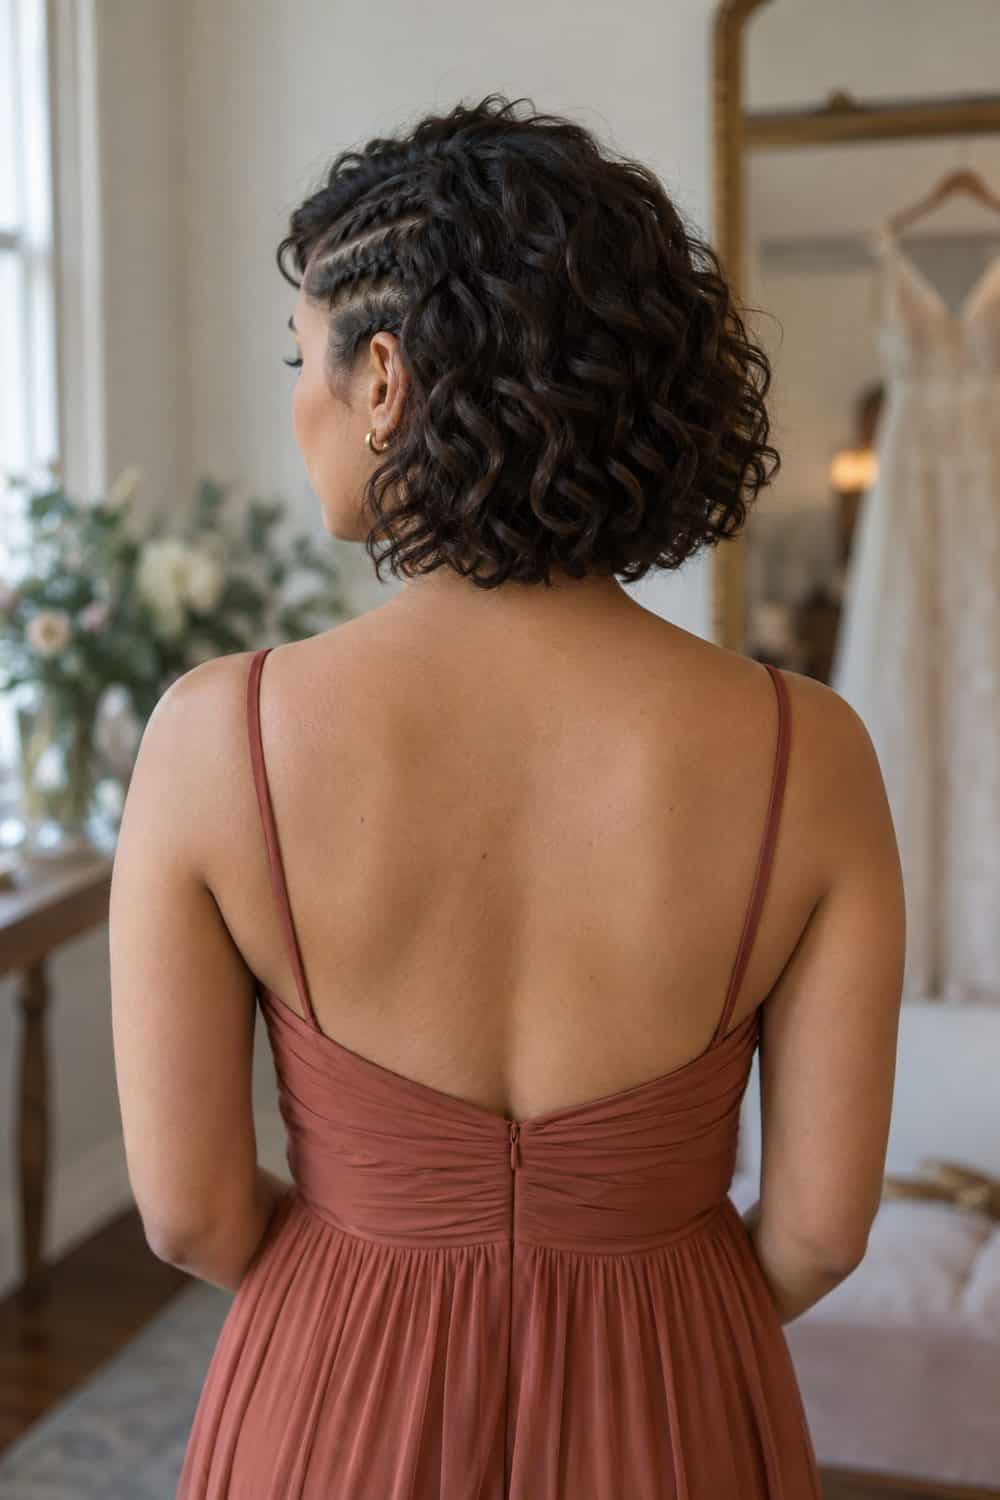
One narrow side braid adds structure to a curly bob without taking away its bounce. Braid only the shallow temple section and conceal the end beneath the curls.
19. Long Curls with a Crown Twist
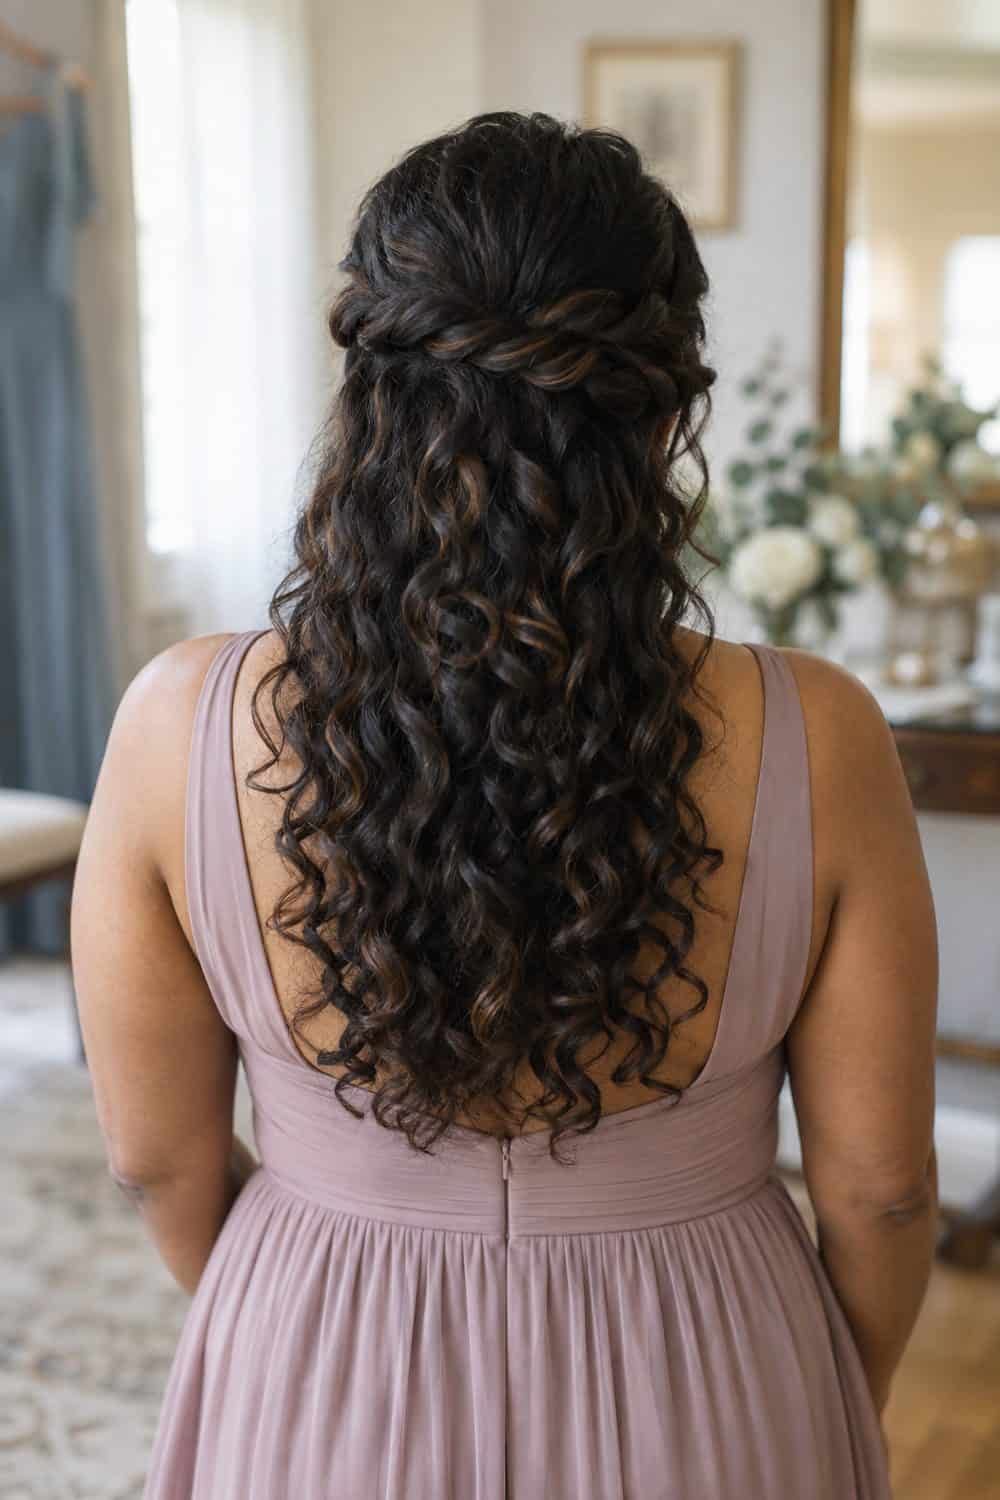
A crown twist holds the top layer securely while long curls remain loose. Pin the twist above the widest part of the curls so the lower shape stays full.
Start with the curl pattern and density, then choose how much needs to be contained for the weather and neckline. I'd refresh individual pieces, leave the rest alone, and build extra time into the schedule for curls to dry completely before pinning.