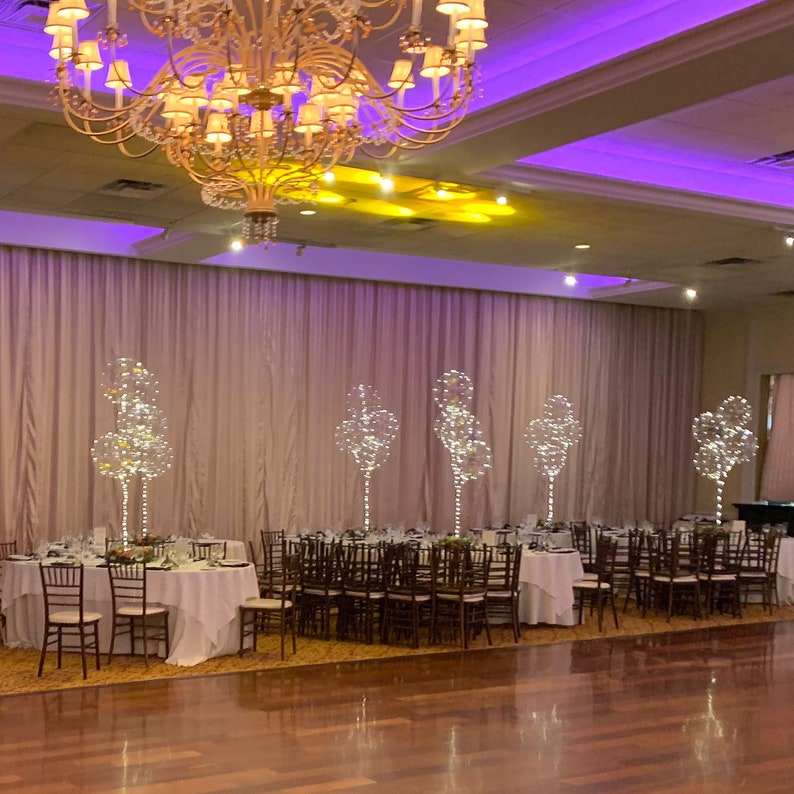
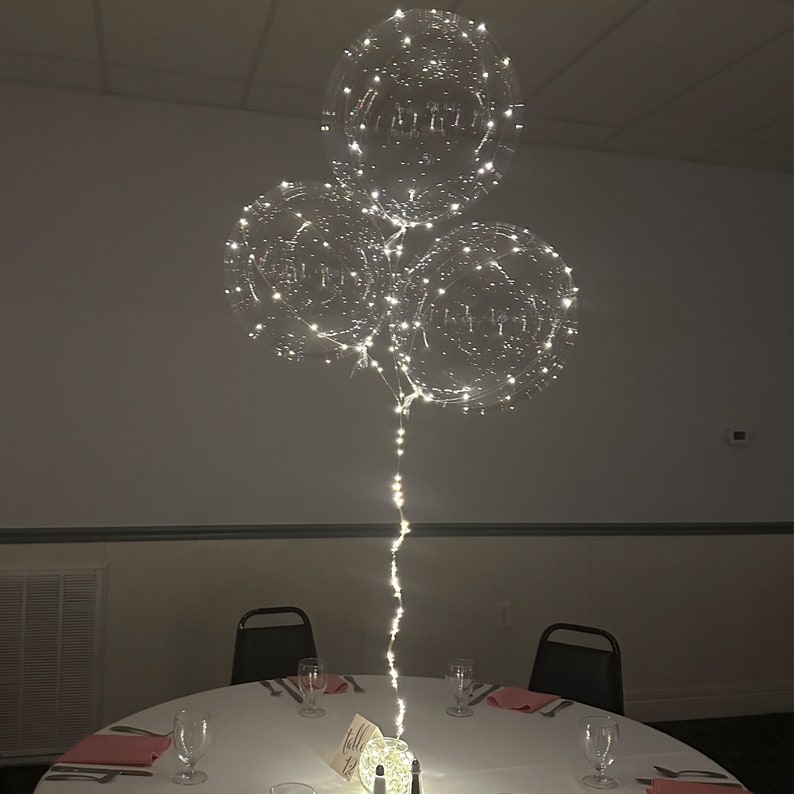
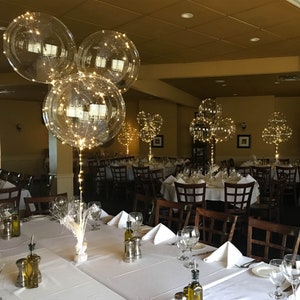
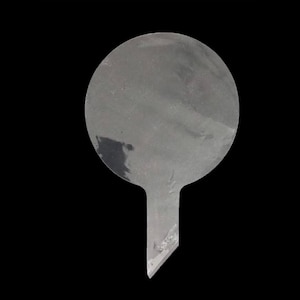
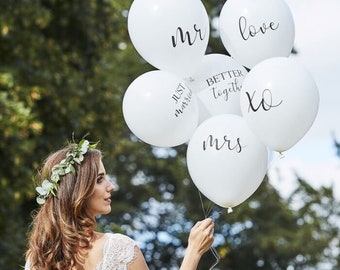
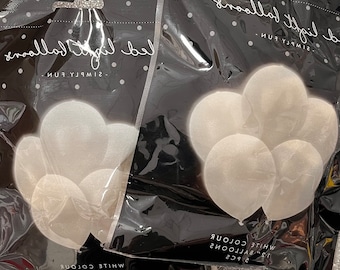
🎈Balloons arrive deflated 🎈
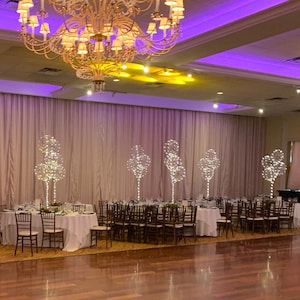
🎈Fill with helium (to float) or Fill with air (to hang/position) 🎈
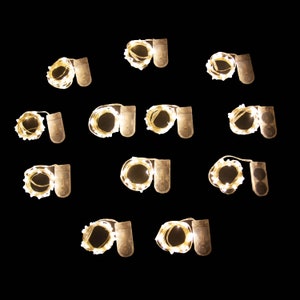
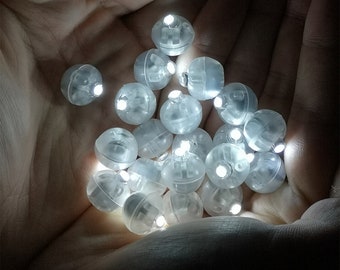
🔋Batteries are included and installed 🔋
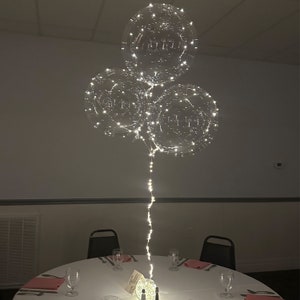
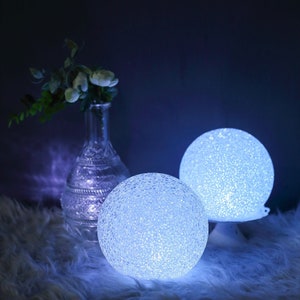
💡LED lights will stay lit up to 72 hours before needing replacement💡
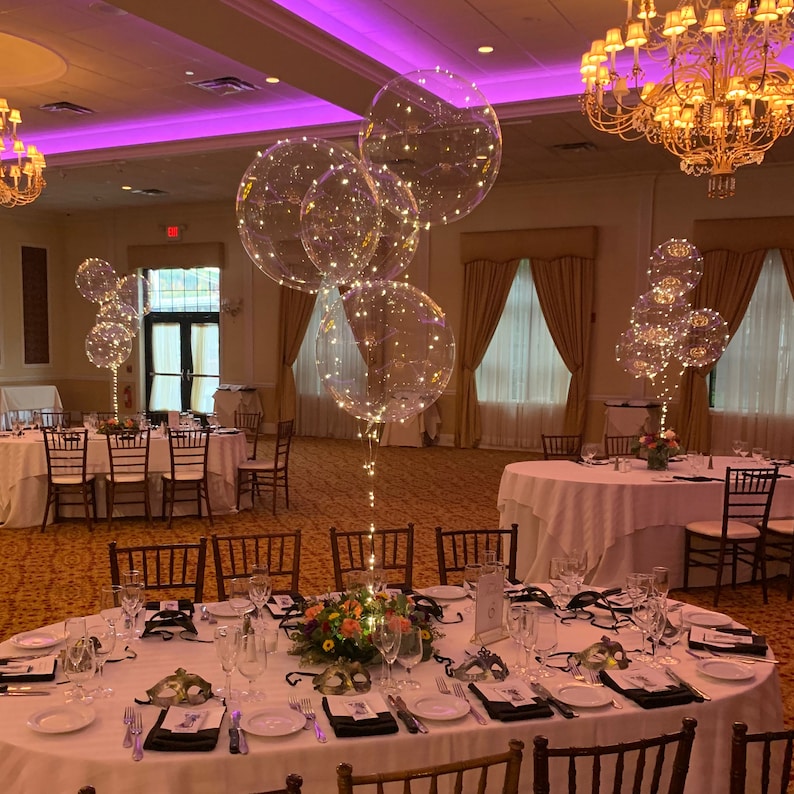
🎈Balloons and LED lights are all reusable 🎈
🎈Balloons can stay intact for many many months when filled with air and properly tied shut🎈
----------------
Quantity of 12 - 18 inch Without Accessories includes:
- 16 transparent 18 inch balloons
- 12 warm white LED light strings (118 inch, 30 LED lights each)
- 24 CR2032 batteries (installed)
- 1 paper measuring tape 📏
- instructions
-------------------
Quantity of 12 - 18 inch Feathers & Ribbon includes:
- 18 transparent 18 inch balloons
- 12 warm white LED light strings (118 inch, 30 LED lights each)
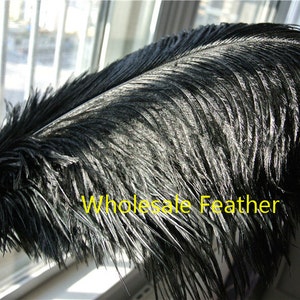
- 12 grams of ivory feathers
- 60 feet of ivory curling ribbon
- 24 CR2032 batteries (installed)
- 1 paper measuring tape 📏
- instructions
-------------------
Quantity of 12 - 18 inch + Confetti & Ribbon includes:
- 18 transparent 18 inch balloons
- 12 warm white LED light strings (118 inch, 30 LED lights each)
- 12 grams of ivory confetti
- 60 feet of ivory curling ribbon
- 24 CR2032 batteries (installed)
- 1 paper measuring tape 📏
- instructions
** Confetti is handmade, 2 inch circle pieces, tissue material, does not adhere to the sides, only pools at the bottom of the balloon
--------------------
Box of 12 - 24 Inch No Accessories includes:
- 16 transparent 24 inch balloons
- 12 warm white LED light strings (197 inch, 50 LED lights each)
- 24 CR2032 batteries (installed)
- 1 paper measuring tape 📏
- instructions
------------------
Box of 12 - 24 Inch + Feathers & Ribbon includes:
- 18 transparent 24 inch balloons
- 12 warm white LED light strings (197 inch, 50 LED lights each)
- 24 grams of ivory feathers
- 60 feet of ivory curling ribbon
- 24 CR2032 batteries (installed)
- 1 paper measuring tape 📏
- instructions
-------------------
Box of 12 - 24 Inch + Confetti & Ribbon includes:
- 18 transparent 24 inch balloons
- 12 warm white LED light strings (197 inch, 50 LED lights each)
- 24 grams of ivory confetti
- 60 feet of ivory curling ribbon
- 24 CR2032 batteries (installed)
- 1 paper measuring tape 📏
- instructions
** Confetti is handmade, 2 inch circle pieces, tissue material, does not adhere to the sides, only pools at the bottom of the balloon
Balloon Material: PVC
--------------------
**** HELIUM DISCLAIMER: Best recommendation is to rent a helium tank from a local party supply store, or oxygen/gas/welding supply company. You can also have them individually filled at a local party supply store, call your local party supply store in advance to ensure. Store bought helium tanks are highly NOT recommended, as they are mixed with air, and air will cause the balloons to sink fast/not float. That is the same for all other balloons as well. When filled with high quality helium, the balloons can stay afloat for days. If you need further assistance on where to find helium, please message, as I am more thank happy to help locate for you. ****
------------------
Easy Step-By-Step Guide to Assembling Your 18/24 Inch Balloominators:
Step 1: Carefully remove the transparent balloon from the bag.
**Although the balloon might look small it WILL become 18/24 inches once inflated.**
Step 2: Unfold the balloon to make it flat.
Step 3: Vigorously pull the balloon in the horizontal direction.
Step 4: Vigorously pull the balloon in the vertical direction.
* Keep the surface of the balloon flat *
** If you are accessorizing your balloon with feathers/confetti, now is when you will fill it. **
Step 5: Inflate the balloon SLOWLY, by either using a helium tank (to float) or an air pump (to hang/position).
Step 6: Stop the inflation when the inflatable range is about 16/22 inches (across the balloon, not around the balloon) (+/- 2 inches). The balloon will be full and round (just like a beachball), absolutely no seams or wrinkles.
** A measuring tape is included for you to utilize if you are unclear as to how big your balloon should be. If you follow the markings on the tape, it will ensure that you have added enough helium for your balloon to float correctly. **
Step 7: Using your hand, twist and turn the neck of the balloon.
Step 8: Make a knot in the neck of the balloon with its extended tail, to prevent the filled air from flowing out.
Step 9: Wrap the LED light string around the outside of the balloon.
** If you are adding ribbon to your balloon, now is when you will garnish it *
----------------
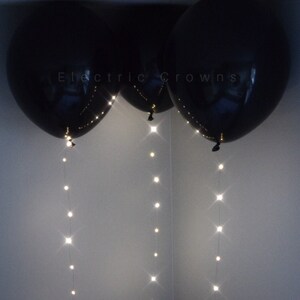
Wrapping The LED Light String:
Balloominators can be wrapped several different ways. Keep in mind that the more you wrap them, the shorter its tail will be!
To Wrap 1 Time:
Start at the base of the balloon, where the knot is. Unravel the LED string by simply sticking your thumb through the center and letting it untwirl. With the battery end on the ground, grip the open end of the LED light string. Leave roughly 1/2 an inch of open string, and twist the string twice around the knot, right at the base of the balloon. After twisting twice, follow the seamed line all the way around the balloon, until you return back to the base, where the knot is. Once you reach the base of the balloon, twist the LED string twice around the knot, and there you go! Turn on the LED light switch and let the illumination begin!
To Wrap 2 Times:
Start at the base of the balloon, where the knot is. Unravel the LED light string by simply sticking your thumb through the center and letting it untwirl. With the battery end on the ground, grip the open end of the LED light string. Leave roughly 1/2 an inch of open string, and twist the string twice around the knot, right at the base of the balloon. After twisting twice, follow the seamed line all the way around the balloon, until you return back to the base, where the knot is. When you reach the knot, twist the LED light string once around the knot and travel down the other side of the balloon (as if you were making a cross). Once you reach the base, twist the LED light string twice around the knot, and there you go! Turn on the LED light switch and let the illumination begin!
---------------------------
Feather Instructions:
Take a funnel, and insert it into the balloon's neck. Place feathers (a couple at a time, stem first) straight down into the funnel. Once the feathers are inside the funnel, take the chopstick (included) and lightly push the feathers into the bottom of the funnel. You will see the feathers slide their way into the balloon. Once all are inside, fill your balloon with either helium or air
Confetti Instructions:
Take a clump of confetti and roll it together. Place the rolled up piece and insert it inside the balloon’s neck. Slide through with the chopstick (included). Repeat this process several times. Please note that the confetti won’t stick to the sides of the balloon, it only pools down to the bottom.
**Be mindful that the more accessories you place inside the balloon, the more it will weigh, which can cause it to not float as high.**
-------------
Any questions? Please don't hesitate to ask! Additional photos available upon request.


 Bridesmaid gifts
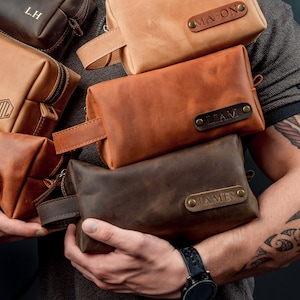 Groomsmen gifts
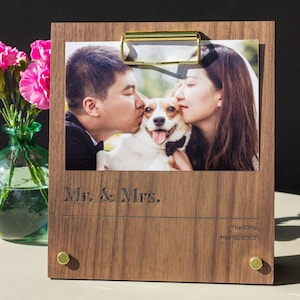 Wedding gifts
 Engagement gifts


